
Mastering Air Mattress Repair: A Comprehensive Guide to Restoring Comfort
Air mattresses provide versatile sleeping solutions for various situations. These inflatable beds offer convenience for camping trips, guest accommodations, or temporary bedding needs. However, air mattresses can develop issues over time, compromising their functionality and comfort. Common problems include leaks, valve malfunctions, and structural damage. Understanding how to repair an air mattress extends its lifespan and ensures continued use. This guide explores effective methods for identifying and addressing air mattress issues.
From locating elusive leaks to patching holes and fixing valves, these techniques help restore air mattresses to their full potential. With proper care and repair knowledge, air mattresses can provide reliable comfort for years. Regular maintenance prevents minor issues from escalating into major problems. Learn to tackle air mattress repairs with confidence and skill, saving money and extending the life of these useful sleep accessories.
Essential Tools and Materials for Effective Air Mattress Repair
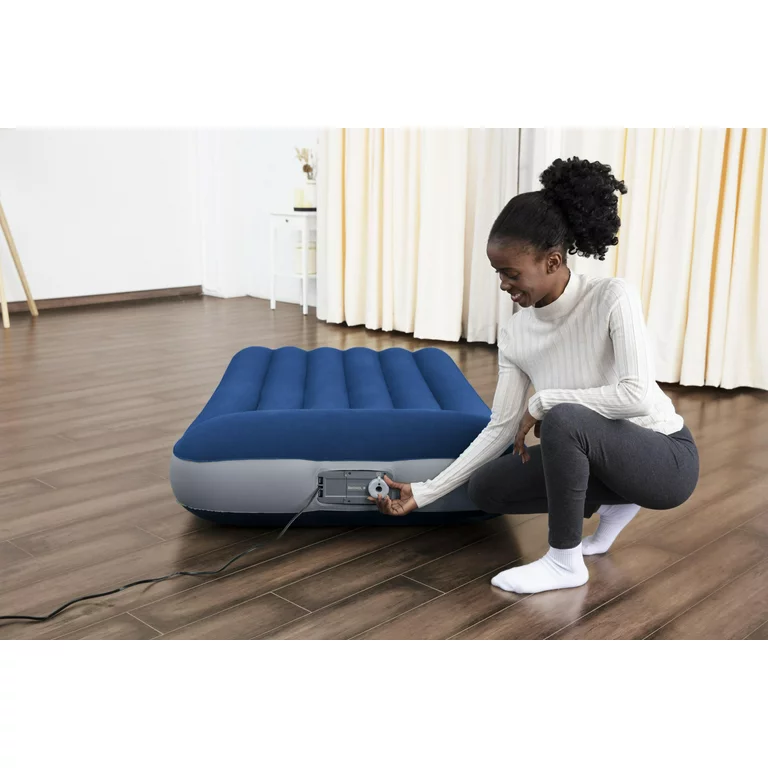
Successful air mattress repair requires the right tools and materials at hand. A specialized air mattress repair kit provides essential supplies, typically including patches, adhesive, and applicators designed for the specific materials used in inflatable beds. For comprehensive DIY repairs, gather additional materials to address a range of issues. Clear, waterproof tape serves for temporary fixes or reinforcing patches. Rubber cement or specialized air mattress glue ensures strong, lasting repairs. Sharp scissors help trim patches to the perfect size and shape.
A permanent marker or pen aids in marking leak locations accurately. A spray bottle filled with soapy water helps detect even the smallest leaks. A clean, dry cloth removes excess water and prepares surfaces for repair. For valve repairs, needle-nose pliers may prove useful in manipulating small components. A bicycle pump or electric air pump assists in inflation testing before and after repairs. Fine-grit sandpaper can roughen surfaces for better adhesion of patches and glue.
Rubbing alcohol cleans areas before patching, ensuring a strong bond. For structural repairs, a strong, flexible adhesive designed for fabric materials may be necessary.Consider including a small flashlight to inspect dark or hard-to-see areas of the mattress. Latex or nitrile gloves protect hands from adhesives and cleaning solutions. A soft brush can help clean debris from valves or textured mattress surfaces. Store these supplies in a dedicated container with the air mattress for easy access.
1. Identifying the Leak
- Visual Inspection: Start by inspecting the mattress visually for any visible holes, tears, or worn areas. Pay special attention to seams and areas that come into contact with sharp objects or the ground.
- Soap Water Test: Mix a bowl of soapy water and gently apply it over the suspected areas with a sponge or spray bottle. Bubbles will form around the leak, indicating the source of the air escape.
- Isolate the Mattress: Inflate the mattress partially and listen closely for hissing sounds. You can also place your hand or ear near different sections to feel or hear escaping air more accurately.
2. Preparation for Repair
- Deflate and Clean: Fully deflate the mattress and clean the area around the leak with soap and water, then dry it completely. This ensures a strong bond for the patch.
- Gather Materials: You’ll need an air mattress repair kit, which typically includes patches, adhesive, and sometimes a valve tool. Alternatively, gather household items like duct tape, clear plastic patches, or even bicycle tire repair kits.
3. Choosing the Patch Method
- Adhesive Patches: Most repair kits include self-adhesive patches. Clean the area, peel the backing off the patch, and firmly press it over the leak, ensuring there are no air bubbles.
- Glue and Fabric Patches: For larger holes, cut a piece of fabric slightly larger than the damage. Apply a liberal amount of vinyl or rubber cement to both the fabric and mattress, let it dry until tacky, then press together and hold for a few minutes.
- Duct Tape: In a pinch, duct tape can provide a temporary fix. Apply several layers, overlapping each strip to create a strong seal. Note that this is less durable and may not last as long as proper patches.
4. Advanced Repairs for Valves
- Valve Replacement: If the leak is coming from the valve, you might need to replace it. Check if your mattress has a removable valve. If so, purchase a replacement and follow the manufacturer’s instructions for installation.
- Valve Seal Repair: Sometimes, the issue is simply a faulty seal. Apply a thin layer of silicone lubricant around the valve’s seal to enhance its function.
5. Testing and Reinforcement
- Inflate and Test: After applying the patch, inflate the mattress fully and leave it for 24 hours to check for any leaks. This allows the adhesive to set properly and ensures a thorough test.
- Double-Patching: For added security, consider applying a second patch on the inside of the mattress if accessible, especially for larger repairs.
6. Maintenance and Prevention
- Regular Inspection: Check your air mattress periodically for signs of wear and tear, even when not in use.
- Proper Storage: Store your mattress deflated, clean, and dry, preferably in a cool and dark place away from sharp objects.
- Protection During Use: Use a groundsheet or tarp underneath the mattress when camping to prevent punctures from rocks or twigs.
7. When to Replace
If your air mattress continues to leak despite multiple attempts at repair, or if the damage is extensive, it may be time to consider replacing it. Frequent leaks can indicate material degradation, which won’t be resolved through patching alone.
Additional Tips for Maintaining and Enhancing Your Air Mattress
While repairing an air mattress is a practical solution, there are additional steps you can take to further enhance its longevity and performance:
8. Weight Distribution
- Even Loading: Encourage users to avoid sitting on the edges of the mattress, as excessive weight in one spot can lead to deformation or leaks over time. Distribute weight evenly for optimal support and mattress integrity.
9. Temperature Considerations
- Temperature Sensitivity: Many air mattresses are sensitive to temperature changes, which can affect their firmness. On cold nights, the air inside the mattress cools and contracts, making it feel softer. Consider topping up the air before bedtime during colder weather.
10. Alternative Repair Solutions
- Waterproof Adhesives: For a more robust repair, consider using specialized waterproof adhesives designed for vinyl or PVC materials. These offer superior bonding compared to regular glue and are less prone to peeling.
11. Mattress Topper
- Enhanced Comfort: To improve the overall comfort of your air mattress and potentially mask minor leaks or uneven surfaces, consider adding a mattress topper. Memory foam or egg-crate style toppers can provide extra cushioning and insulation.
12. Regular Cleaning
- Hygiene Matters: Regularly cleaning your air mattress not only keeps it looking fresh but also prevents the build-up of bacteria and odors. Use a mild detergent and a soft brush or cloth, followed by a thorough rinse and dry.
13. Storage Techniques
- Compression Bags: Invest in good-quality compression bags designed for air mattresses. These can help minimize folding and creasing, which can weaken the material over time. Avoid storing the mattress tightly rolled for extended periods.
14. Upgrade Considerations
- Quality Matters: If you find yourself frequently repairing your air mattress, it might be worth investing in a higher-quality model made from more durable materials. Look for mattresses with reinforced seams, thicker PVC, or puncture-resistant fabrics.
15. Community and Expert Advice
- Online Resources: Join online forums or social media groups dedicated to camping or outdoor gear. These communities often share tips, tricks, and personal experiences related to maintaining and repairing air mattresses.
By incorporating these additional practices into your air mattress care routine, you can significantly enhance its lifespan, comfort, and overall usability. Whether you’re a frequent camper or just need a spare bed for guests, a well-maintained air mattress can provide reliable comfort time and again.
Professional Repair Services and Replacement Considerations
While many air mattress issues can be addressed through DIY methods, some situations warrant professional attention or consideration of replacement. Multiple leaks, repeated repair failures, or extensive structural damage may indicate significant wear beyond simple fixes. Persistent mold or mildew infestations often necessitate replacement for health and hygiene reasons. Comfort issues like major lumps, sagging, or loss of support suggest internal structure failure that may not be repairable.
Before pursuing professional repair or replacement, check the warranty terms. Many manufacturers offer coverage for defects or premature failure, potentially providing repair or replacement at no cost. Professional repair services can address complex issues using specialized tools and expertise. These services may be particularly valuable for high-end or large air mattresses where replacement costs are substantial.
When considering professional repair versus replacement, evaluate the cost-effectiveness of each option. Factor in the age of the mattress, the extent of the damage, and the price of a comparable new model. Sometimes, investing in a new mattress proves more economical and provides the opportunity to upgrade to newer technology or improved features.