Introduction
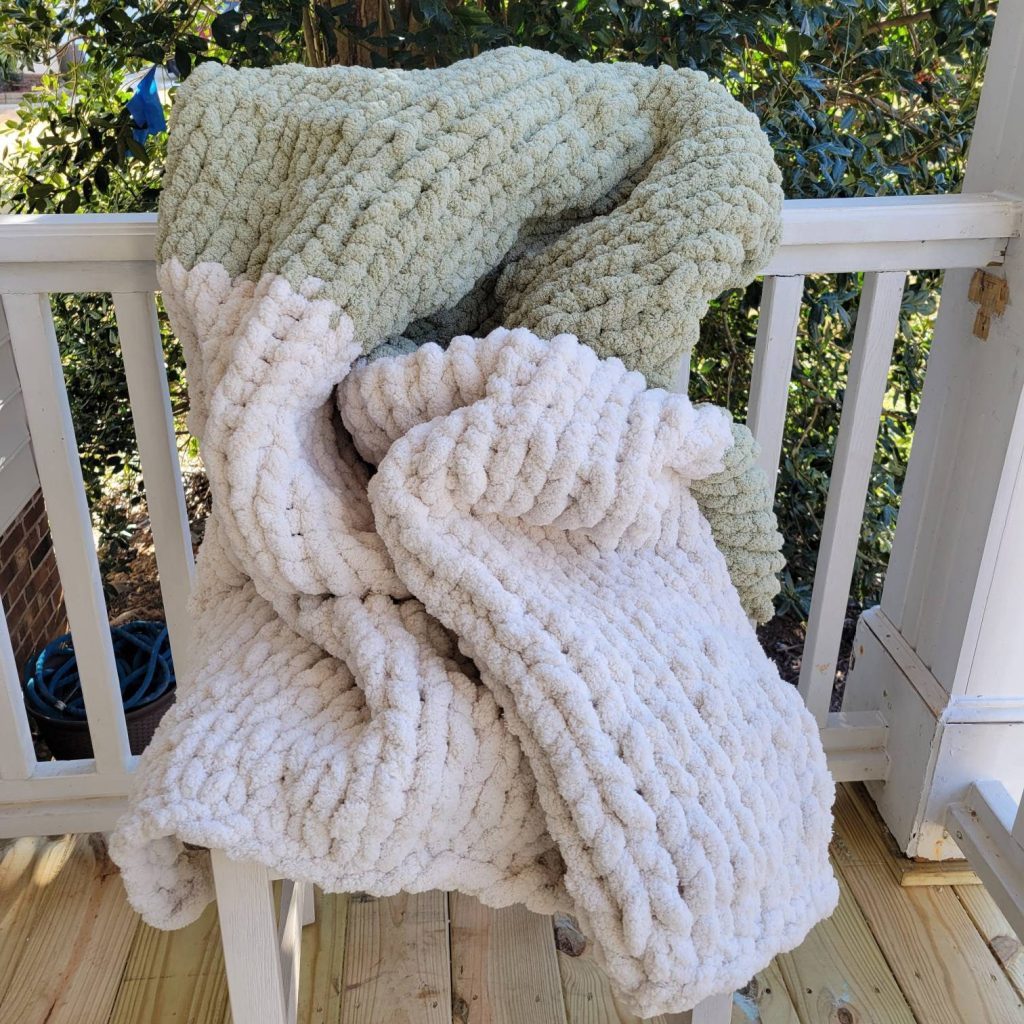
Finger knit blanket – There’s something undeniably special about snuggling under a blanket you’ve made yourself, especially when it’s crafted with the warmth of your own hands. Finger knitting, a technique that requires no needles or hooks, is a beginner-friendly craft that opens the door to creating beautiful, cozy blankets. This guide will take you through the process step-by-step, from selecting the perfect yarn to binding off your final stitches, ensuring that even if you’re new to the world of knitting, you’ll soon be wrapping yourself in a handmade hug.

Choosing Your Yarn
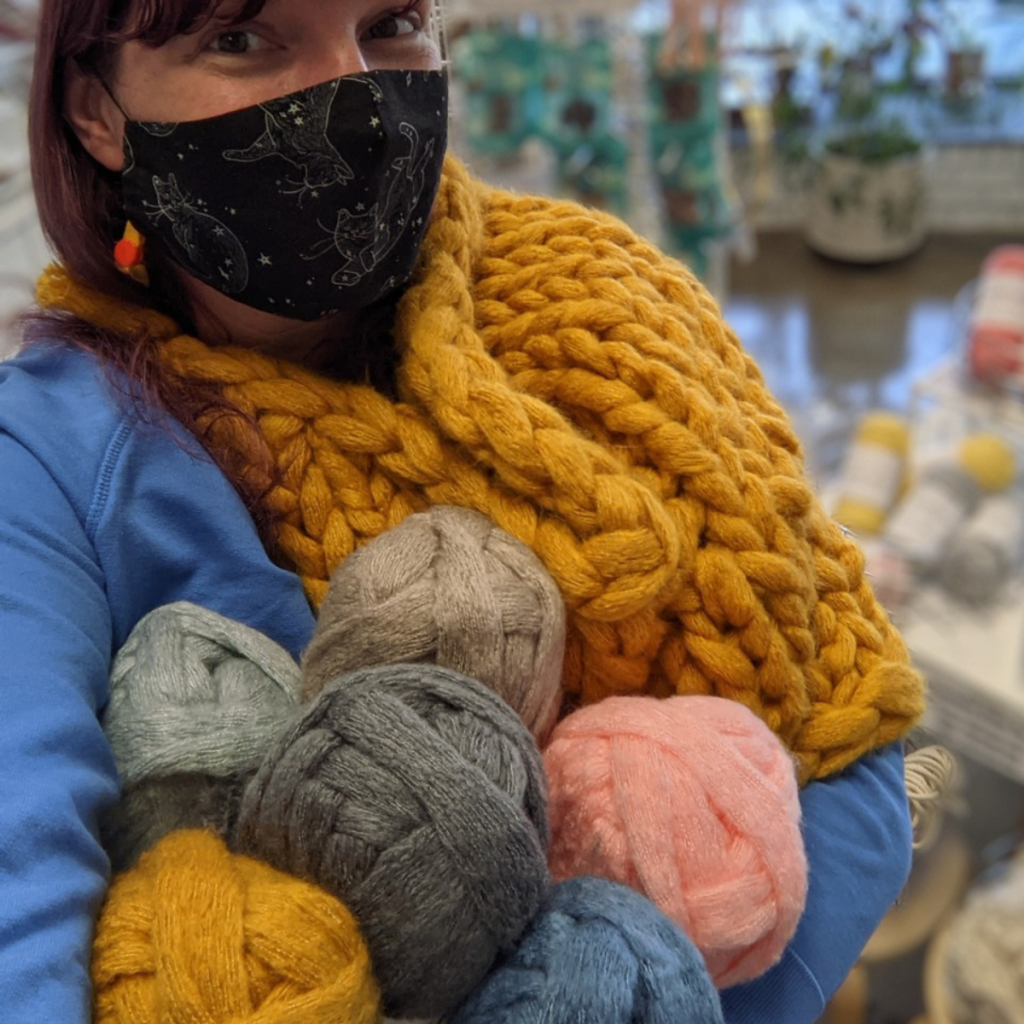
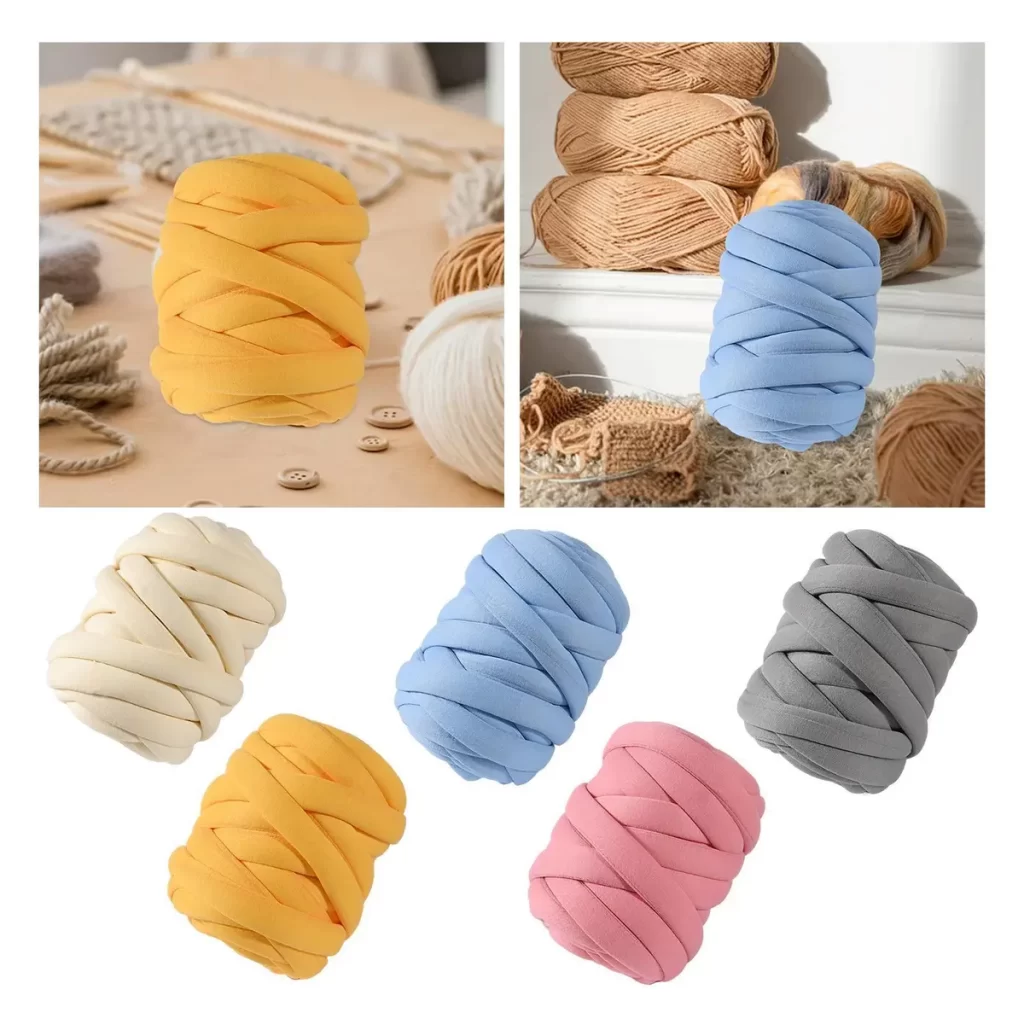
The first step in your finger knitting journey is selecting the right yarn. For a blanket, you’ll want a material that’s soft, warm, and durable. Bulky or super bulky yarns are ideal because they create a thicker fabric, which translates to a quicker project and added warmth. Consider wool, acrylic blends, or chunky cotton for their coziness and ease of handling. Avoid slippery or very fine yarns as they can be difficult to manage with fingers alone.
Color and Texture
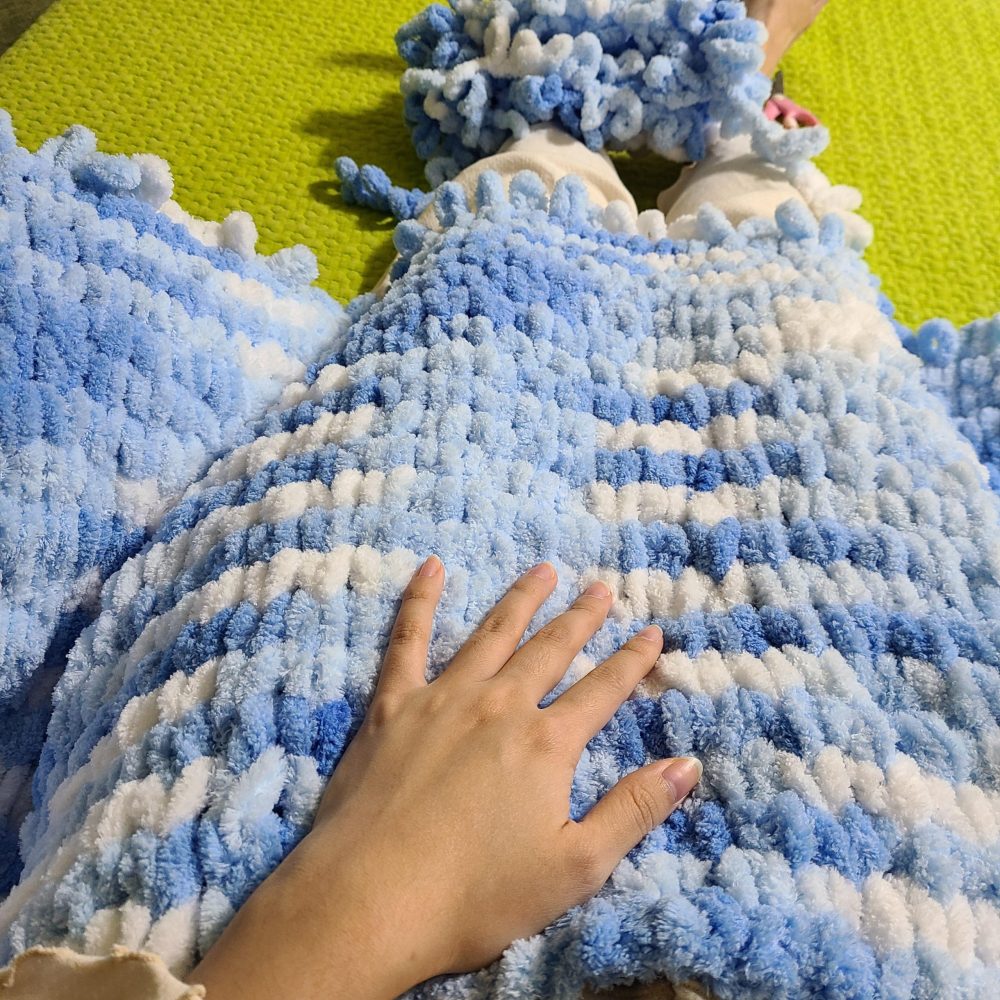
Finger knitting offers a chance for creativity not just in pattern but also in color and texture. You might choose a variegated yarn for a blanket with a rainbow of hues or stick to a classic solid for a more uniform look. Textured yarns like boucle or chenille can add an interesting dimension, but be aware that they can be trickier for beginners to handle.
Getting Started
Before you begin, ensure your hands are clean and dry to avoid damaging the yarn. Here’s the basic finger knitting process:
- Make a Slip Knot: Loop the yarn around your thumb, then bring the end over and tuck it under the loop, pulling tight to create a knot.
- Cast On: Leaving a long tail (approximately 6 inches), drape the yarn over your fingers—index, middle, and ring finger for a standard stitch. Using your dominant hand, create loops by bringing the yarn behind then in front of each finger.
- Knit Stitches: To create a stitch, use your thumb to lift the bottom loop over the top loop and off the finger, progressing from pinky to index finger. Repeat this across all fingers, and you’ve completed your first row.
- Continue Knitting: Keep repeating step 3, working in continuous rows until your blanket reaches your desired length.
Tips for Success
- Tension: Maintaining consistent tension is crucial for an even-looking blanket. Neither pull too tight nor leave the loops too loose.
- Counting Rows: Use a tally system or place markers after certain numbers of rows to track your progress and ensure even sides.
- Joining Yarn: When you need to switch yarn balls, simply knot the old and new ends together securely and continue knitting, weaving in the ends later.
- Width Adjustment: The width of your blanket is determined by the number of fingers used. For a wider blanket, consider using more fingers or doubling up on each finger.
Binding Off and Finishing Touches
To finish your blanket, you’ll need to bind off. This involves skipping the lifting step and instead pulling the loop from one finger over the next loop and off the finger until you’re left with one loop. Cut the yarn, leaving a long tail, thread it through the last loop, and pull tight. Weave in all ends securely.
Finally, give your blanket a gentle wash and lay flat to dry. This not only cleans it but also helps settle the stitches into a nice even fabric.
Embrace the Process
Finger knitting a blanket is a therapeutic and rewarding process. It’s a low-cost hobby that doesn’t require fancy tools, making it accessible to all. As you progress, you might find yourself experimenting with different patterns, colors, and even combining finger knitting with traditional knitting techniques. The result? A truly unique, handmade treasure that’s not just a blanket but a reflection of your creativity and patience. So, roll up your sleeves, choose your yarn, and get ready to create a cozy corner of comfort that’s uniquely yours.

Why Finger Knitting?
Finger knitting has gained popularity for several reasons:
- Accessibility: It’s beginner-friendly and requires no specialized tools—just your fingers!
- Speed: You can create projects relatively quickly due to the large stitches and chunky yarn used.
- Creativity: Finger knitting allows for a variety of textures and patterns, making it versatile for different projects.
Materials Needed
Before you begin, gather the following materials:
- Yarn: Choose a super bulky or chunky yarn for a cozy blanket. The amount of yarn depends on the size of the blanket you want to make.
- Scissors: For cutting the yarn at the end of your project.
- Tapestry Needle (optional): Useful for weaving in loose ends or finishing touches.
Step-by-Step Guide to Finger Knitting a Blanket
Make a Slip Knot
Start by making a slip knot at the end of your yarn. This will create a loop that you’ll use to begin knitting.
Cast On Stitches
Place the slip knot on your finger and pull the yarn through to create another loop. Continue pulling yarn through each loop on your fingers until you have the desired number of stitches for the width of your blanket.
Knit Rows
To knit, simply pull the bottom loop over the top loop and off your finger. Repeat this process across all fingers until you reach the end of the row.
Add New Yarn (if necessary)
If you run out of yarn in the middle of a row, simply attach a new piece of yarn by tying a knot with the old and new yarn ends. Make sure to secure the knot tightly and weave in the ends later.
Continue Knitting Rows
Continue knitting rows until your blanket reaches the desired length. You can adjust the length by adding or reducing the number of rows you knit.
Bind Off
To bind off, knit two stitches onto your fingers, then pull the first stitch over the second and off your finger. Repeat this across all fingers until you have one loop left. Cut the yarn and pull it through the last loop to secure.
Finishing Touches
Use a tapestry needle to weave in any loose ends and tidy up your blanket. You can also add fringe or tassels to the edges for a decorative touch.
Tips for Success
- Choose the Right Yarn: Opt for yarn that is soft and easy to work with. Super bulky yarns create a plush blanket, while chunky yarns provide a bit more structure.
- Practice Tension: Keep your tension even to ensure a consistent look throughout your blanket.
- Stay Patient: Like any craft, finger knitting may take a bit of practice. Don’t be afraid to unravel and start over if needed.

Personalizing Your Finger Knitted Blanket
One of the joys of crafting your own blanket is the ability to personalize it to suit your style or the recipient’s taste. Here are some ideas to elevate your finger-knitted creation beyond the basics:
Adding Fringe
Fringe can add a playful or bohemian touch to your blanket. Simply cut lengths of yarn double the desired fringe length. Fold each piece in half and, using a crochet hook or your fingers, pull the looped end through the edge of the blanket. Then, pass the loose ends through the loop and tighten. Space the fringes evenly around the perimeter for a polished look.
Stripes and Color Blocking
Introducing stripes or color blocking is a straightforward way to introduce visual interest. Plan your color changes thoughtfully, switching yarns at the beginning of a row. To change colors, simply start knitting with the new yarn, leaving a tail of the old color to weave in later. You can create bold, dramatic stripes or subtle, gradient effects.
Tassels and Pom-Poms
Like fringe, tassels and pom-poms can add a fun and textural element. They’re particularly charming when added to the corners of a blanket. There are many online tutorials and DIY kits available for making both, and they can be attached using a strong thread or yarn.
Embellishments and Appliques
For a more intricate touch, consider sewing on appliques or using embroidery to add motifs, names, or even a favorite quote to your blanket. Felt cutouts, patches, or even crochet flowers can be attached using a needle and thread, giving your blanket a personalized and artistic flair.
Care and Maintenance
Taking good care of your finger-knitted blanket ensures it lasts for years to come. Always follow the care instructions on your yarn label. Most wool and acrylic blends can be hand washed in cold water with a gentle detergent. Avoid twisting or wringing the blanket; instead, gently squeeze out excess water and lay it flat on a clean towel to dry. Avoid direct sunlight to prevent fading.
The Joy of Giving
A handmade blanket is not just a functional item but also a heartfelt gift. Whether you’re making it for a loved one, a friend, or as a charity donation, the time and effort invested make it a treasure that’s sure to be cherished. Consider including a personalized note or a set of care instructions to complete the thoughtful gesture.
Final Thoughts
Finger knitting your own cozy blanket is not only a fun and relaxing activity but also a rewarding way to create something beautiful for yourself or as a gift. Whether you’re a beginner or an experienced crafter looking for a new project, finger knitting offers a unique way to explore your creativity and enjoy the comforting warmth of a handmade blanket. Gather your materials, follow the steps above, and embark on your finger knitting adventure today!
