Introduction
In the realm of home décor, a touch of rustic charm can instantly warm up a space, infusing it with a sense of comfort and inviting appeal. One such element that has gained popularity among DIY enthusiasts and decorators alike is the blanket ladder. Not only does this functional piece serve as an elegant display for your collection of cozy throws and blankets, but it also adds a touch of artisanal elegance to any room. In this guide, we’ll walk you through the steps of crafting your very own rustic blanket ladder, transforming your living space with a personalized touch of homemade charm.
Materials You Will Need
To embark on this DIY adventure, gather the following materials:
- Wooden Boards: Choose three 1×3-inch boards, each around 6 feet long, for a standard ladder size. Pine is a popular choice for its affordability and ease of workability, but feel free to select a wood type that complements your home’s aesthetic.
- Wood Stain or Paint: Pick a stain that highlights the natural grain of the wood for a rustic look, or opt for paint to match your existing decor.
- Sandpaper (120 and 220 grit): For smoothing surfaces before and after staining or painting.
- Screws: 2-inch wood screws are ideal for securing the rungs to the side posts.
- Drill: With a screwdriver bit and a drill bit for pilot holes.
- Measuring Tape and Pencil: For precise measurements and markings.
- Level: To ensure your ladder is straight and even.
- Protective Gear: Safety glasses and gloves.
Step-by-Step Guide
Prepare the Wood
Begin by sanding the wooden boards with 120-grit sandpaper to remove any rough edges or splinters. Once smooth, switch to 220-grit sandpaper for a finer finish. Wipe the boards clean with a damp cloth to remove sawdust.
Cut the Pieces
Measure and mark the boards for cutting. You’ll need two pieces for the side posts, each about 6 feet tall, and three shorter pieces for the rungs, typically spaced about 18 inches apart. Use a saw to cut the boards accordingly.
Stain or Paint
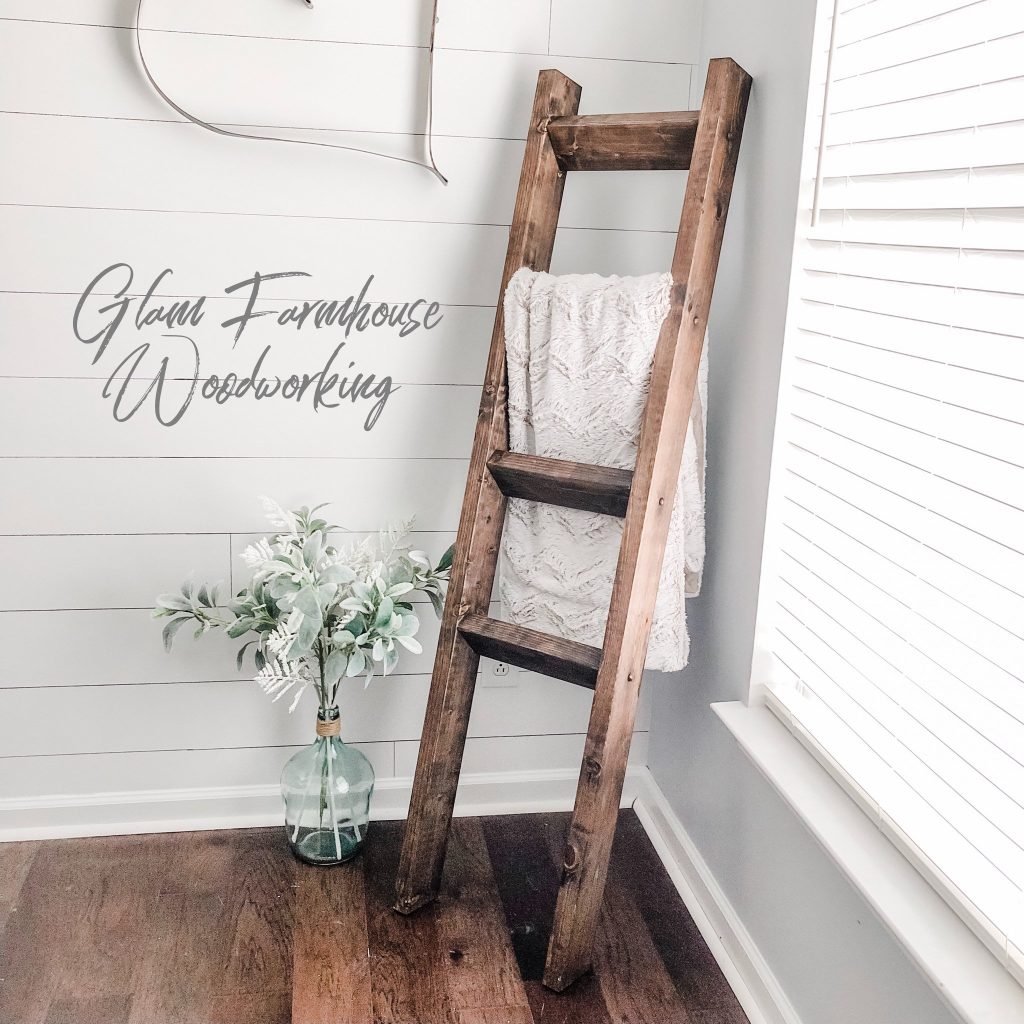
Apply your chosen stain or paint to the boards following the manufacturer’s instructions. For a rustic look, consider using a dry brush technique or distressing the wood slightly before staining. Allow ample drying time according to the product guidelines.
Assemble the Ladder
Lay out the two side posts parallel to each other. Measure and mark the spots where you’ll attach the rungs, ensuring they’re evenly spaced. Using a drill, create pilot holes at each marked spot to prevent splitting the wood when screwing in the screws.
Position the first rung against the marks, then secure it with screws from the outside of the side posts. Repeat this process for the remaining rungs, ensuring they are level before screwing them in place.
Finishing Touches
Inspect your ladder for any rough edges or protruding screws and make necessary adjustments. Sand lightly if needed and apply a final coat of stain or paint to cover any newly exposed areas.
Displaying Your Creation
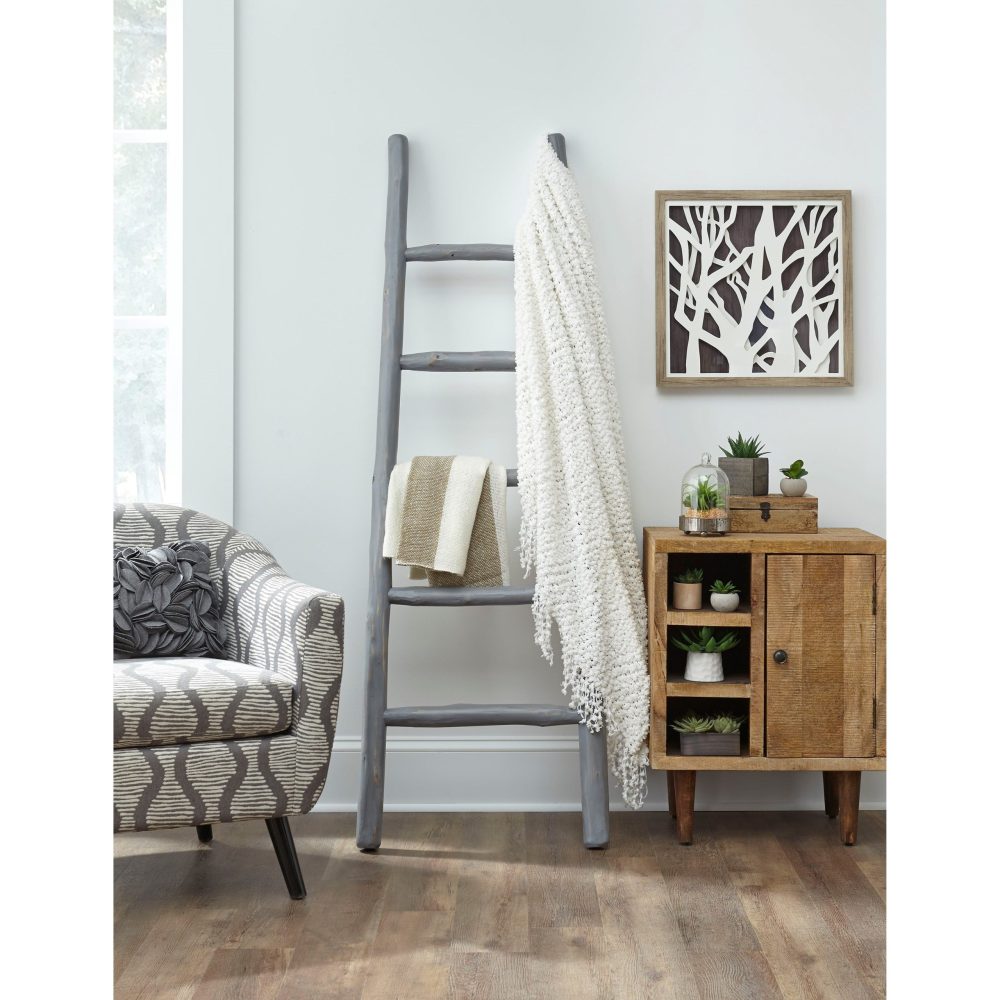
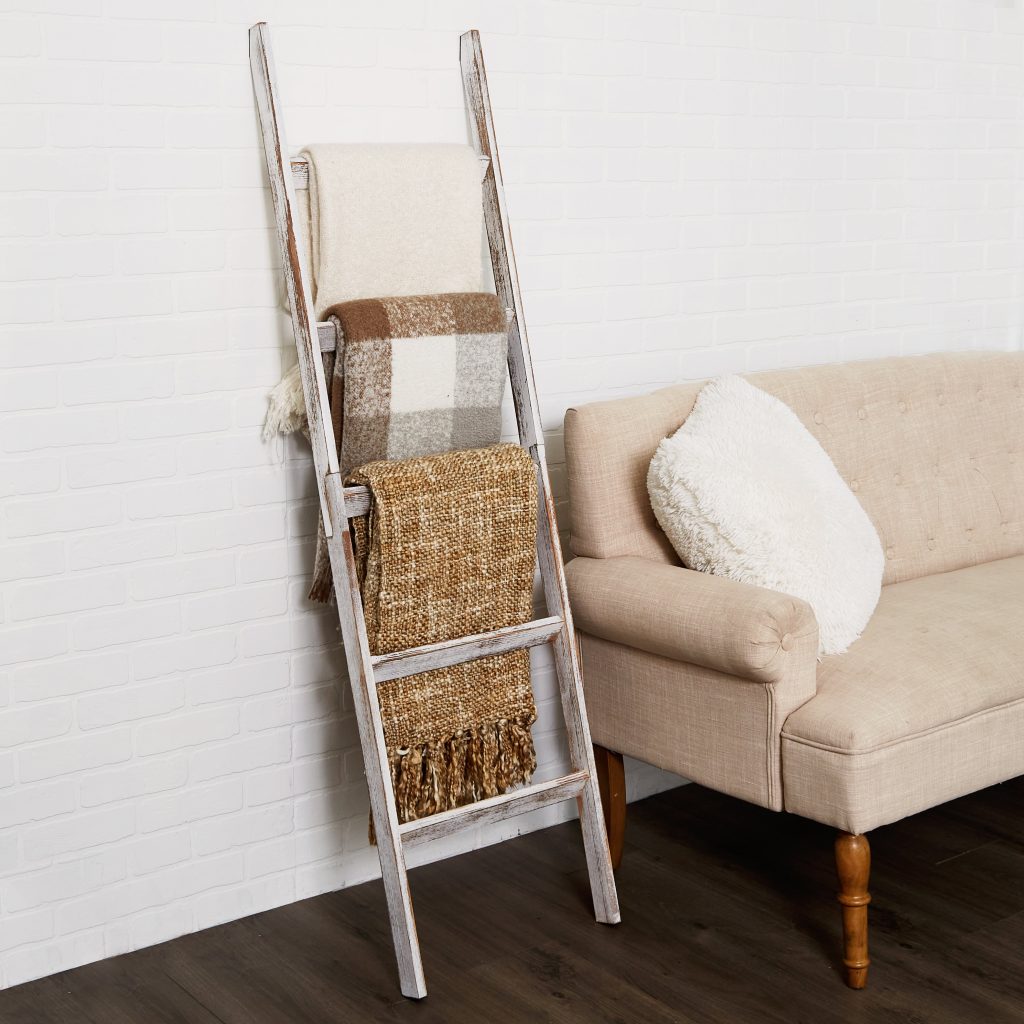
Now that your rustic blanket ladder is complete, it’s time to showcase it. Lean it against a wall in your living room, bedroom, or entryway, and drape your favorite blankets and throws over the rungs. This not only keeps your cozy textiles organized and easily accessible but also adds a decorative element that complements a variety of interior styles, from farmhouse to minimalist modern.
The beauty of a DIY project like this rustic blanket ladder lies not just in its functionality but also in the personal touch it brings to your home. Each handmade detail becomes a reflection of your creativity and style, making your living space truly unique and filled with homemade charm. So, roll up your sleeves, gather your tools, and let your DIY spirit bring warmth and character to your home with this charming addition.

Why Choose a Rustic Blanket Ladder?
A blanket ladder combines practical storage with decorative appeal, making it a versatile addition to various rooms in your home:
- Living Room: Display your favorite throws and blankets within easy reach, adding both warmth and texture to your seating area.
- Bedroom: Hang cozy blankets or quilts at the foot of your bed for a stylish yet functional accent piece.
- Bathroom: Use it to store towels or magazines, adding a spa-like touch to your bathroom decor.
Materials Needed
Before starting your project, gather the following materials:
- Wooden Dowels or Ladder Rungs: These will serve as the steps of your ladder. Opt for sturdy, untreated wood for a rustic look.
- Wooden Boards: Choose boards for the sides of the ladder. These should be slightly wider than your dowels for stability.
- Wood Screws: To secure the ladder rungs to the side boards.
- Sandpaper: For smoothing rough edges and preparing the wood for staining or painting.
- Stain or Paint: Optional, for finishing your ladder according to your preferred aesthetic.
- Saw: To cut the dowels and side boards to your desired dimensions.
- Drill: For creating holes to attach the ladder rungs to the side boards.
Step-by-Step Instructions
Measure and Cut the Wood
- Measure and Cut Side Boards: Decide on the height of your ladder. Cut two identical lengths from the wooden boards to serve as the sides of your ladder.
- Cut Dowels or Rungs: Determine the width of your ladder and cut several wooden dowels or boards to serve as the rungs. These should be evenly spaced along the length of the ladder sides.
Sand the Wood
- Smooth Edges: Use sandpaper to smooth any rough edges on the cut wood pieces. Pay attention to corners and edges where splinters may occur.
Assemble the Ladder
- Position Side Boards: Lay the two side boards parallel to each other on a flat surface.
- Attach Rungs: Place the dowels or ladder rungs between the side boards at equal intervals. Use a drill to create pilot holes through the side boards and into the ends of each rung.
- Secure with Screws: Insert wood screws through the pilot holes and into the ladder rungs, ensuring a secure fit. Tighten the screws to hold the ladder together.
Optional Finishing Touches
- Stain or Paint: If desired, apply a coat of wood stain to enhance the rustic charm of your ladder. Alternatively, paint it in a color that complements your existing decor.
- Sealant (Optional): Apply a clear sealant to protect the wood and preserve the finish over time.
Display Your Blanket Ladder
- Choose a Location: Find the perfect spot in your home to display your new blanket ladder. Consider places where it can add both functionality and visual interest.
- Arrange Blankets: Hang your favorite blankets or throws over the ladder rungs, adjusting them for a neat and cozy display.
Tips for Success
- Precision in Measurement: Accurate measurements ensure your ladder is stable and visually appealing.
- Safety First: Use proper tools and techniques when cutting and assembling the wood to avoid accidents.
- Personalize: Customize your ladder with decorative accents like rope handles or metal brackets for an extra touch of rustic charm.
Conclusion
Creating your own rustic blanket ladder is not only a satisfying DIY project but also a practical way to enhance the comfort and style of your home. Whether you’re a seasoned crafter or trying your hand at DIY for the first time, this project offers a rewarding opportunity to add a personal, handmade touch to your living space. Enjoy the process of crafting and the cozy ambiance your new blanket ladder will bring to your home!