Introduction
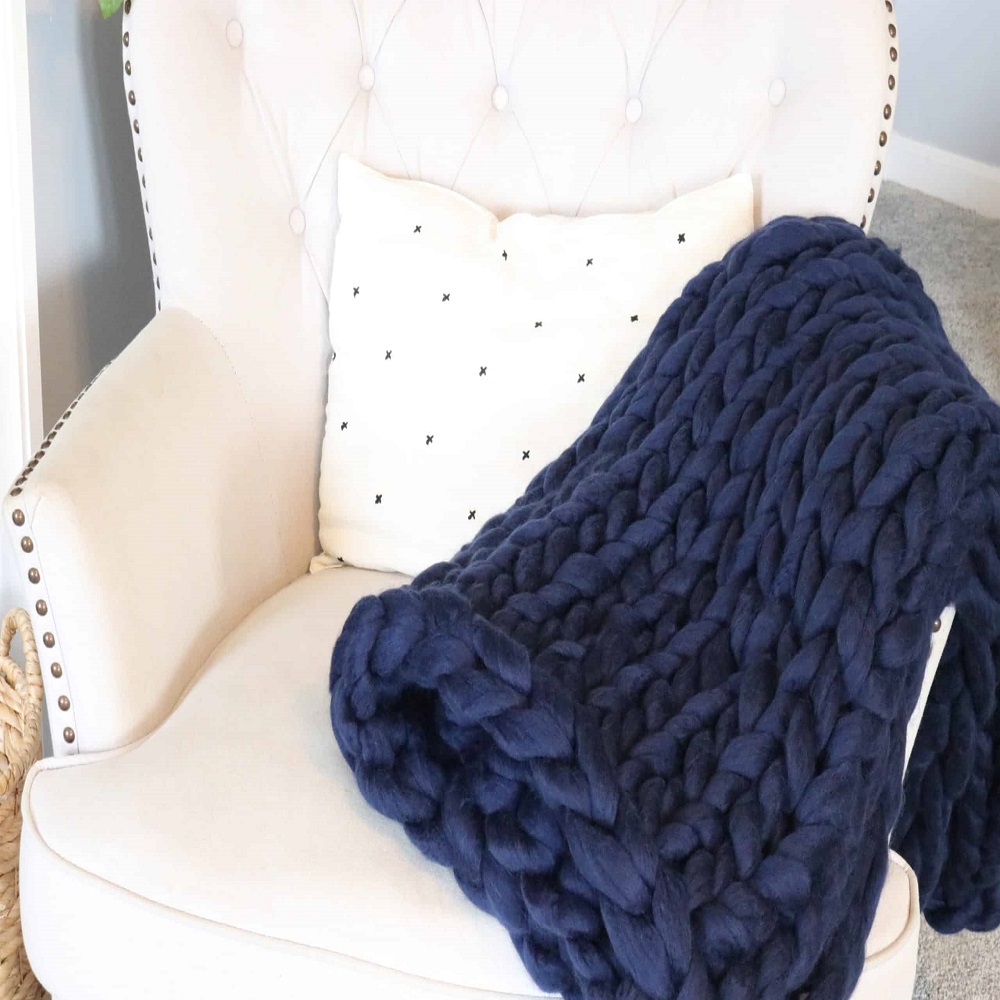
How to knit a blanket for beginners – Knitting a blanket can be a wonderful and fulfilling project, especially for beginners who want to dive into the world of knitting. It not only provides a sense of accomplishment but also results in a cozy and personal creation that can be used or gifted with love. Here’s a step-by-step guide on how to knit a simple blanket, tailored for those just starting their knitting journey.
Choose Your Materials
Yarn
- Type: For a beginner-friendly option, choose a medium-weight (also known as worsted weight) yarn. This is easy to work with and comes in a wide variety of colors.
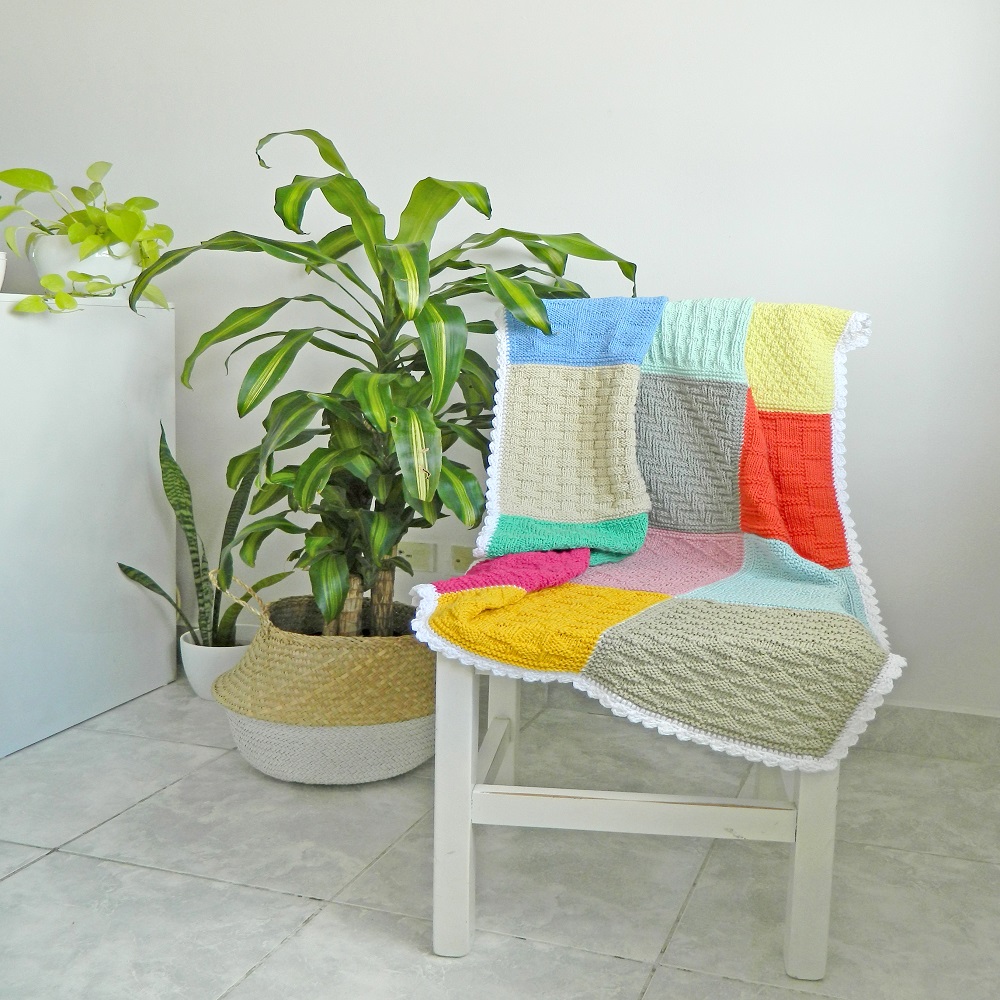
- Color: Select a color that inspires you. Solid colors are great for showing stitch definition, while variegated yarns add visual interest without needing complex patterns.
- Amount: Estimate about 800-1200 yards of yarn for a small throw blanket. The exact amount will depend on the desired size and the yarn’s thickness.
Needles
- Size: Use the needle size recommended on your yarn label. For worsted weight yarn, this is typically US 7-9 (4.5-5.5mm).
- Type: Straight needles are good for smaller projects, but circular needles (even for flat knitting) can be more comfortable for larger items like blankets due to their flexible cords.
Learn Basic Stitches
Before starting your blanket, it’s crucial to familiarize yourself with basic knitting stitches. The two most fundamental are:
- Knit Stitch (K): Forms a smooth, flat fabric known as garter stitch when used exclusively.
- Purl Stitch (P): Used alongside knit stitches to create various textures and patterns.
Practice these stitches by making a small swatch until you feel comfortable with them.
Cast On
The cast-on is the foundation row of your knitting project. A common method for beginners is the Long-Tail Cast-On:
- Measure out a tail of yarn about 3 times the width of your intended blanket.
- Make a slipknot leaving a long tail, and place it on your needle.
- Hold the needle with the slipknot in your right hand and the tail end in your left hand, main yarn over index finger.
- Using your left thumb and index finger, create a loop with the working yarn and bring it over the needle from front to back.
- Dip your needle tip under this new loop from front to back, then bring it up through the loop, gently tightening it around the needle.
Repeat steps 4-5 until you have the desired number of stitches for your blanket’s width.
Knit Your Blanket
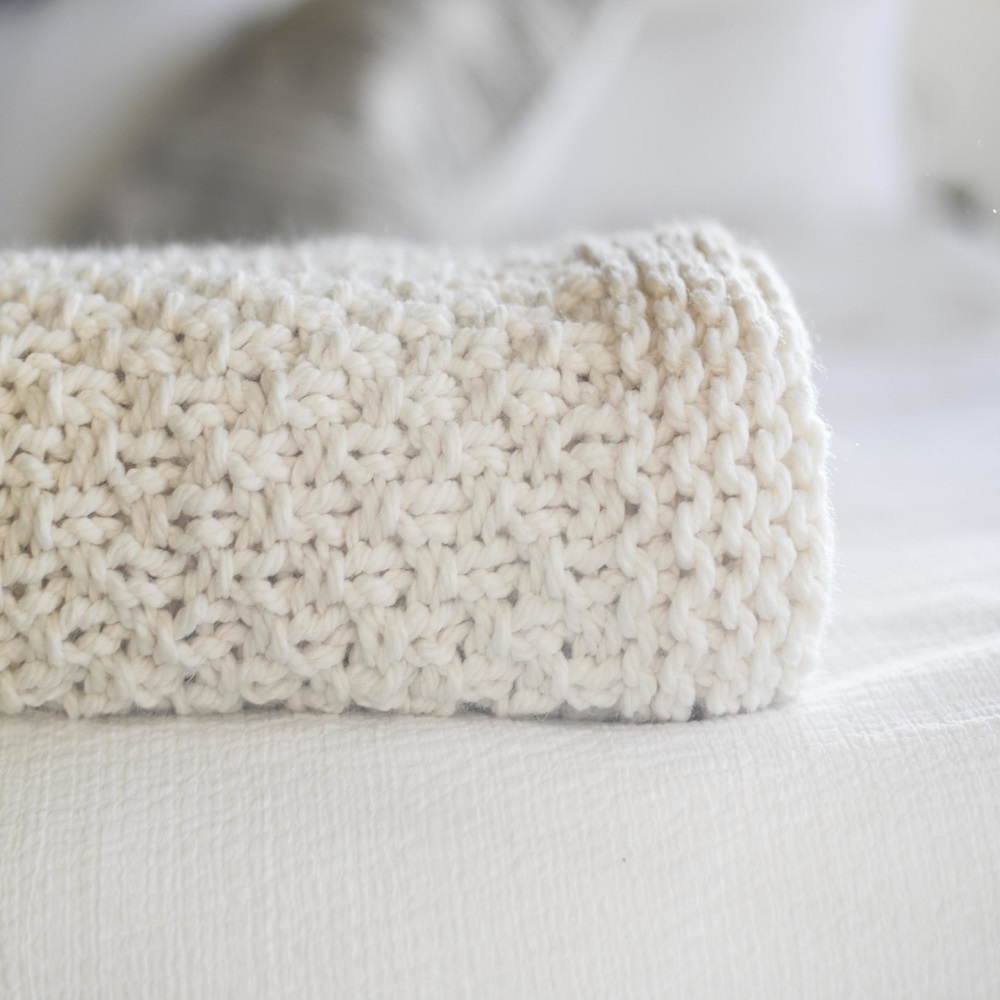
For simplicity, we’ll use the Garter Stitch, which involves knitting every row. This creates a squishy, reversible fabric perfect for a beginner’s blanket.
- Start by knitting all stitches across the first row.
- Turn your work (this means flipping it over so the side facing you becomes the back), and knit all stitches again.
- Continue in this pattern, knitting every row, until your blanket reaches the desired length.
Binding Off
To finish your blanket, you’ll need to bind off the stitches to prevent unraveling. A basic Bind Off method works well:
- Knit the first two stitches.
- Insert the left needle into the first stitch on the right needle, lift it over the second stitch and off the needle.
- Knit the next stitch, and repeat step 2.
- Continue this process until one stitch remains, cut the yarn leaving a long tail, thread it through the last stitch, and pull tight to secure.
Weave in Ends and Block (Optional)
- Weaving In Ends: Thread the yarn tails onto a tapestry needle and weave them into the back of your knitting to hide them.
- Blocking: This step isn’t necessary but can enhance the look of your blanket. Gently soak your blanket in cool water with a mild detergent, squeeze out excess water, lay it flat on a towel, shape it to the desired size, and let it air dry.
Tips for Success
- Consistency: Try to maintain an even tension throughout your knitting. This will make your blanket look neater.
- Take Breaks: Knitting a blanket can be a long process; don’t hesitate to take breaks to avoid strain on your hands and eyes.
- Mark Your Progress: Use stitch markers to denote the beginning and end of rows, especially if your blanket is going to be large.
- Enjoy the Process: Remember, mistakes happen! They’re part of learning. If you find a mistake, don’t worry too much—often, they add character to handmade items.

Materials and Supplies
Before you begin, gather the following materials:
- Yarn: Choose a soft, durable yarn suitable for blankets. For beginners, a medium-weight yarn (such as worsted weight) is ideal. Acrylic yarn is a good choice as it’s affordable and easy to care for, but you can also opt for natural fibers like cotton or wool for added warmth and luxury.
- Knitting Needles: Select needles that match your yarn’s recommended size. For medium-weight yarn, size 8-10 (US) needles are typically appropriate. Circular needles are a great choice for larger projects as they can hold more stitches and are easier on your wrists.
- Scissors: Use sharp scissors for cutting yarn.
- Tapestry Needle: A yarn needle or tapestry needle will be needed to weave in the ends of your blanket.
- Measuring Tape: To check the dimensions of your blanket as you knit.
Choose Your Pattern
For your first blanket, a simple pattern is best. A basic garter stitch blanket is a great starting point. Garter stitch is achieved by knitting every row, creating a fabric with a lovely, textured appearance.
Gauge and Yarn Quantity
Before starting your blanket, knit a small swatch to check your gauge. This will ensure that your blanket turns out the correct size. To knit a gauge swatch, cast on 20 stitches and knit for about 4 inches. Measure the number of stitches per inch and compare it to the yarn’s recommended gauge.
Calculate how much yarn you will need based on your desired blanket size and the gauge. As a rough estimate, a standard lap blanket (approximately 40×50 inches) might require 6-8 skeins of medium-weight yarn.
Cast On
To start your blanket, cast on stitches according to your chosen width. For a basic blanket, casting on 100 stitches is a good starting point. Ensure your cast-on edge is even and not too tight.
- Method: Long-Tail Cast-On
- Make a slipknot and place it on your left needle.
- Hold the working yarn and the tail yarn in your left hand.
- Insert the right needle into the slipknot, wrap the working yarn around the needle, and pull it through the loop.
Knit the Blanket
- Start Knitting: Begin by knitting every row. This creates the garter stitch pattern. Keep your tension even to ensure a consistent fabric.
- Continue Knitting: Knit until your blanket reaches the desired length. For a standard lap blanket, this may be around 50 inches, but you can adjust based on your preference.
Bind Off
Once your blanket has reached the desired length, it’s time to bind off:
- Bind Off:
- Knit the first two stitches.
- Use the left needle to lift the first stitch over the second and off the needle.
- Knit the next stitch and repeat the process.
- Continue until you have one stitch remaining on the needle.
- Cut the Yarn: Cut the yarn, leaving a 6-inch tail. Thread the tail through the remaining stitch and pull tight to secure.
Weave in Ends
Use a tapestry needle to weave in any loose ends:
- Thread the Needle: Thread the tapestry needle with the yarn tail.
- Weave the Ends: Weave the yarn through the stitches along the edge of the blanket to secure it. Make sure to weave in different directions to prevent the ends from unraveling.
Block the Blanket (Optional)
Blocking helps to even out the stitches and can improve the overall appearance of your blanket. To block your knitted blanket:
- Soak the Blanket: Soak the blanket in lukewarm water with a mild wool wash.
- Gently Press: Gently press out excess water (do not wring or twist).
- Lay Flat to Dry: Lay the blanket flat on a towel or blocking mat to dry. Shape it to the desired dimensions as it dries.
Conclusion
Congratulations! You’ve completed your first knitted blanket. By following these steps, you’ve learned the basics of casting on, knitting, binding off, and finishing your project. Knitting a blanket is not only a practical skill but also a gratifying experience. Enjoy your cozy new creation, and remember that with each project, your knitting skills will continue to grow. Happy knitting!