Introduction
Knitting can be one of the most rewarding crafts, providing not only a creative outlet but also the chance to create warm and comforting items for yourself and your loved ones. One of the best projects for beginners is knitting a blanket. This guide will walk you through everything you need to know to start your knitting journey and create a cozy blanket that you can cherish for years to come.
A. Understanding the Basics of Knitting
Before diving into the project, it’s essential to familiarize yourself with some basic knitting terminology and techniques.
Knitting Basics
- Needles: Typically, for beginners, straight needles in sizes 8 to 10 are a good choice. Circular needles can also be used, especially for larger projects like blankets.
- Yarn: Choose a soft, chunky yarn for warmth and ease of handling. Bulky yarn (size 5 or 6) is ideal for beginners as it works up quickly and demonstrates results faster.
- Gauge: This refers to the number of stitches and rows per square inch. While gauge may not seem critical for a blanket, keeping it consistent will help you achieve an even texture.
Basic Stitches
- Knit Stitch (K): The foundational stitch of knitting.
- Purl Stitch (P): The second foundational stitch, often used in combination with the knit stitch.
- Cast On: The method of getting stitches on your needle to start your project.
- Bind Off: This technique secures the stitches and finishes your blanket.
B. Planning Your Blanket
Choosing Your Pattern
For beginners, a simple garter stitch blanket (knitting every row) is highly recommended. You can also consider patterns with stripes or alternating knit and purl rows for texture.
Determining Size
Decide on the size of your blanket. A lap blanket (approx. 40″ x 60″) or a baby blanket (approx. 30″ x 40″) are manageable sizes for beginners.
Calculating Yardage
Estimate how much yarn you’ll need based on your chosen pattern and size. Generally, you’ll want 1-2 skeins of yarn for a lap blanket and 3-4 for a larger throw.
C. Materials You’ll Need
- Yarn: Soft, bulky yarn in your favorite color(s).
- Knitting Needles: Depending on your pattern, choose straight or circular needles.
- Scissors: For cutting the yarn.
- Tapestry Needle: For weaving in ends after you finish your blanket.
- Measuring Tape: To check your progress and ensure your blanket is the right size.
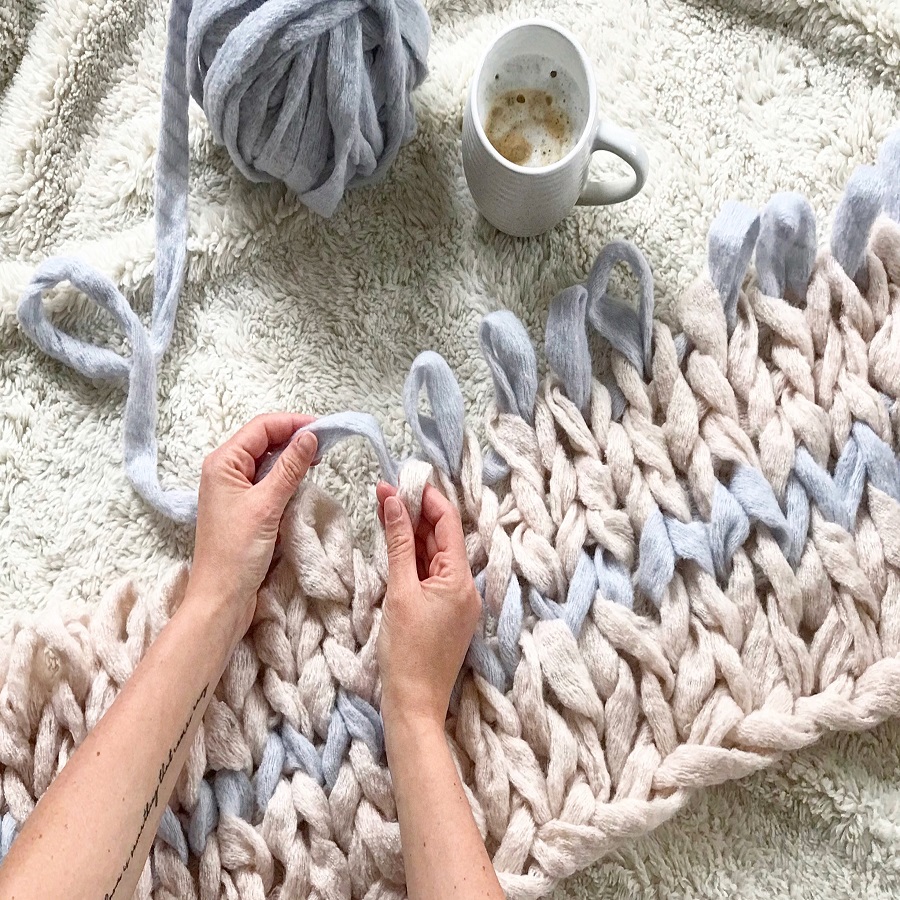
D. The Knitting Process
Casting On
To start, you need to cast on your stitches. For a blanket of approximately 50 inches wide (using bulky yarn), cast on 80-120 stitches depending on your desired width and yarn tension.
Knit Every Row
Once you have your stitches cast on, simply knit every row until you reach your desired length. Regularly check your width; it’s easy to lose or gain stitches as you work.
Color Changes and Patterns
If you want stripes or color changes, simply switch yarns at the end of a row. Be sure to leave a 6-inch tail when changing colors and weave in the ends later.
Binding Off
When you’ve reached the desired size, it’s time to bind off your stitches. This secures your work and keeps it from unraveling. To bind off, knit two stitches, then use the left needle to lift the first stitch over the second and off the needle. Continue this way until you have one stitch left on your needle. Cut your yarn, leaving a 6-inch tail, and pull it through the remaining stitch.
E. Finishing Touches
Weaving in Ends
Using a tapestry needle, weave in any loose ends. This step is important to give your blanket a neat finish and to prevent unraveling.
Blocking
Although not always necessary, blocking can help even out your stitches and improve the overall appearance of your blanket. To block, gently wet your blanket and lay it flat to dry, adjusting the edges as desired.
Care Instructions
Check the yarn label for washing instructions. Most blankets can be machine washed on a gentle cycle and laid flat to dry.
F. Personalizing Your Blanket
Once you’ve mastered the basics, think about personalizing your blanket further. Consider adding embellishments like tassels, fringe, or embroidered initials. You can also experiment with different yarn textures or combine colors for unique effects.
G. Troubleshooting Common Issues
- Uneven tension: Practice working at a consistent speed. If you notice tension issues, try knitting with looser tension.
- Dropping stitches: If you drop a stitch, use a crochet hook to pick it back up and weave it in.
- Boredom: If you find your project tedious, try watching a favorite show or listening to an audiobook to keep your motivation strong.

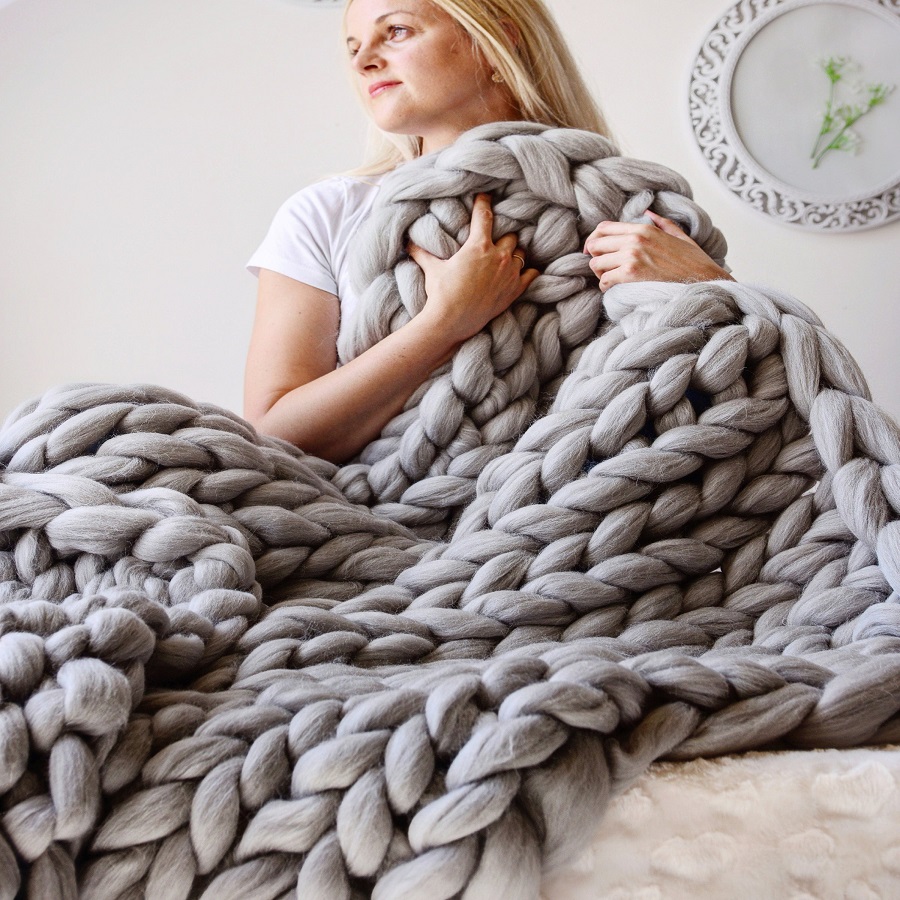
Why Knit a Blanket?
Personal Touch
A hand-knitted blanket carries a personal touch that store-bought items simply cannot match. Every stitch embodies your creativity, effort, and love.
Tailored Design
Knitting your own blanket gives you the creative liberty to choose patterns, yarn colors, and sizes that reflect your personal style and preferences.
Therapeutic Benefits
Knitting is often regarded as a form of therapy. The repetitive motion can provide a sense of calm and mindfulness, making it a perfect activity to unwind.
Gift of Love
Handmade blankets make thoughtful gifts for special occasions like weddings, baby showers, or housewarmings, embodying a heartfelt gesture that recipients treasure for years.
Materials Needed
Before diving into your blanket project, gather the following essential materials:
Yarn
- Choose the Right Yarn: Consider the weight of the yarn. For blankets, worsted weight or bulky yarns are popular choices for warmth and quick progress.
- Material Matters: Natural fibers like wool or cotton are soft and cozy, while acrylic blends can be durable and easy to care for.
Needles
- Size Matters: Make sure to use the correct needle size recommended on your yarn label. Circular needles can be particularly useful for larger projects.
Other Supplies
- Scissors: For trimming yarn tails.
- Tape Measure: To check sizes throughout your project.
- Tapestry Needle: For weaving in ends and sewing pieces together, if applicable.
- Project Bag: Keep your materials organized and portable.
Tips for Knitting the Perfect Blanket
Choose Your Pattern Wisely
Select a pattern that suits your skill level. For beginners, simple garter stitch or stockinette stitch blankets might be best. More advanced knitters can explore intricate lace or cable patterns.
Swatch First
Always create a swatch to ensure your tension matches the pattern specifications. This helps you achieve the desired size and drape for your blanket.
Mind Your Gauge
Consistent tension is key. Keep a relaxed grip on the yarn and avoid pulling too tightly; this ensures a uniform look throughout.
Plan Your Size
Decide on the dimensions of your blanket before casting on. Standard sizes include:
- Baby Blanket: Approximately 30” x 36”
- Lap Blanket: Approximately 50” x 60”
- Throw Blanket: Approximately 50” x 70”
- Full-Size Blanket: Approximately 60” x 80”
Color Choice
Pick colors that resonate with you. Blend cheerful hues for a playful look or subtle tones for a serene atmosphere. Consider using tonal yarns or variegated yarn for added visual interest.
Don’t Forget Durability
If your blanket will see frequent use, consider blocking techniques and weaving ends in securely to ensure longevity.
Keep it Interesting
If you find a project tedious, introduce fun techniques like stripes or color changes to keep things engaging.
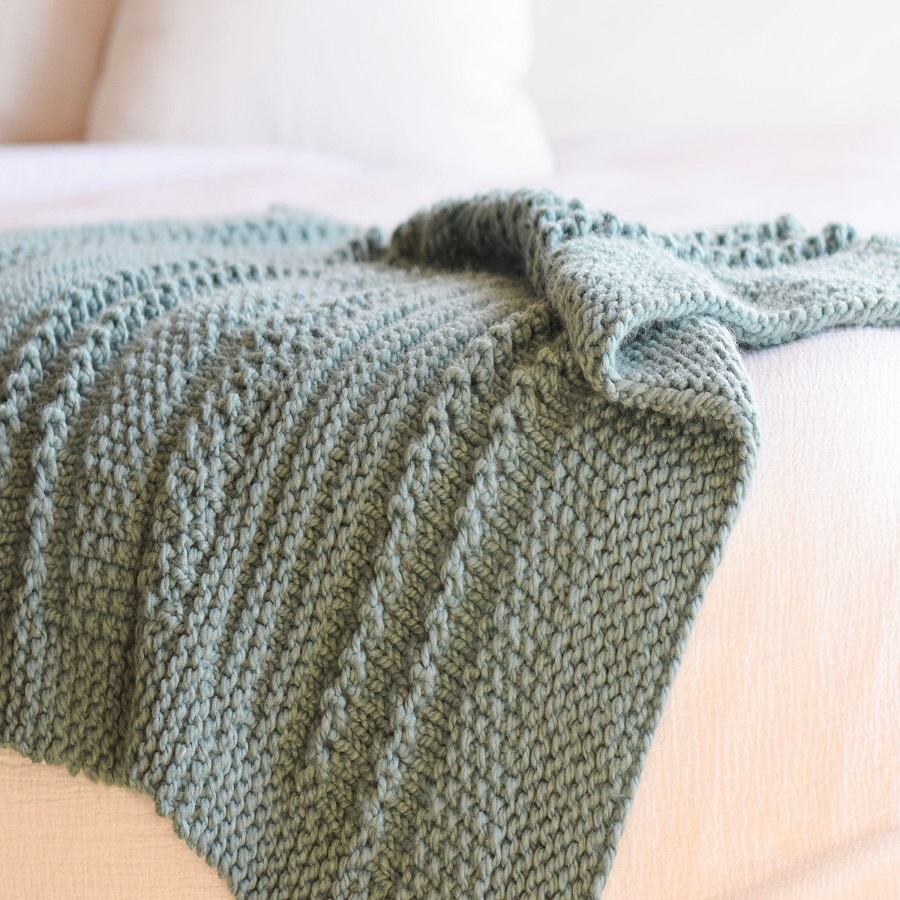
Easy and Fun Blanket Patterns
Garter Stitch Blanket
The ultimate beginner-friendly blanket, the garter stitch is easy and results in a squishy texture.
Pattern:
- Cast on 100 stitches.
- Row 1: Knit every stitch.
- Repeat Row 1 until desired length is achieved.
Simple Striped Blanket
Adding stripes is a delightful way to give your blanket some flair without complexity.
Pattern:
- Cast on 120 stitches.
- Knit in garter stitch for 10 rows with Color A.
- Change to Color B and knit for 10 rows.
- Alternate until desired length is reached.
Chevron Blanket
This visually striking pattern offers a fun challenge for intermediate knitters.
Pattern:
- Cast on a multiple of 18 stitches plus 2 for edges.
- Row 1: K2, *K2tog, K8, yo, K1, yo, K8, SSK; repeat from * to last 2 stitches, K2.
- Repeat Rows 1 and 2 for chevron effect until the blanket is the desired size.
Cabled Blanket
For an advanced project, a cabled blanket can create stunning visual texture.
Pattern:
- Use a cable stitch pattern as your guide. Generally, cast on around 120 stitches based on your chosen cable pattern.
- Work according to your cable pattern, ensuring to keep track of your stitches carefully for the cable crossings.
Finishing Touches
Blocking
After you’ve completed your blanket, a good blocking can help even out any uneven stitches and enhance the overall appearance. Steam or wet block your blanket, following care instructions for your yarn.
Weaving in Ends
Use a tapestry needle to weave in all loose ends and seams. This will ensure a professional-looking finish.
Care Instructions
Remember to check the washing instructions of your yarn, especially if using a delicate fiber. Many acrylic blends can be safely washed in a machine, while wool might need a gentle hand wash.
Conclusion
Knitting a warm blanket is a fantastic project for beginners, offering comfort and the satisfaction of creating something useful. As you follow this guide, remember to enjoy the process. Every stitch brings you closer to a blanket that will provide warmth and joy for years to come. Happy knitting!