Choosing the Right Yarn
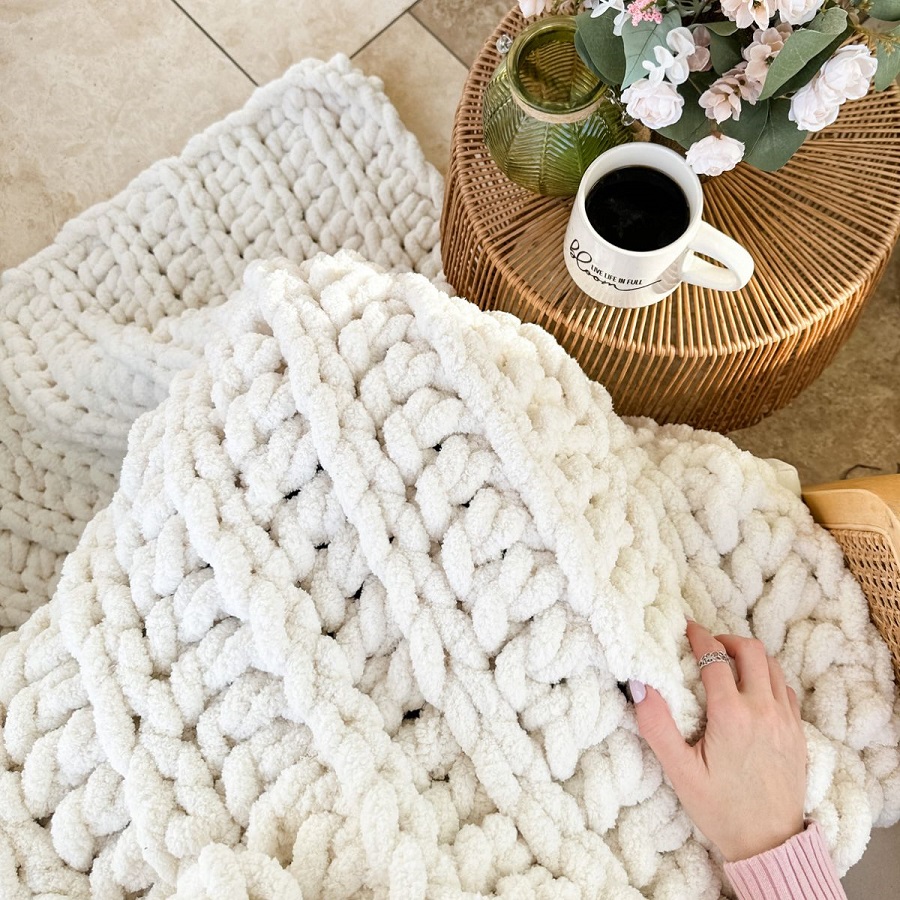
The foundation of a superb finger-knit blanket is the yarn. The right yarn can transform your crafting experience and affect the blanket’s warmth, durability, and overall aesthetic. For a finger-knit blanket, choose a super bulky yarn that feels soft to the touch. Think about the blanket’s purpose. Will it be a decorative throw or a warm snuggle buddy during cold nights? Your choice in yarn weight and texture should reflect this purpose.

Selecting the Right Weight and Texture
Super bulky yarn works best for finger knitting, creating thick, cozy stitches. Look for yarn that’s labeled as ‘super bulky’ or ‘super chunky’. The texture should be soft and plush, ensuring your finished blanket is comfortable. Popular options include Merino wool for natural warmth and chenille or acrylic for a vegan alternative. Whichever you choose, it’s crucial that the yarn glides smoothly over your fingers as you knit.
Budget-Friendly Yarn Alternatives
If you’re crafting on a budget, there are affordable options without compromising on softness. Choose synthetic fibers like acrylic or polyester. They come in various colors and textures, and are often less expensive than natural fibers. Keep an eye out for sales at local craft stores or online retailers. You might find a great deal on high-quality yarn, making your chunky knit blanket an economical delight.
Preparing Your Materials
Preparing your materials properly is a critical step in learning how to finger knit a blanket. Ensuring you have everything you need before you begin can make the process smoother and more enjoyable.
Determining the Amount of Yarn Needed
You must calculate how much yarn you’ll require. The blanket’s size dictates the quantity of yarn. For a large throw, about six skeins of super bulky yarn should suffice. Consider the measurements you aim for, like a 4×6 feet blanket. Oversized blankets may require more yarn, so adjust your purchases accordingly.
Tools You’ll Need Before Starting
Essentially, you only need your fingers to finger knit, but a few additional tools can aid the process. Scissors for snipping yarn and a large, flat work surface are essential. Choose a comfortable spot where your work can remain undisturbed if needed. There are no special needles or hooks required for finger knitting, making it accessible and budget-friendly. Start with these basics, and you’re ready to dive into creating your chunky knit blanket.
Starting Your Chunky Knit Blanket
Going from choice of yarn to actual knitting is thrilling. Let’s start your chunky knit blanket with a step-by-step approach. First things first, creating the initial chain of loops that will serve as the base for your blanket.
Creating the First Chain
Initiate by making a slip knot about 8 inches from the yarn’s end. Place this loop over your four fingers, make another loop with the yarn, and pull it through, forming the first chain. Continue this process, aiming for a uniform length that matches your blanket’s desired width. For a classic throw, aim for about 20 to 25 loops.
Establishing a Consistent Loop Size
Uniformity in loop size is vital for your blanket’s look and feel. Use your fingers as a gauge to ensure consistent sizing. For the first chain, snug the yarn around four fingers. As you continue, switch to using three fingers to not tighten the stitches too much. This will help to maintain an even texture throughout your creation.
Knitting the Main Body of the Blanket
Once you have your yarn and materials prepped, it’s time to begin knitting the main body of your chunky blanket. This is where your blanket starts to take shape and where you can really see your progress. With the foundational chain in place, let’s add loops to build your blanket.
Working the First Few Rows
Kick off by flipping your chain so the tail end is on the left. Create a new loop from the working yarn and pull it through the last chain loop. This starts your first row. Keep the loop size even by using three fingers as a gauge. Continue pulling new loops through the chain, one at a time, until you end the row. For a tidy edge, ensure the last loop in each row is slightly looser. Turn your work around and repeat these steps for the next row. Back and forth, keep adding rows until your blanket starts to form.
Managing the Blanket’s Length and Width
As you knit, check the dimensions of your blanket regularly. Keep an eye on the length and width to avoid any unwanted surprises. If you desire a specific size, such as 4×6 feet, you may need to make adjustments as you go. For wider blankets, add more loops to your initial chain. For longer blankets, keep adding rows until you hit your goal. Don’t forget, consistency is key to a beautiful blanket, so maintain even loop sizes throughout.
 Adding New Skeins and Changing Colors
When your yarn supply dwindles, attaching new skeins is simple. Seamless color transitions can also enhance your blanket’s appeal.
Attaching New Yarn Skeins
To add a new skein, you’ll need to tie it to the end of the old one. Use a square knot, making sure it’s tight and secure. Trim any excess, but leave short tails as they can blend into the texture. Avoid bulky knots that can disturb the blanket’s smooth feel.
Start by tying the new yarn end to the old one with about 6 inches of the old yarn left. Make the knot close to the last loop to maintain even texture. Once you attach it, keep on finger knitting like before. You’ll barely notice the change when you blend the colors well.
Integrating New Colors Seamlessly
To change colors, complete your current row first. Begin the new row with your new color yarn, leaving a tail similar to before. Tie the tails of the two colors together after finishing the blanket.
Tuck the knot underneath so it won’t show. Continue knitting, ensuring the new color’s loops are consistent with the rest. For a clean look, match the loop sizes of the new color with the previous ones. Keep knitting until you reach your desired length or until it’s time for another color change.
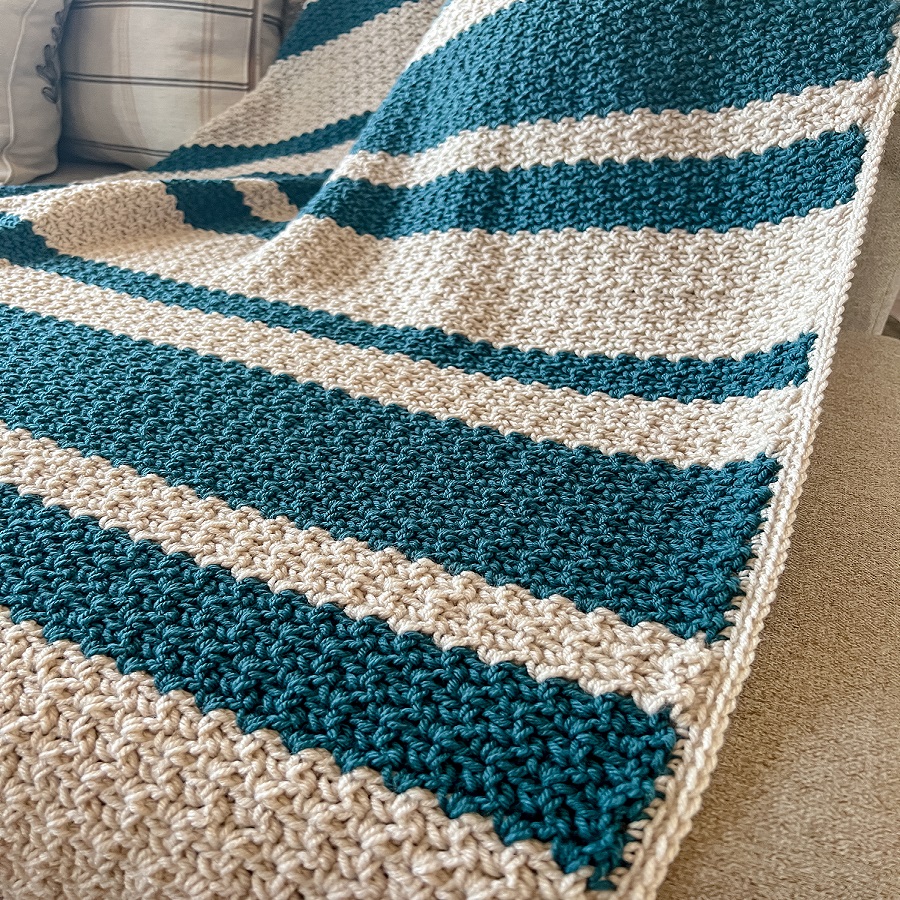
Remember, changing colors can highlight your blanket’s pattern. Choose colors that complement each other for a striking effect. Plan your color changes to match your home decor or season.
Tips for Efficient Finger Knitting
Finger knitting can be a fun and rewarding craft but also a bit tricky to manage without the right strategies. To make your finger knitting experience efficient and enjoyable, follow these helpful tips.
Finding a Suitable Work Surface
For smooth finger knitting, you need a flat, spacious surface. A large table or a clean floor area works best. Make sure it’s comfortable for sitting a while, as finger knitting can take time. Your space should allow your blanket to grow without clutter.
Keeping Your Work Organized and Tidy
As your blanket expands, keep your work neat. Fold the blanket in sections to manage its size. Try to keep your yarn tangle-free and close by. A basket or bowl can hold your yarn to prevent it from rolling away. After each knitting session, store your project safely. This way, you’re ready to pick up where you left off next time.
Completing Your Blanket
Once your blanket reaches the right size, it’s time to complete it.
Finishing the Final Rows
To finish, work the final rows until you have a small amount of yarn left. Make sure the last rows have loops that match the rest in size.
Then, for the final row, loop the yarn through as before. When you reach the end, you’ll do something different. Here, you’ll loop through and then pull the loops over each other. This will close off the blanket nicely.
Securing and Weaving in Ends
After your last row is done, cut the yarn, leaving a long tail. Use this tail to weave through the last loops and pull tight. This secures your blanket.
Next, take any loose ends from where you joined yarn or changed colors. Knot these ends tightly and weave them into the blanket with your fingers. Hide the ends well among the thick stitches. This helps your blanket look neat and hold together well.
Now your finger-knit blanket is complete. You can enjoy your handmade creation or give it as a gift. Using the techniques from this guide, you’ve crafted something warm, beautiful, and unique.
 Personalizing Your Blanket
Personal touches make a finger-knit blanket unique. Here’s how to add your own flair.
Pattern and Color Variations
Experiment with patterns and colors to reflect your taste. Choose bold or subtle hues that resonate with you. Mix and match yarns for stripes, blocks, or gradient effects. A common method is using different colors in rows or creating a checkered pattern with varied yarn shades. Give a playful twist with bright colors or a sophisticated look with monochromatic tones.
Adapting the Size for Different Uses
Your finger-knit blanket doesn’t have to be a one-size-fits-all. Adapt the dimensions for various needs. For a baby blanket, limit the number of starting loops and rows. Want a cozy scarf? Make a narrower and longer piece. Thinking of a pet bed? Scale down the size for a comfy pet-friendly spot. Remember to adjust your yarn quantity based on the size you’re aiming for.
