Introduction
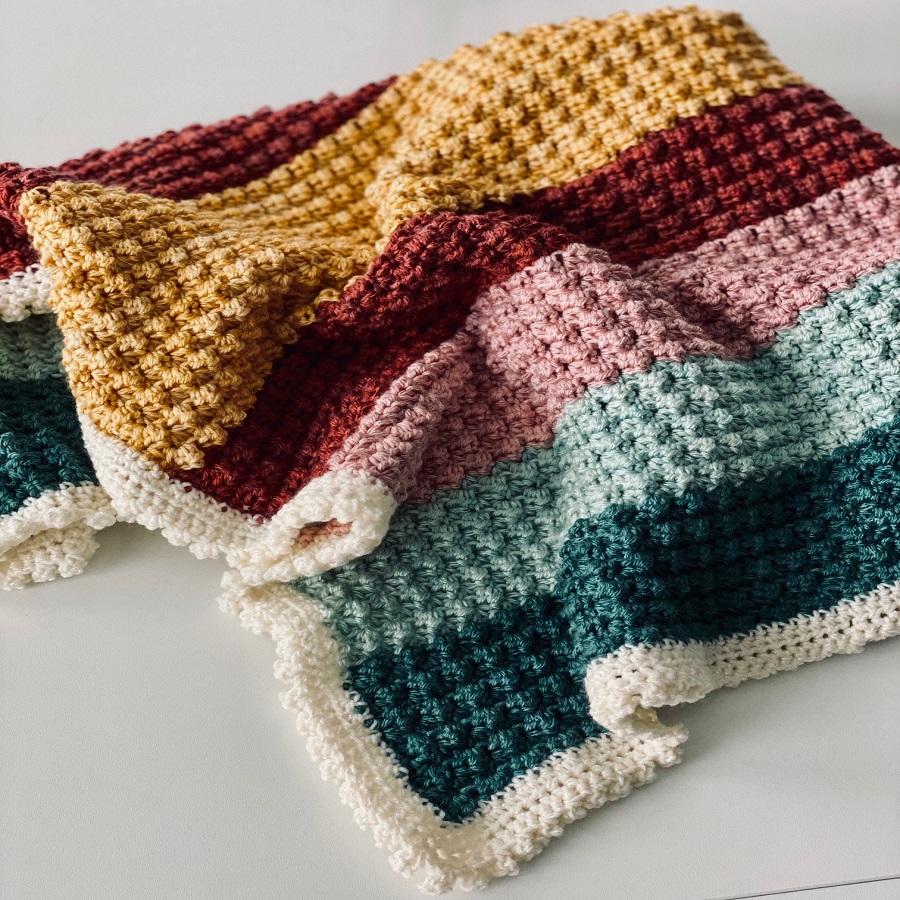
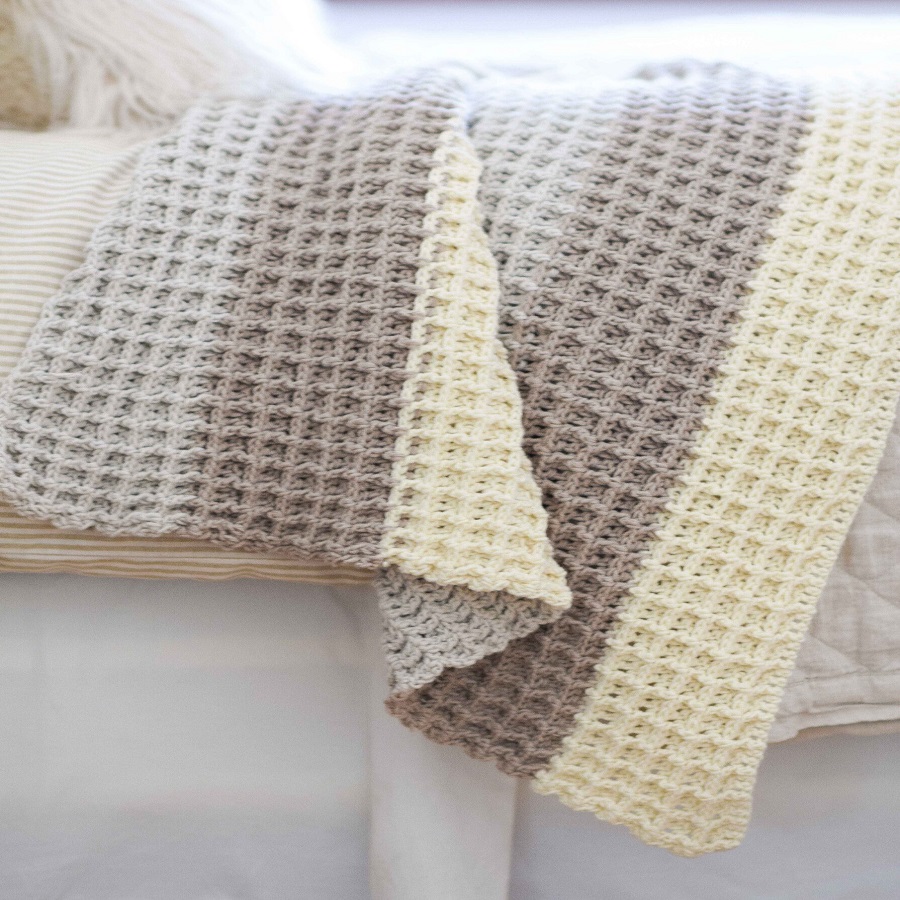
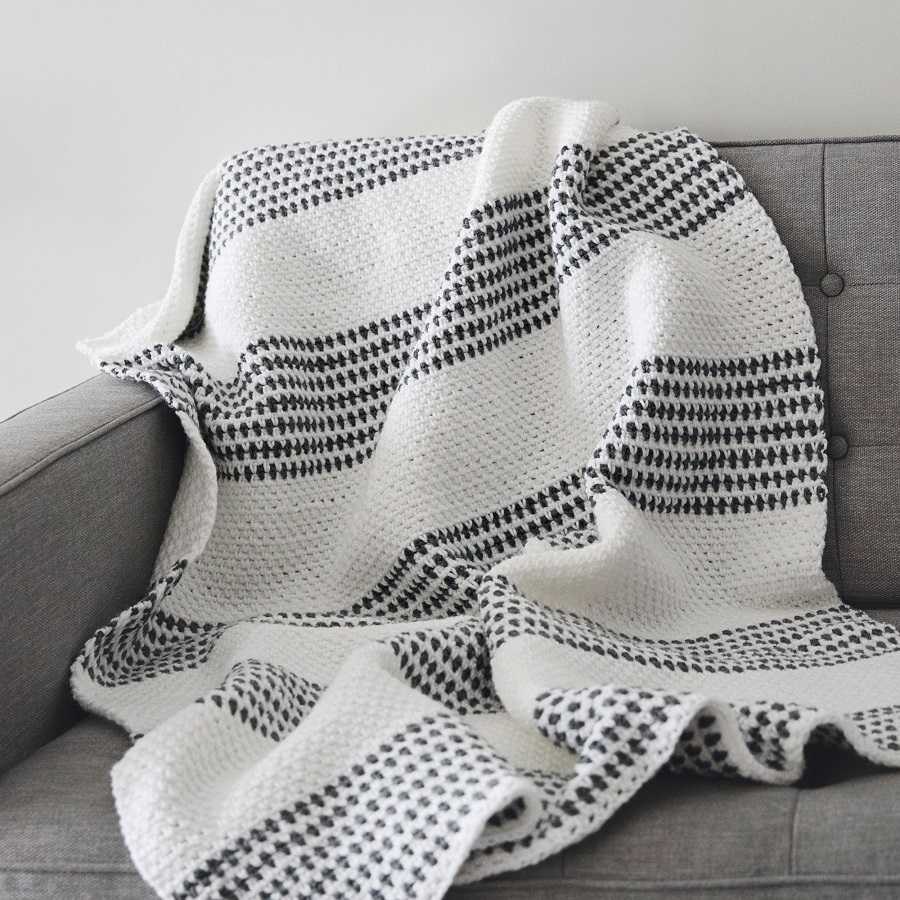
Crocheting a blanket is not just a fun and rewarding craft, but it also results in a cozy item that can provide warmth and comfort. Whether you’re looking to make a baby blanket, a throw for your living room, or a full-sized bed covering, understanding the various crochet stitches and techniques is key to creating a beautiful piece. In this guide, we’ll discuss the essential materials you’ll need, the steps to get started, and explore some popular crochet stitches that can elevate your blanket from simple to stunning.

Materials Needed
Before diving into the crochet process, gather your materials. Here’s a list of supplies you’ll need:
Yarn
Choosing the right yarn is crucial. For blankets, consider soft, warm fibers. Common options include:
- Acrylic Yarn: Inexpensive, durable, and available in a variety of colors.
- Cotton Yarn: Great for lightweight blankets, particularly in warmer climates.
- Wool Yarn: Ideal for warmth and softness, but it can be pricier.
Hook
Select a crochet hook compatible with your chosen yarn. The most common sizes for blanket-making range from H (5 mm) to K (6.5 mm). Always check the yarn label for recommendations.
Scissors
A good pair of scissors will help you cut yarn efficiently when finishing your blanket.
Tapestry Needle
This needle will be used to weave in the ends of your yarn once you’ve completed your blanket.
Pattern (Optional)
If you’re new to crocheting or want a specific style, consider finding a crochet pattern or tutorial. There are many resources online, including free patterns and instructional videos.
Steps to Get Started
Choose a Pattern
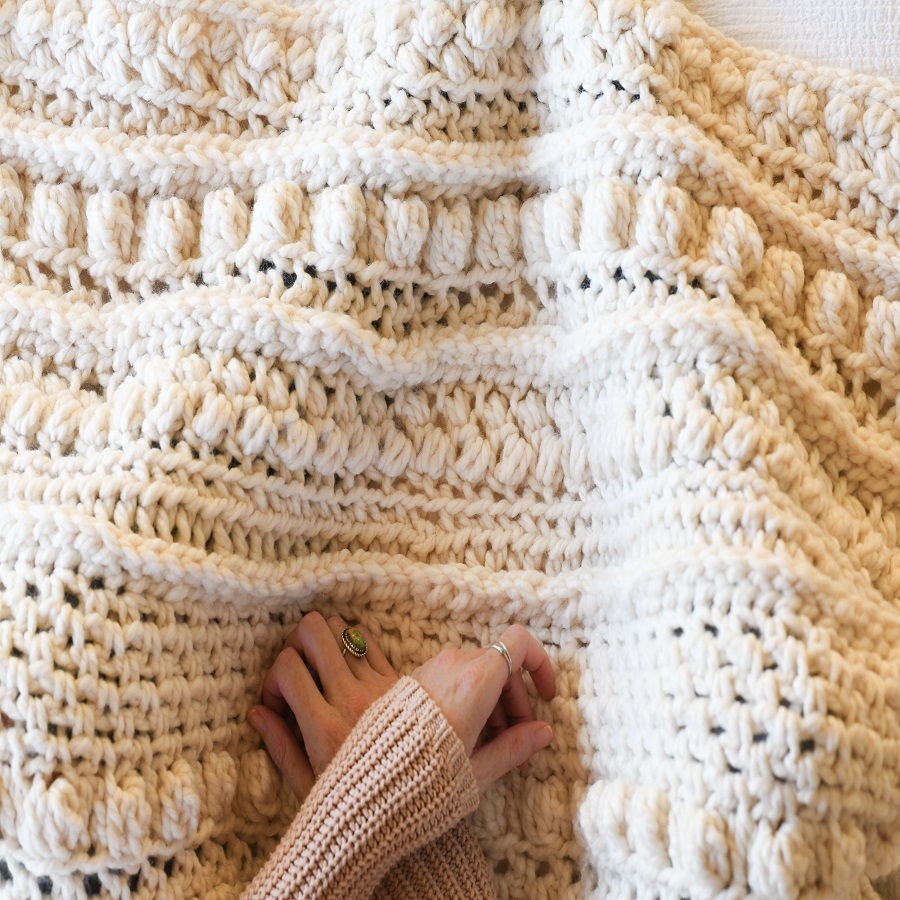
Look for blanket patterns that match your skill level. A simple granny square or a straightforward stitch pattern can be a great starting point. More experienced crocheters might opt for complex patterns like lace or bobbles.
Gauge Swatch
Before beginning your blanket, crochet a small gauge swatch to see how many stitches per inch you create. This step is vital for ensuring your blanket will be the correct size according to the pattern you chose.
Your Foundation Chain
Start by creating a foundation chain, which determines the width of your blanket. Make sure to keep your chain loose so it doesn’t affect the blanket’s final size.
Begin Crocheting
Follow your chosen pattern to crochet the blanket. As you work, mind your tension; keep it consistent to avoid puckering or inconsistent stitch sizes.
Don’t Forget to Check Your Work
Periodically examine your work to ensure there are no mistakes. Crocheting can be very forgiving, but it’s easier to catch errors early.
Finish and Weave in Ends
Once you reach your desired length, finish off your blanket by cutting the yarn and pulling it through the last loop. Then, use your tapestry needle to weave in any loose ends.
Popular Crochet Stitches
Now that you’ve got the basics down, let’s explore some popular crochet stitches that can give your blanket unique textures and designs.
Double Crochet (DC)
The double crochet stitch is one of the most commonly used stitches in blanket making. It creates a tall, open texture that is perfect for a lightweight, airy blanket.
- How to Work: Yarn over, insert your hook into the stitch, yarn over again and pull through, then yarn over and pull through two loops twice.
Single Crochet (SC)
The single crochet stitch is tighter and denser than double crochet, making it suitable for warmer blankets.
- How to Work: Insert the hook into the stitch, yarn over, pull through, yarn over again, and pull through both loops on the hook.
Half Double Crochet (HDC)
Half double crochet sits between single and double crochet, offering a balance of texture and warmth.
- How to Work: Yarn over, insert the hook into the stitch, yarn over again, pull through, and yarn over, pulling through all three loops.
Granny Squares
Granny squares are a classic choice for colorful, patterned blankets. They consist of multiple rounds of double crochet joined together and can be arranged in various formations.
- How to Work: Start with a magic ring, then work clusters of three double crochet into the ring; chain spaces can be added for embellishment.
Shell Stitch
- How to Work: Work five double crochet stitches into the same stitch, skip a few stitches, and repeat for the next shell.
V-Stitch
A versatile stitch that creates a fun V pattern, this stitch is simple yet effective in adding depth and dimension to your blanket.
- How to Work: Yarn over, insert your hook into the stitch, yarn over, pull through, yarn over and pull through two loops, then yarn over and pull through the remaining two loops. Skip a stitch and repeat.
Corner-to-Corner (C2C)
This technique allows you to work a blanket in diagonal rows, providing a unique look and feel.
- How to Work: Start at one corner, increasing stitches as you work to the mid-point, and then decrease to finish the opposite corner.

Understanding the Basics of Crochet
What You Need to Get Started
Before you start crocheting, ensure you have the following supplies:
- Crochet Hook: Your choice of hook size will depend on the yarn you select. Common sizes for beginners range from 4mm to 6mm.
- Yarn: Choose a medium-weight yarn (worsted weight or bulky) to have an easier time seeing your stitches. Cotton yarn is great for summer blankets, while acrylic or wool blends offer warmth.
- Scissors: For cutting yarn when you finish or change colors.
- Tapestry Needle: For weaving in the ends of your yarn once you finish your project.
- Measuring Tape: Useful for checking your blanket size.
- Stitch Markers: While optional, they can be helpful for marking your starting point or patterns.
Basic Crochet Stitches
Familiarizing yourself with basic crochet stitches will set the foundation for more complex patterns. Here are a few key stitches:
- Chain Stitch (ch): The most basic stitch used to start most crochet projects.
- Single Crochet (sc): A tight and firm stitch perfect for dense fabrics.
- Half Double Crochet (hdc): Creates a taller stitch than single crochet while remaining easy to work.
- Double Crochet (dc): A taller stitch that creates a lacy, airy fabric.
- Slip Stitch (sl st): Used for joining stitches or for a smooth finish.
Choosing Your Blanket Pattern and Stitches
Now that you have a basic understanding of crochet, you can explore different patterns and stitches that will give your blanket its unique character. Here are some popular blanket stitches suitable for beginners:
Single Crochet Stitch
The single crochet stitch is an excellent choice for beginners due to its simplicity and versatility:
- How to Crochet a Single Crochet:
- Insert your hook into the stitch.
- Yarn over and pull up a loop (two loops on the hook).
- Yarn over again and pull through both loops on the hook.
Creating a blanket with single crochet will yield a lovely, dense fabric that is perfect for warmth. For added texture, try alternating rows of single crochet with rows of half double crochet.
Granny Square
Granny squares are another beloved option for beginner crocheters. They can be joined together to create a full blanket and allow for creativity in color choices:
- How to Make a Granny Square:
- Start with a slip knot and chain 4.
- Join with a slip stitch to form a ring.
- Chain 3 (counts as your first double crochet) and work 2 more double crochets into the ring, followed by a chain space.
- Repeat until you reach your desired size.
Granny squares provide an excellent opportunity to practice your double stitches while also allowing you to use various colors, making every blanket unique.
Shell Stitch
The shell stitch is a lovely, textured stitch great for adding depth to your blanket:
- How to Crochet a Shell Stitch:
- Work a set of double crochets (typically 5) into the same stitch.
- Skip a stitch and single crochet in the next stitch.
- Repeat across the row, adjusting the number of double crochets to fit your project’s needs.
Using shell stitches can create beautiful wave-like patterns that enhance the visual interest of your blanket.
Tips for Successful Crochet Blankets
Gauge Matters
Before starting your blanket, it’s crucial to check your gauge. This helps ensure that your blanket ends up the right size. Make a small swatch (usually 4 inches square) of your chosen stitch pattern and measure it. Adjust your hook size as needed to match the desired gauge.
Keep Your Tension Consistent
Maintaining even tension while crocheting is vital for a professional-looking blanket. Try to hold your yarn and hook in a comfortable manner, and practice until you find a consistent rhythm.
Count Your Stitches
Counting your stitches regularly can prevent accidental increases or decreases in your pattern. You might even consider using stitch markers to mark the beginning of each row or rounds.
Take Breaks
If you find yourself feeling frustrated, take a break! Crocheting should be enjoyable. You’ll be more productive and creative when you come back refreshed.
Finishing Your Blanket
Once you’ve completed your blanket, it’s time to finish it off beautifully. Weaving in the loose ends with a tapestry needle will tidy your project. You might also consider adding a border for added flair. A simple single crochet or scalloped edge can give your blanket a polished appearance.

Conclusion
Crocheting a beautiful blanket can be an enjoyable and fulfilling process. With the right materials and stitches, you can create a cozy masterpiece for yourself or as a heartfelt gift. Remember that practice makes perfect, so don’t be discouraged if your first few attempts aren’t exactly what you envisioned. Embrace the learning journey, explore different stitches, and let your creativity shine. Soon, you’ll have a cherished blanket that reflects your unique style and charm. Happy Crocheting!
