Introduction
Crocheting is an enjoyable and rewarding hobby that enables you to create beautiful, handmade items. One of the most satisfying projects to undertake as a beginner is a cozy crochet blanket. Not only will you gain confidence in your crochet skills, but you’ll also have a lovely piece to use or gift. In this guide, we’ll walk you through everything you need to know to make your very own cozy crochet blanket, starting from the basics to the final finishing touches.

Supplies You’ll Need
Before we dive into the step-by-step process, let’s gather all the necessary supplies:
Materials:
- Yarn: Choose a soft, easy-to-work-with yarn suitable for beginners. For a cozy blanket, bulky or worsted weight yarn is ideal. Acrylic or cotton yarns are good choices as they come in a variety of colors and are easy to care for.
- Crochet Hook: Select a hook size appropriate for your chosen yarn. Consult the yarn label for recommendations. Typically, a size H (5.0 mm) or I (5.5 mm) hook works well for worsted weight yarn.
- Scissors: A good pair of scissors to cut your yarn when you’re done.
- Tapestry Needle: To weave in yarn ends once your blanket is complete.
- Measuring Tape: To measure the dimensions of your blanket as you work.
Optional Materials:
- Stitch Markers: Helpful for marking the beginning of a row or complex stitches.
- Pattern Guide: If you’d like to use a specific stitch pattern, having a printed guide can help you maintain consistency.
Understanding Basic Crochet Stitches
While there are numerous crochet stitches, we’ll focus on basic ones that are perfect for beginners. Here are the foundational stitches you’ll use in your cozy blanket:
- Chain Stitch (ch): This is the most basic stitch and is the foundation of your crochet project.
- Single Crochet (sc): A simple and tight stitch that will provide a cozy feel to your blanket.
- Double Crochet (dc): Adds height and texture, making your blanket more versatile and attractive.
Abbreviations:
- ch = chain
- sc = single crochet
- dc = double crochet
Choose Your Blanket Size
Decide on the dimensions of your blanket. A common beginner size is a lap blanket or throw (approximately 40″x 50″). For this guide, we will aim to create a blanket approximately 40 inches wide.
Create a Foundation Chain
To begin, make a slip knot on your hook. Then, create a foundation chain that is a multiple of 2 (for pattern repeat) plus 2 additional chains for turning. For a lap blanket that is 40 inches wide, you’ll want to start with approximately 100 chains.
- Make a Slip Knot: Wrap the yarn around your fingers, and pull through to make a loop. Tighten slightly, then insert your hook.
- Chain: Yarn over (YO) and pull through the loop on the hook. Repeat until you reach your desired length.
Begin Your First Row
After making your foundation chain, it’s time to start your first row.
- Row 1: Into the second chain from the hook, make a single crochet stitch (sc).
- Continue making single crochet stitches into each chain across the row until you reach the end. You should have 99 single crochet stitches.
- Turn Your Work: To start the next row, chain 1, and turn your work around.
Work Additional Rows
Now, you can start building the body of your blanket.
Sample Pattern:
You can alternate between single crochet and double crochet to create a textured pattern:
- Row 2: Work 1 sc in the first stitch, then switch to dc in the next. Alternate between sc and dc across the row.
- At the end of the row, chain 1 and turn your work.
Continue this alternating pattern for each subsequent row until your blanket reaches the desired length. You may choose to primarily use one stitch if you prefer a simpler look.
Keep Going
As you crochet, regularly check your blanket’s dimensions by measuring with a measuring tape. Keep an eye on tension and ensure your stitches remain consistent for a clean finish.
If you find that your blanket appears wider or narrower as you progress, don’t panic. Crochet is forgiving and can be adjusted as you go.
Finishing Your Blanket
When your blanket is long enough, it’s time to finish.
- Final Row: Complete your last row and no longer make the last chain stitch. Instead, cut the yarn, leaving a tail of about 6 inches.
- Fasten Off: To secure your work, yarn over and pull the tail through the loop on the hook.
- Weave in Ends: Using your tapestry needle, weave in the loose ends into the stitches. This not only secures your work but also gives it a neat appearance.
- Optional Border: If you’d like to add a border, you can go around the edges of your blanket using a row of single crochet stitches or a decorative stitch to give your blanket a polished look.
Care for Your Blanket
Once your cozy crochet blanket is complete, it’s essential to know how to care for it. Most acrylic yarns are machine washable and dryable, making them easy to maintain. Check the label for specific instructions on washing and drying.

Why Crochet Blankets?
Crochet blankets are not only functional but also stylish. They can transform a drab room into a cozy retreat, and they also make perfect gifts. Crocheting a blanket allows for creative freedom in selecting colors, textures, and patterns, making it a truly personalized project. Plus, the repetitive stitches can be meditative, providing a sense of relaxation as you work through each row.
Essential Supplies
Before we dive into the patterns, let’s gather some essential supplies you’ll need for crocheting your blanket:
- Yarn: Choose a yarn that is soft and comfortable. Acrylic yarn is a popular choice for blankets due to its affordability, softness, and ease of care. Cotton yarn is also a great option, especially for warm-weather items.
- Crochet Hook: The size of the crochet hook depends on the yarn weight you select. Generally, a hook size of H/8 (5mm) is versatile for a variety of yarns.
- Scissors: Sharp scissors will make it easy to cut your yarn cleanly.
- Tapestry Needle: You’ll need this to weave in ends after finishing your blanket.
- Measuring Tape: For larger projects, it’s essential to keep track of your blanket size.
Simple Crochet Blanket Patterns
Here are a few delightful and simple patterns for you to try, perfect for both beginners and seasoned crocheters.
1. Granny Square Blanket
Skill Level: Beginner
The granny square blanket is a timeless classic that consists of multiple granny squares joined together. It’s a fun way to use up scrap yarn and showcase colorful designs.
Pattern:
- Start with a magic ring.
- Round 1: Chain 3 (counts as first double crochet), then work 2 double crochets into the ring. Chain 2, and repeat this for a total of 4 times. Join with a slip stitch.
- Round 2: Slip stitch into one of the chain-2 spaces. Chain 3, then double crochet 2 in the same space. Chain 2, then work 3 double crochets in the next chain-2 space. Repeat around and join.
- Continue adding rounds until your square reaches your desired size.
Joining Squares: Once you have multiple squares, you can join them using slip stitches, or whip stitch them together for a clean finish.
2. Corner-to-Corner (C2C) Blanket
Skill Level: Beginner to Intermediate
The corner-to-corner technique involves working from one corner to the opposite corner, creating a diagonal pattern that’s visually striking and easy to follow.
Pattern:
- Start by chaining 6.
- Row 1: Double crochet in the 4th chain from the hook and in the next two chains. You’ll now have three double crochet stitches.
- Row 2: Turn your work, chain 6, and repeat the same process starting from Row 1.
- Increase until your blanket reaches your desired width, then decrease to finish off the last corner.
3. Basic Double Crochet Blanket
Skill Level: Beginner
This is perhaps the most straightforward crochet blanket pattern. The basic double crochet stitch creates a lovely texture while ensuring that your work grows quickly.
Pattern:
- Chain your desired width (for example, 100 chains).
- Row 1: In the fourth chain from the hook, double crochet, then double crochet in each chain across.
- Row 2: Chain 3, turn your work, and double crochet in each double crochet stitch across.
- Repeat Row 2 until the blanket reaches your desired length.
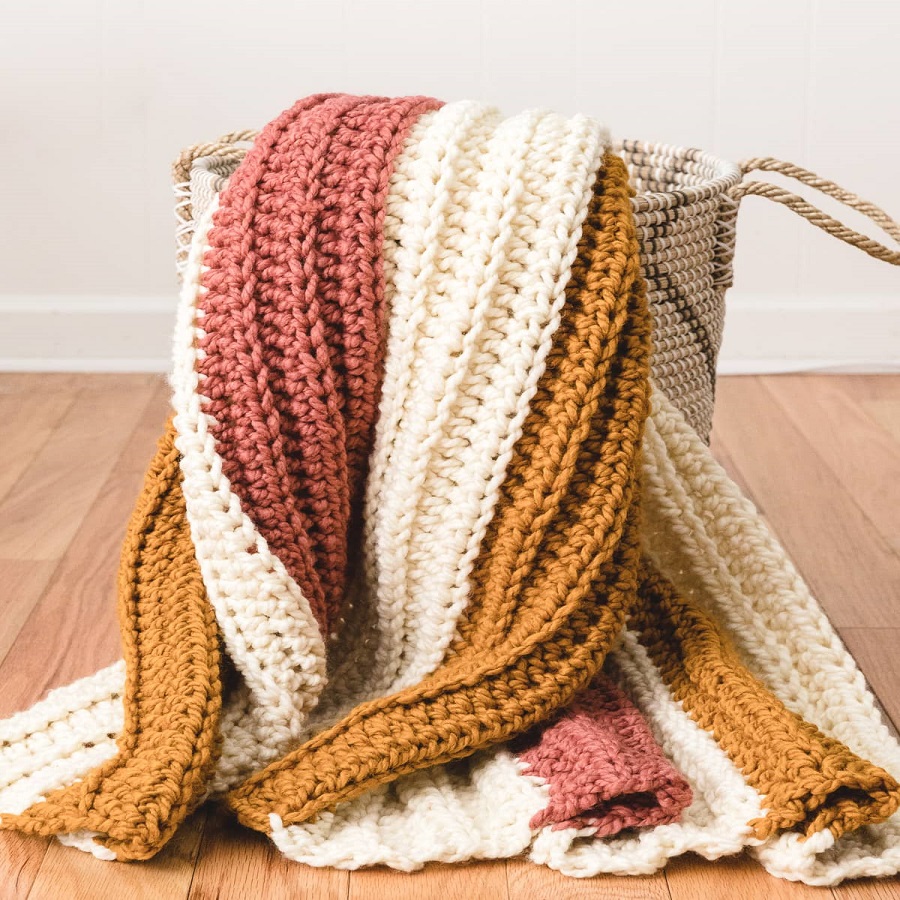
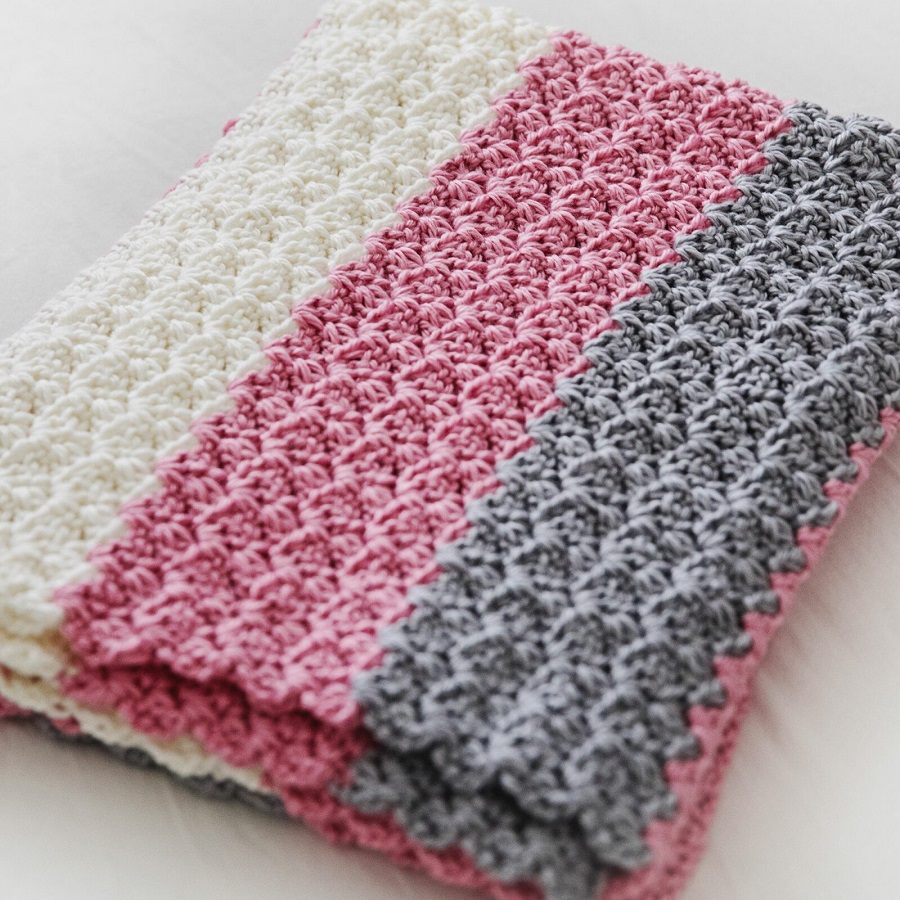
4. Striped Blanket
Skill Level: Beginner
Striped blankets are a great way to practice changing colors, and they can be made with any stitch you prefer.
Pattern:
- Start by chaining your desired width.
- Choose a stitch (like single or double crochet) and work in rows.
- After a few rows, switch colors by completing the last stitch of the last row in the new color.
- Continue alternating colors until your blanket reaches the desired length.
Tips for Success
- Gauge: Always check your gauge before starting a larger project. This will ensure that your blanket is the correct size.
- Blocking: After you finish your blanket, consider blocking it to straighten out the edges and give it a polished look.
- Yarn Overload: Don’t be afraid to experiment with color combinations. Using variegated yarn can also create beautiful effects.
- Personalize: Add a border to your blanket for a finished look. Simple single crochet or scalloped borders are easy to do and look lovely.

Conclusion
Congratulations! You’ve just completed your first cozy crochet blanket. Crocheting can be a delightful journey, and each project will teach you something new. Now that you’ve mastered the basics, feel free to experiment with colors, patterns, and stitches on future projects.
Whether you choose to keep your blanket or gift it to someone special, the love and effort you’ve put into creating it will surely shine through. Happy crocheting!
