Introduction to Blanket Knitting for Beginners
Knitting a blanket can be a comforting and creative hobby. For beginners, it might seem a bit daunting at first. However, the actual process is straightforward once you master the basics. Blanket knitting patterns are designed especially for ease and scalability. This means you can start with simple patterns and scale up as your skills grow. In this section, we will cover the very basics of blanket knitting. This includes the benefits of this hobby, simple blanket knitting patterns for beginners and tips to get you started.
Blanket knitting allows you to create a warm, personal item for yourself or as a thoughtful gift. It requires minimal tools – just needles and yarn – and offers a great deal of flexibility in design, size, and color. Blanket knitting patterns for beginners are abundant and can range from very elementary designs to slightly more complex projects that integrate basic shapes and textures. As you become more comfortable with the techniques, you can experiment with different patterns and stitches to make your blankets more intricate.
To start, you’ll need to have a basic understanding of knitting techniques and terminology. But don’t worry; we will walk you through everything you need to know to pick up your needles and begin your first project. The satisfaction of creating something with your own hands is just a few stitches away. Let’s begin by diving into the wonderful world of blanket knitting patterns that are perfect for beginners!
Essential Tools and Materials for Blanket Knitting
To dive into blanket knitting, you’ll need some basic tools and materials. First and foremost, choose the right knitting needles. For beginners, larger needles (size 11 or 13) are ideal as they make handling easier and the work progresses faster. Opt for circular needles if you plan on making a large blanket, as they can hold more stitches.
Next, yarn is essential. Start with a medium-weight yarn (like worsted weight) as it’s easy to work with and sturdy. The type of yarn will affect your blanket’s feel and warmth. Acrylic yarns are durable and easy to care for, making them a good choice for first projects.
Other tools include a yarn needle for weaving in ends, a pair of scissors, and a measuring tape. A stitch marker might come in handy to mark significant points in your pattern.
Gathering these materials ensures a smooth start to your blanket knitting journey, allowing you to focus on mastering the patterns.
Selecting the Right Yarn for Your Blanket
Choosing the right yarn is essential for your knitting project. The yarn type influences both the blanket’s feel and its durability. For beginners, selecting an easier-to-handle yarn ensures a smoother knitting experience.
Here are some guidelines for picking the perfect yarn:
- Worsted Weight Yarn – This medium-weight yarn is ideal for beginners. It’s thick enough to handle easily, yet not so bulky that it becomes cumbersome.
- Acrylic Yarns – These are durable, easy to care for, and often less expensive. They are a good choice for your first few projects.
- Fiber Content – Consider the climates and the use of the blanket. Wool can be very warm and cozy but may require more care. Cotton is lighter and easier to wash.
- Texture – Smooth yarns are easier to work with than novelty yarns which can have lumps and varying thicknesses.
- Color – Lighter colors might help you see your stitches more easily, which is great for beginners.
Once you’ve selected your yarn, you’re ready to start knitting with confidence. Your chosen yarn will affect the outcome of your finished blanket, so take your time in making this decision.
Understanding Basic Knitting Stitches
As a beginner, understanding basic stitches is key to successful blanket knitting. Here’s what you need to know:
Knit Stitch (k): This is the most fundamental stitch in knitting. To make a knit stitch, insert the right needle from the front to the back of the stitch on the left needle. Wrap the yarn around the right needle and pull it through to create a new stitch.
Purl Stitch (p): Purl is the opposite of knit. Insert the right needle from the back to the front of the stitch on the left needle. Wrap the yarn, pull it through, and slide the old stitch off the left needle.
Casting On: This is how you begin by creating the initial stitches on your needle. There are several methods, but the long-tail cast-on is a good starting point.
Binding Off: This technique ends your work and secures the stitches. Knit the first two stitches, then pull the first stitch over the second stitch and off the needle. Continue until only one stitch remains.
Master these four basic techniques, and you’ll be well on your way to knitting your first blanket. Start with practice swatches to get comfortable with the knit and purl stitches. Once you are ready, you can begin your blanket knitting project with confidence.
Step-by-Step Guide to Starting Your Blanket
Now that you’ve got the basics down, let’s start knitting your blanket. Follow this simple step-by-step guide to embark on your first blanket knitting project:
- Choose Your Pattern: Start with a basic blanket knitting pattern. Look for something that uses simple stitches and has clear instructions.
- Gather Your Materials: Based on the pattern, select the appropriate yarn and needles. Remember to get additional tools like scissors and a yarn needle.
- Casting On: Begin your project by casting on the number of stitches your pattern requires. Use a method that’s comfortable for you, like the long-tail cast-on.
- Knit the First Row: Start your blanket by knitting the first row. Keep your stitches even and not too tight.
- Continue Building Rows: Follow the pattern, adding rows by alternating knit and purl stitches as instructed. Your blanket will start to take shape.
- Check Your Work: Periodically, measure your work and check for mistakes. Correct them as you go to ensure a uniform appearance.
- Binding Off: Once your blanket reaches the desired size, bind off the stitches to secure the edge.
- Weave in Ends: Use a yarn needle to weave in any loose ends. This gives your blanket a neat finish.
- Final Inspection: Do a final check for any missed stitches or loose ends. Make any necessary adjustments.
- Enjoy Your Handiwork: Congratulations, you’ve just finished your first blanket! Enjoy the warmth and comfort of your creation.
Starting your blanket knitting project may be the beginning of a rewarding hobby. Use these steps as your roadmap, and don’t be afraid to make your blanket unique. Happy knitting!
 Patterns and Projects for New Knitters
As a new knitter, choosing the right pattern can make your project enjoyable and successful. Look for blanket knitting patterns that are labeled as ‘beginner-friendly’. These patterns typically involve basic stitches, have simple construction, and require minimal shaping. Let’s explore a few options perfect for those just starting out.
- Garter Stitch Blanket: This is created by knitting every row, resulting in a plush, squishy texture. It’s a great first project.
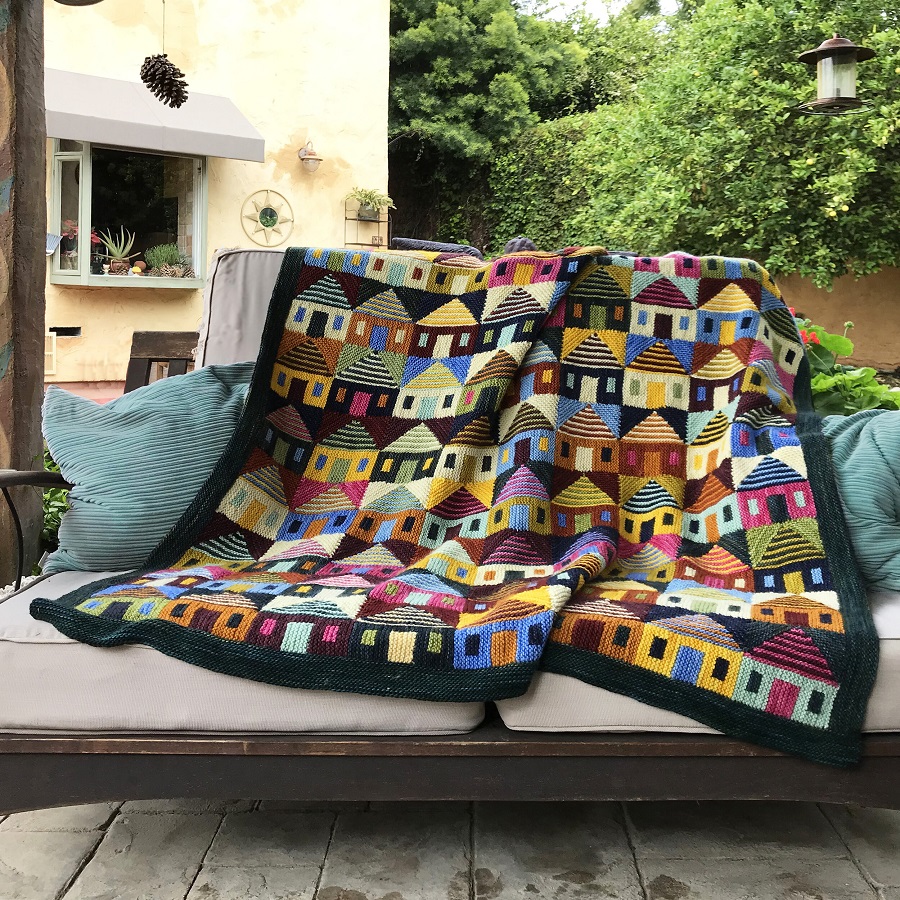
- Striped Blanket: Using the knit stitch, alternate colors every few rows. This adds visual interest without complicating the process.
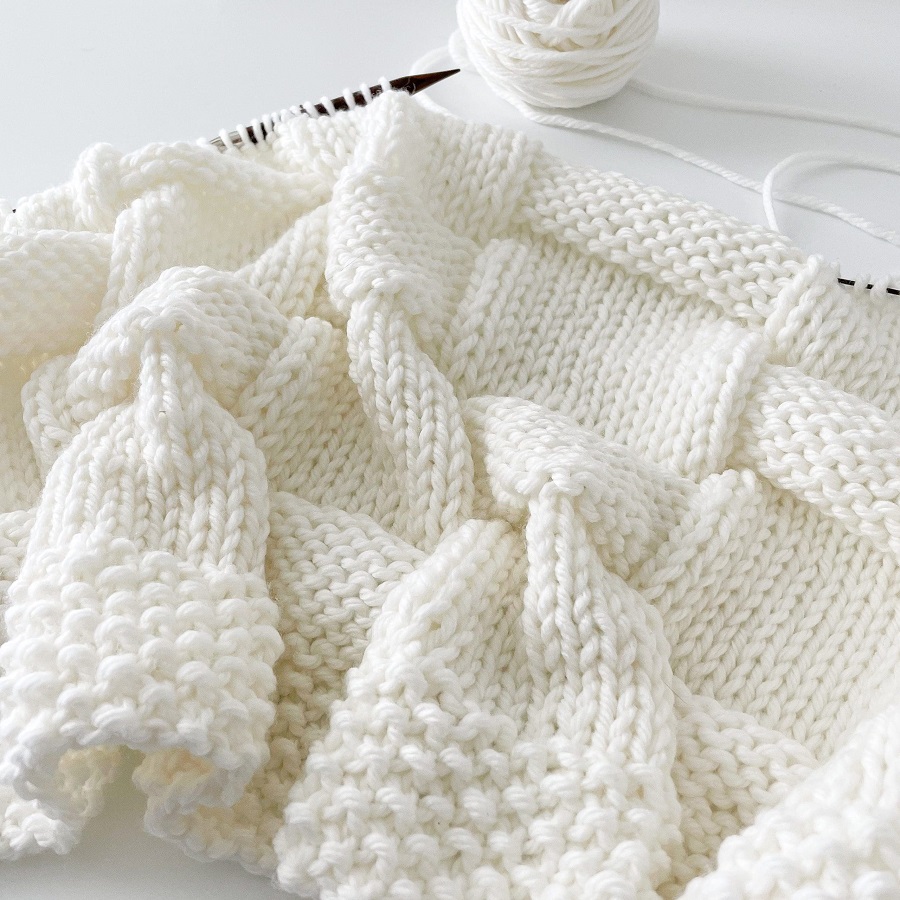
- Chunky Knit Blanket: Utilize thick yarn and large needles for a quick and cozy blanket. It’s simple and satisfying.
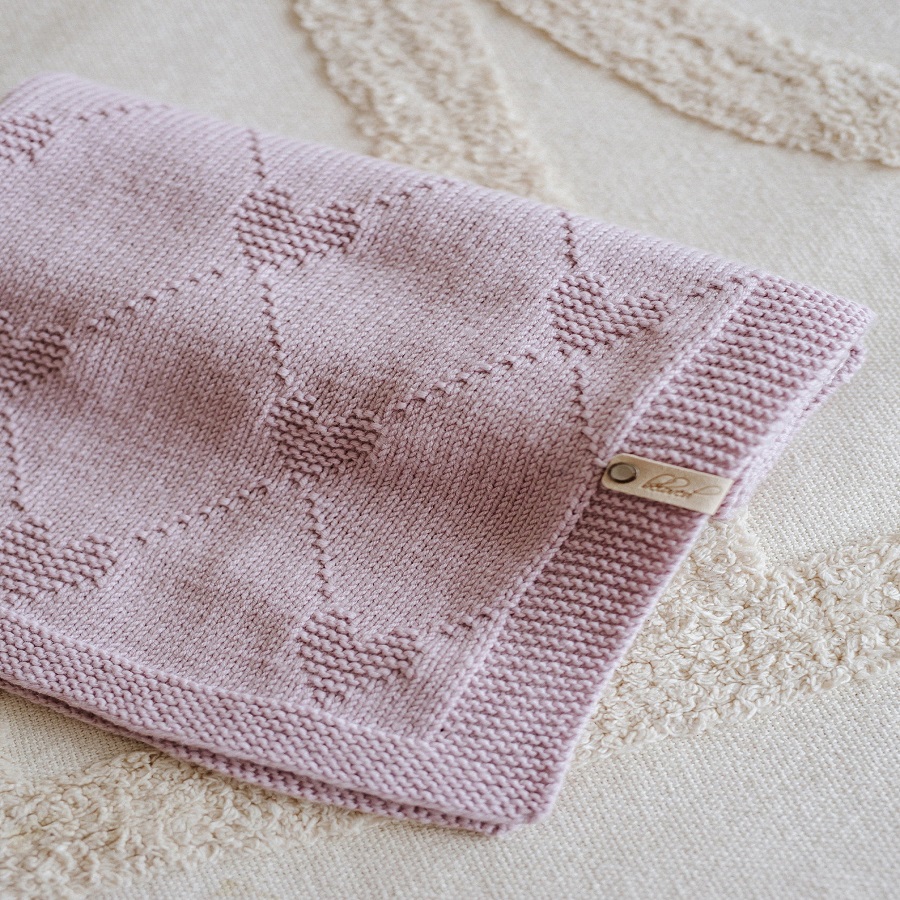
- Baby Blanket: A smaller project that’s not only quicker to complete but also a cherished gift.
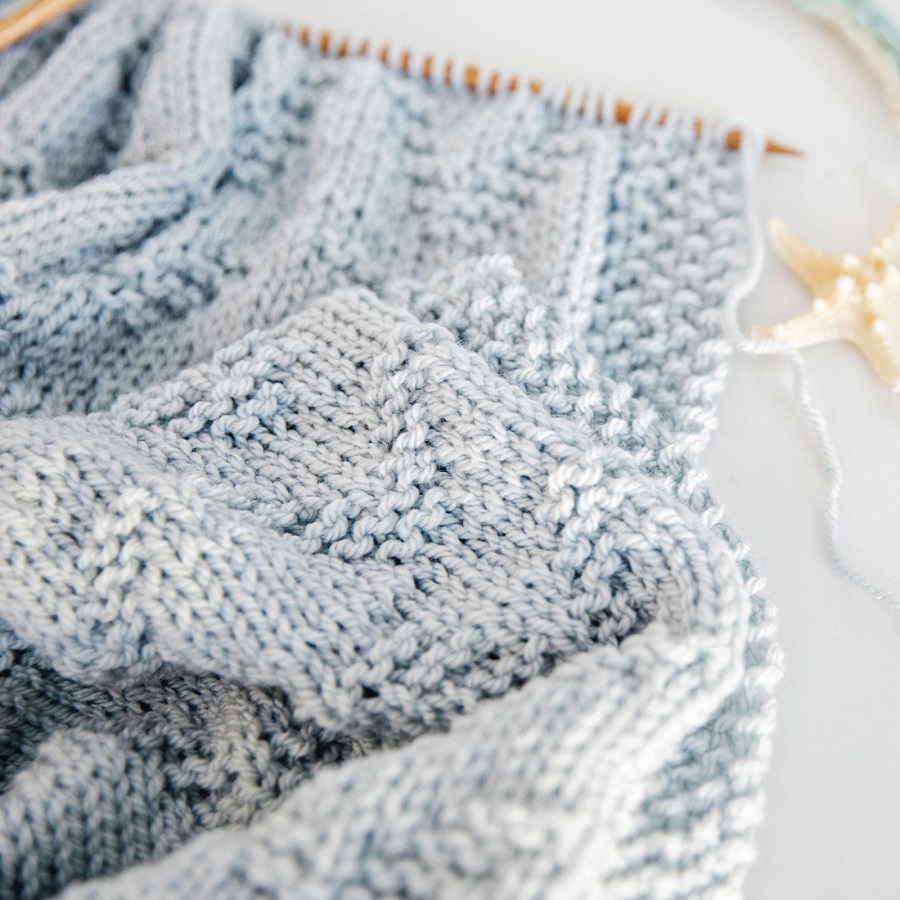
- Basket Weave Pattern: This involves a combination of knit and purl stitches to create a woven texture. It’s a gentle step up.
- Granny Square Blanket: Although traditionally crocheted, there are knit versions that mimic the classic look. Perfect for using leftover yarn.
Remember, the key to mastering blanket knitting patterns is practice. Don’t hesitate to start with the most basic design. As you gain confidence, you can tackle more complex projects. Each completed project will improve your skills and prepare you for the next challenge. Happy knitting!
Tips for Finishing Your Knitted Blanket
As you near the completion of your knitted blanket, finishing touches are crucial. These tips will help ensure your blanket looks polished and professional.
- Binding Off Tightly: Keep your final row secure by binding off firmly but not too tightly. This prevents your edge from being too loose or too snug.
- Weaving in Ends: Tuck away loose strands with a yarn needle. Do this on the blanket’s wrong side for a cleaner look.
- Blocking: After binding off, lay your blanket flat on a towel. Adjust its shape and dampen it lightly. Let it dry completely to set the stitches in place.
- Checking for Consistency: Look over your work. Make sure all stitches are even and fix any irregularities. This step is vital for a uniform blanket.
- Adding a Border: For a neat edge, consider knitting a border. Pick a simple stitch pattern and add it around your blanket.
- Wash and Dry: Before use, wash your blanket according to the yarn label instructions. This helps to ‘set’ the stitches and can soften the yarn.
- Final Inspection: Take a final look at your blanket. Trim any remaining loose ends and make last-minute adjustments as needed.
Remember, the time you invest in finishing your blanket knitting project pays off. Your completed blanket will look amazing and last for years. Happy knitting!
Caring for Your Handmade Blanket
Crafting a knitted blanket is only part of the journey. Caring for your handmade creation ensures it lasts and looks great over time. Here are essential care tips for your knitted blanket:
- Read Yarn Labels: Each yarn comes with care instructions. Follow them to keep your blanket in top shape.
- Gentle Washing: Use cold water and a mild detergent. Hand-wash or opt for a gentle machine cycle.
- Avoid Excess Heat: Never use high temperatures when washing or drying. Heat can cause shrinkage or damage.
- Drying: After washing, roll the blanket in a towel to remove excess water. Lay it flat to air-dry.
- Regular Maintenance: Shake your blanket out regularly to remove dust and smooth out fibers.
- Storing: Keep your blanket in a cool, dry place. Use a breathable cotton bag if needed.
- Repairing Damages: Fix any pulls or holes quickly to prevent further unraveling.
- Keep Away from Pets: Try to keep it out of reach to prevent pet hair and potential damage.
Taking care of your knitted blanket is simple. These steps will help maintain its comfort and beauty for years. Enjoy your cozy creation!
