Introduction to Weighted Blankets
DIY weighted blanket use extra weight to give a sense of security.
They can help reduce anxiety and promote deeper sleep.
These blankets simulate a firm hug, which can calm the nervous system.
Benefits of Using a Weighted Blanket
- Improved Sleep Quality: Deep pressure from the blanket can enhance serotonin production.
- Reduced Anxiety: The weight creates a comforting cocoon that mitigates anxiety.
- Eases Restlessness: Ideal for individuals with ADHD or sensory processing disorders.
Key Considerations Before Starting Your DIY Project
- Weight Plan: Decide on the total weight based on the user’s body weight.
- Material Choice: Pick durable and comfortable fabric and fillers.
- Sewing Skills: Basic sewing skills are required. More intricate design might need advanced skills.
 papercraft christmas products shot in the studio
Essential Materials and Tools
To start crafting your DIY weighted blanket, you’ll need some basic materials and tools.
Choosing the Right Fabric
When selecting fabric, consider both comfort and durability. Soft fabrics like cotton, fleece, or minky are popular choices. Ensure the fabric can withstand the added weight of the fillers.
Selecting the Appropriate Filling
Traditional weighted blankets often use poly pellets for weight. However, alternatives include glass beads for a smoother feel or even natural fillings like rice or dried beans for those preferring organic materials. Avoid materials that may cause allergies or discomfort.
Necessary Sewing Supplies
Gather your sewing essentials, such as a sturdy needle, strong thread, measuring tape, and scissors. A sewing machine is highly recommended for efficiency and strength of seams. Pins or weights will help keep materials in place while cutting and sewing.
Preparing Your Weighted Blanket
to make preparing your DIY weighted blanket easier, there are a few key steps to follow.
Calculating the Weight and Size
First, you need to calculate the total weight of your blanket. It should be about 10% of the person’s body weight. Then decide on size; smaller squares mean more sewing but can distribute weight more evenly.
Cutting and Measuring Fabric
Choose a strong, comfortable fabric and cut it according to your planned dimensions. Be precise in your measurements to ensure a well-fitted blanket.
Sewing and Assembling Tips
Use a strong thread and a sturdy needle when sewing. Start by sewing the outer edges together, leaving an opening for the filler. Sew additional lines to create pockets for equal weight distribution.
Step-by-Step Sewing Process
Creating a DIY weighted blanket involves a detailed sewing process.
Creating the Inner Weighted Layer
Begin by determining the size of your inner weighted layer based on the user’s needs. Cut two pieces of your chosen fabric to these dimensions. Place them right sides together, pin around the edges, and sew, leaving an opening for filler. Turn right side out.
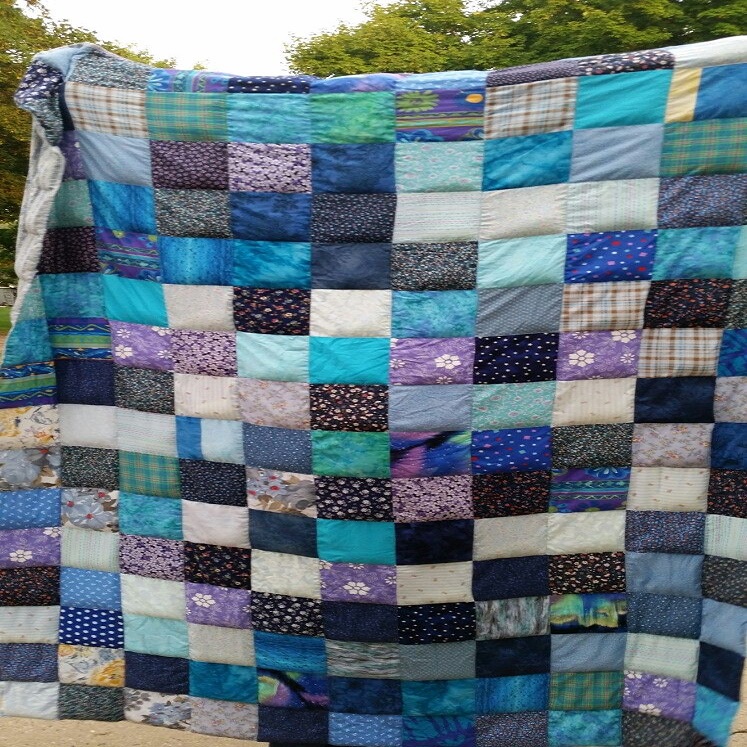
Next, arrange the filler pockets. Mark lines to divide the fabric into equal-sized sections, forming a grid. Each square will hold filler. Sew along these lines, leaving one edge open to insert filler.
Fill each square with the chosen weight. Consider using a funnel for precision. After filling, sew the open edge closed, securing the filler.
Assembling and Attaching the Cover
Select a fabric that’s soft and comfortable for the cover. Cut it to fit over the inner weighted layer with extra fabric at the opening. Sew the sides of the cover, right sides together, leaving one side open for insertion of the weighted layer. Turn right side out.
Place the inner layer inside the cover. Smooth it out and make sure corners are aligned. Close the open side with a hidden seam or use ties or velcro for a removable option.
Finishing Touches: Binding and Sealing
Add binding around the edges of the blanket for a neat finish. Cut strips of fabric, fold the raw edges inward, and iron. Sew the binding to the edge of the blanket, mitering the corners.
Finally, check all seams and closures to ensure they’re secure. Trim any loose threads and inspect for gaps where filler might escape. Repair any weak points you find.

Alternative Filling Options Without Pellets
While poly pellets are a common choice for DIY weighted blankets, there are times you might want to avoid them. Perhaps you are seeking a more natural, environmentally-friendly option, or you may have concerns about the cost. Fortunately, you have several creative alternatives to choose from that will still give your weighted blanket the heft it needs.
Using Denim and Upcycled Materials
Denim is a durable and accessible material that adds significant weight to blankets. Consider repurposing old jeans or denim clothing by cutting them into pieces and layering them within your blanket. Not only does this provide the desired weight, but it also recycles materials, making it an eco-friendly option. Remember, though, denim is heavy and takes longer to dry, which might not suit everyone.
Exploring Glass Beads and Aquarium Gravel
Glass beads are a sleek alternative if you prefer a blanket that feels less bulky. They are smoother than pellets but should be used with strong fabric to prevent wear-through. Aquarium gravel offers a cost-effective solution and resembles the feel of beads. However, it can be rough on fabric, and there’s a risk of mold if not dried properly. Both options heat up in the dryer, so care must be taken when laundering.
Considering Rice, Cherry Pits, and Other Natural Fillers
For those who prioritize organic materials, rice and cherry pits represent inexpensive and natural fillers. Rice should be used with caution, as it cannot be washed and might attract mold. On the other hand, cherry pits are washable, but be aware of the cyanide risk with children. These options are best for those who can commit to maintenance and have the time for alternative washing methods. With any of these alternatives, it’s important to ensure even distribution to maintain the comfort and effectiveness of the blanket.
Care and Maintenance
Proper care prolongs your DIY weighted blanket’s effectiveness and safety.
Washing and Drying Your Weighted Blanket
First, always check the care label for specific instructions. Use cold or warm water for washing to avoid shrinking the fabric. Consider using a gentle cycle and a mild detergent. For drying, tumble dry on low heat. Avoid high heat as it can damage the fabric and fillers.
To wash blankets with natural fillers like rice or cherry pits, use spot cleaning or hand wash methods. Always ensure the blanket is completely dry to prevent mold or odors.
Storage and Handling Tips
When not in use, fold the blanket loosely to avoid compressing the fillers. Store it in a cool, dry place away from direct sunlight, which can fade colors and weaken fibers.
Carry your weighted blanket by folding it in half. This prevents stretching and keeps the weight evenly distributed. For heavier blankets, use a storage bag with handles for easier mobility and protection against dust.

Troubleshooting Common DIY Challenges
Facing challenges while creating your own weighted blanket is common. Here are solutions to some frequent issues.
Dealing with Uneven Weight Distribution
Uneven weight can affect the blanket’s comfort and function. Here’s how to fix it:
- Redistribute Filling: Open the stitch of the affected section and adjust the filling.
- Use Smaller Pockets: Smaller compartments help maintain an even distribution.
- Check for Shifts: Regularly check that the filling hasn’t shifted, especially after washing.
Resolving Filling Leakage Issues
Leakage can occur but can be preempted or repaired:
- Reinforce Stitches: Double stitch the seams of each compartment to avoid spills.
- Use Stronger Material: Select a fabric that can hold the weight without tearing.
- Inspect Regularly: Look for potential weak spots before and after washing.
Handling Wear and Tear Over Time
To manage a weighted blanket’s lifespan, consider these tips:
- Gentle Washing: Use mild cycles and detergents to reduce stress on the fabric.
- Routine Checks: Examine the blanket for tear or damage regularly.
- Professional Repair: Consider having a professional fix significant damage to ensure longevity.
