Introduction to Loop Yarn
Loop yarn blanket – Loop yarn is an innovative type of knitting yarn that makes crafting simple and fun, even if you’ve never knitted before! With its unique pre-made loops, loop yarn allows you to create beautiful knit projects without the need for traditional knitting needles. This yarn is perfect for anyone looking to dive into a crafting hobby that offers gratification without the tangle of learning complex knitting techniques.
What is Loop Yarn?
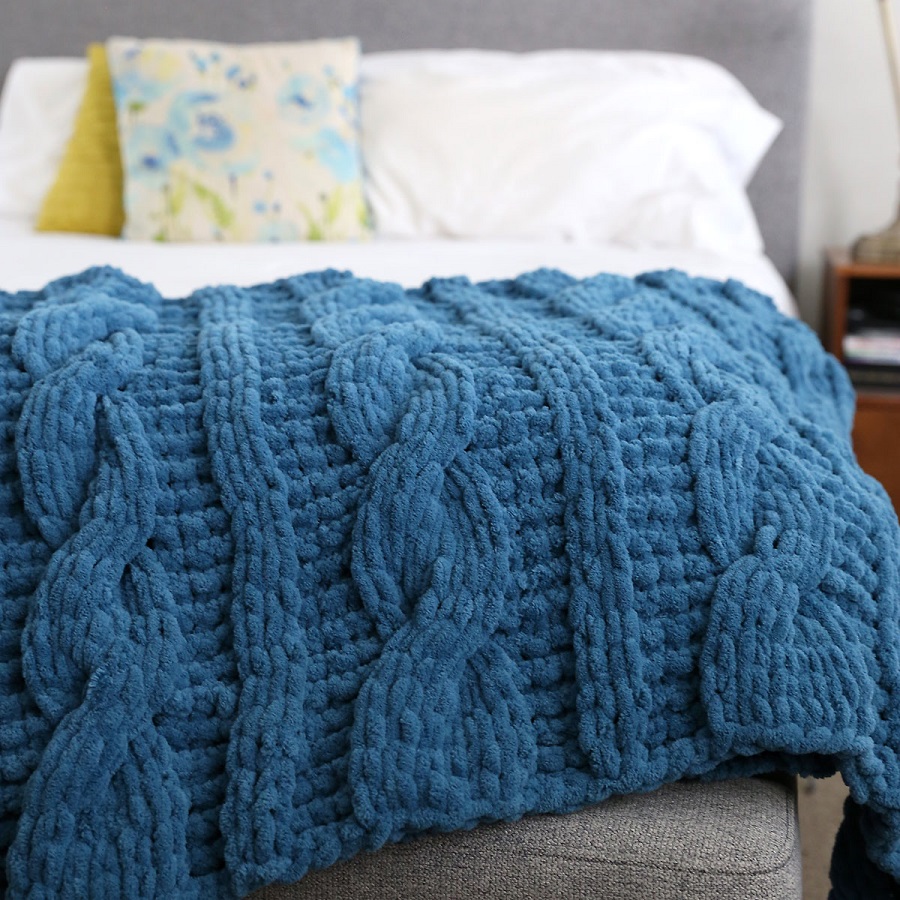
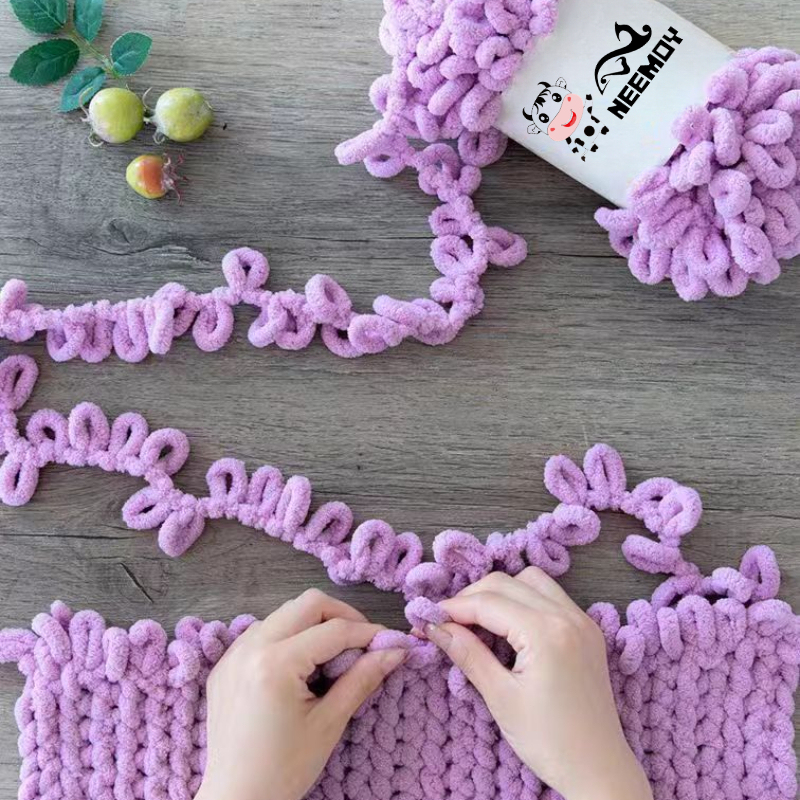
Loop yarn is a soft and chunky yarn with loops built into it, permitting you to knit by hand. These loops are the secret to creating knit fabrics without using any tools but your fingers. Projects like scarves, hats, and particularly throw blankets become effortless with loop yarn, as it removes the hurdles of traditional knitting. It’s ideal for crafting cozy, comfortable blankets that you can snuggle under on a chilly evening.
Choosing the Right Yarn
To start your loop yarn blanket project, choosing the right yarn is crucial. Different types of loop yarn vary in material, thickness, and color, affecting your blanket’s texture and appearance. Here are key considerations when selecting your loop yarn.
Different Types of Loop Yarn
Loop yarns come in various fiber compositions such as acrylic, wool, cotton, or blends. Acrylic yarns are durable, washable, and often more affordable. Wool offers warmth and a natural feel but requires more care in washing. Cotton is lightweight and cool, making it ideal for warmer climates.
Thickness varies too: bulky yarns knit up quickly, creating a plush, cozy throw. Lighter weights are suitable for finer, more detailed work. Look for yarn labeled as ‘chunky’ or ‘jumbo’ for the easiest handling and the quickest projects. When you’re shopping, check the label for yarn weight. This is important because it influences the size of your finished blanket and how much yarn you’ll need.
Selecting Colors and Textures
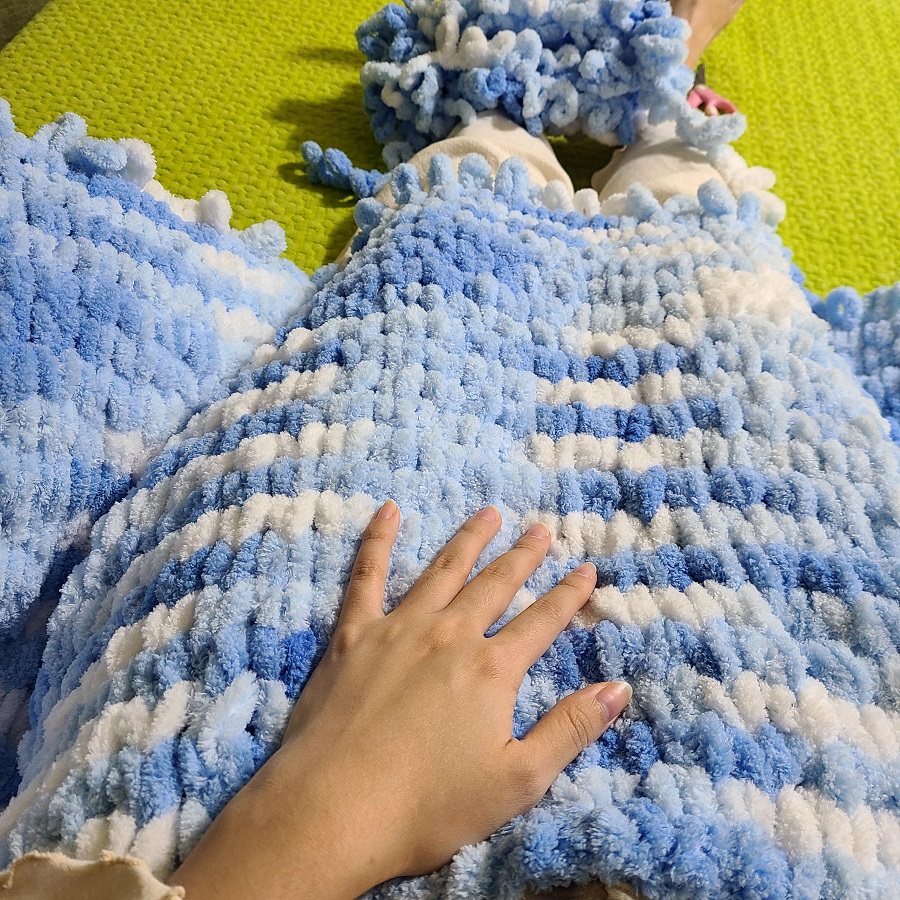
Color choice can transform the mood of your throw. Soft neutrals bring a sense of calm, bright colors add a festive touch, and rich dark tones can make a room feel cozier. Some loop yarns come in variegated shades which can create beautiful gradations without changing skeins.
Texture is another factor. Some yarns have a chenille-like softness, which is perfect for a snuggly throw. Others might have a more rustic or textured look. Consider the decor where the throw will be used when selecting texture and color.
Remember to buy enough skeins from the same dye lot to ensure color consistency. Brands like Bernat Alize Blanket EZ Yarn provide a wide selection of colors and are often recommended for their softness and ease of use. Always feel the yarn before you buy it to ensure it meets your coziness criteria.
Basic Techniques
Before beginning your loop yarn blanket, familiarizing yourself with a couple of basic techniques will ensure a smoother process and a more enjoyable crafting experience.
Preparing Your Yarn
To start, make sure your yarn is free of tangles and knots. Take each skein of loop yarn and gently unwind it. Organize the yarn by placing it in a large, clear area. This way, you can easily see and access the loops you’ll be working with. Ensure that the loops are all correctly oriented and not twisted, as this can affect the final look of your throw blanket. Pro tip: It’s helpful to use a basket or bowl to keep your yarn from rolling away.
Starting Your Project
Once your yarn is prepped, you’re ready to begin. First, decide on the width of your throw blanket. This step typically involves counting out a specific number of loops to serve as the foundation row. For example, a throw blanket might start with 65 loops. Lay out these loops on a flat surface, such as a table, to get a clear view of your starting point. Attach a small safety pin or a piece of contrasting yarn to mark your first and last loops, ensuring you maintain the correct width as you build your blanket. Remember to keep a comfortable tension, as pulling the loops too tight or leaving them too loose can result in an uneven texture. It’s all about finding a balance that works for you and the yarn you’re using.
Step-by-Step Guide to Making a Throw
Setting Up Your Foundation Row
To start your loop yarn blanket, count out 65 loops for your foundation row. Ensure your yarn loops are wrinkle-free and laid flat. You can use a safety pin to keep track of the first loop. This keeps the width consistent as you progress.
Knitting Without Needles
After setting up your foundation row, begin knitting. Use your fingers to pull each new loop through the previous one. Start from either end and work from the front of the loop to the back. This method creates a knitted look without needles.
Adding New Skeins
You’ll need more yarn as your blanket grows. To add a new skein, place the last loop of the old skein together with the first loop of the new skein. Knit them as if they were one loop. This connection should be firm to avoid gaps in your throw.
 Finishing Your Throw
Now that your blanket reaches the desired size, it’s time to finish it. Wrap up your project neatly to ensure durability and a beautiful appearance.
Binding Off and Securing Ends
To bind off, start from the direction you finished. Loop the second stitch over the first, and continue this for each subsequent stitch until you reach the end. After your last stitch, cut the loop, creating a yarn tail. Then, thread this tail through the last loop to secure it and prevent unraveling. Make sure each end is tightly fastened.
Tips for Final Touches
For a polished look, thread loose ends through the blanket’s backside using a tapestry needle or a bobby pin. This hides the yarn ends and keeps your throw looking neat. If your blanket has uneven edges, you can adjust the loops manually to align them. Also, give your blanket a gentle wash if the yarn’s care instructions allow it, to make it even fluffier and inviting. Display or use your new throw blanket in your favorite cozy spot or consider it as a heartfelt gift for someone special.
Troubleshooting Common Issues
Crafting with loop yarn is straightforward, but sometimes you may run into a snag. Here are solutions to common issues.
Managing Dropped Loops
Dropped loops can happen, but don’t panic. If you notice a loop missing, pause and check your rows. Pick up the loop and weave it back into place with a bobby pin. You can do this by threading the loop through the stitches on the back until it blends seamlessly.
Ensuring Even Looping
For a uniform look, make sure your loops are even. Check every few stitches to correct any irregularities. If your work starts to slant, correct the tension by loosening or tightening the loops as you go. Keep your working yarn untangled and your loops facing the same direction to avoid twisting.
Enhancing Your Throw
Creating a loop yarn blanket is just the beginning. Enhancing your throw can add personal flair and make it truly one-of-a-kind.
Decorative Ideas
Once your blanket is complete, consider the following decorative touches:
- Add tassels or pompoms to the corners for a playful look.
- Use contrasting yarn to create a border around the edges.
- Introduce a pattern or design by weaving in strands of different colored loop yarn.
- For a seasonal touch, attach themed appliques or patches.
Making Matching Accessories
Don’t stop at the throw blanket! Complete the look with matching accessories. Here are a few ideas:
- Craft a coordinating loop yarn pillow cover to complement your throw.
- Make smaller items like cup cozies or placemats.
- For a cozy winter set, consider finger knitting a hat or scarf using the same yarn.
Matching accessories unify your space and offer additional coziness. Plus, they make great gifts for friends and family who admire your crafting skills.
