Introduction
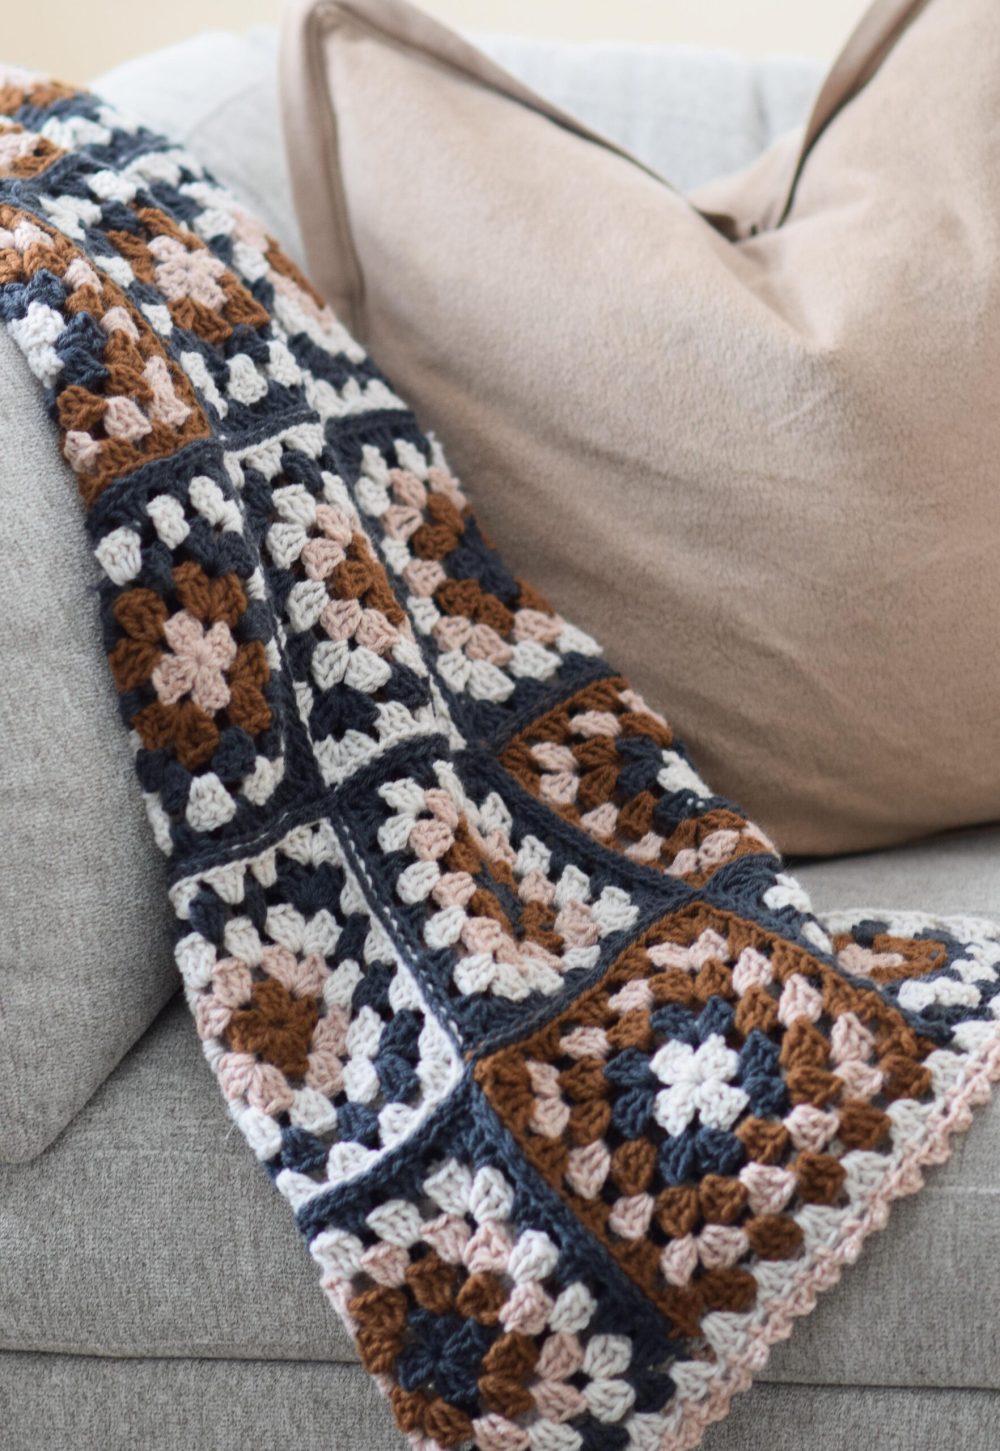
Crocheting a granny square blanket is a timeless endeavor that blends traditional charm with creative possibilities. Whether you’re a beginner or an experienced crocheter, mastering the granny square pattern opens up a world of design opportunities. This comprehensive guide will take you through everything you need to know to create your own classic granny square blanket.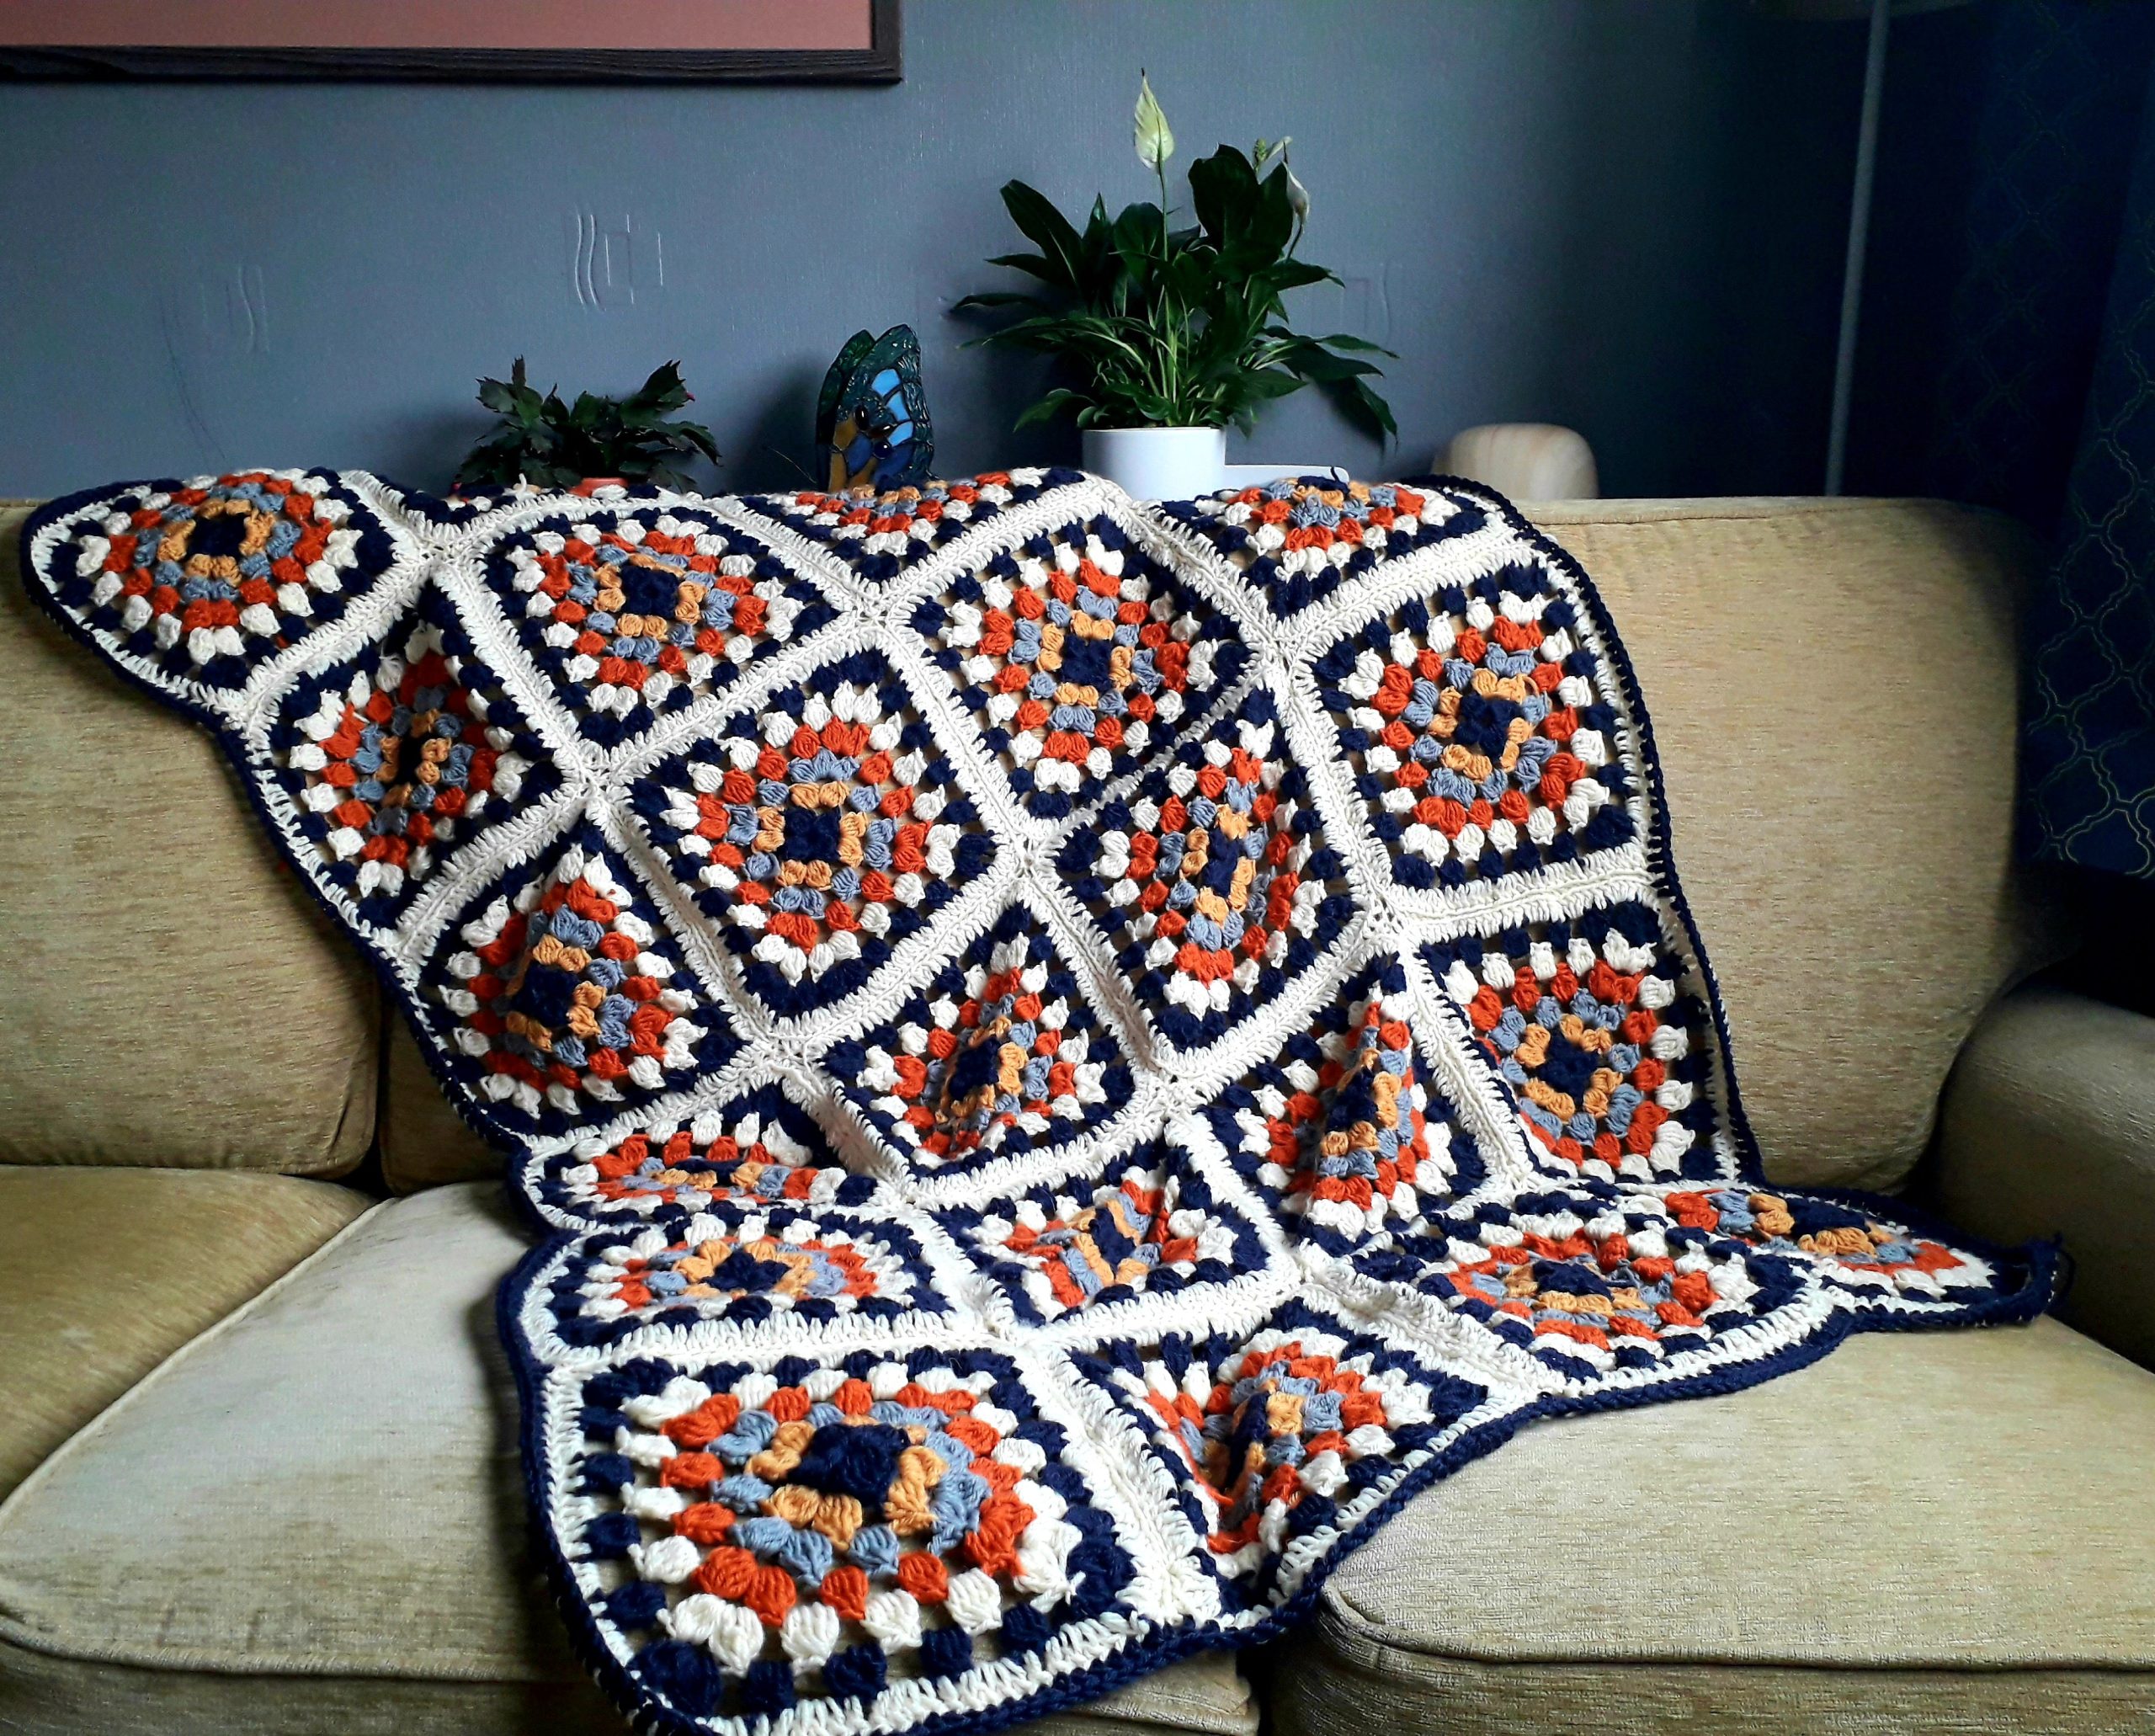
Materials Needed:
- Yarn: Choose yarn in your preferred colors. Worsted weight yarn is commonly used for blankets.
- Crochet Hook: Select a hook size appropriate for your yarn weight. Typically, a H or I hook (5.0 – 5.5 mm) works well with worsted weight yarn.
- Scissors
- Yarn Needle: For weaving in ends.
Granny Square Basics:
Foundation Ring
- Start: Make a slip knot and chain 4. Join with a slip stitch to form a ring.
First Round
- Chain (CH): Chain 3 (this counts as your first double crochet).
- Double Crochet (DC): Work 2 DC into the ring. Chain 2, then work 3 DC into the ring. Repeat this pattern (3 DC, CH 2, 3 DC) three more times. Join with a slip stitch to the top of the beginning chain-3.
 Continuing Rounds
- Joining New Yarn: After completing your first round, join a new color yarn in any chain-2 corner space.
- Chain (CH): Chain 3 (counts as first DC).
- Double Crochet (DC): Work 2 DC into the same space. Chain 1, then work 3 DC into the next chain-2 corner space. Repeat (3 DC, CH 1, 3 DC) in each corner space around. Join with a slip stitch to the top of the beginning chain-3.
- Additional Rounds: Continue to add rounds in the same manner, increasing each side of the square by 2 DC in each corner space, separated by chain 1 spaces along the sides.
Creating a Blanket
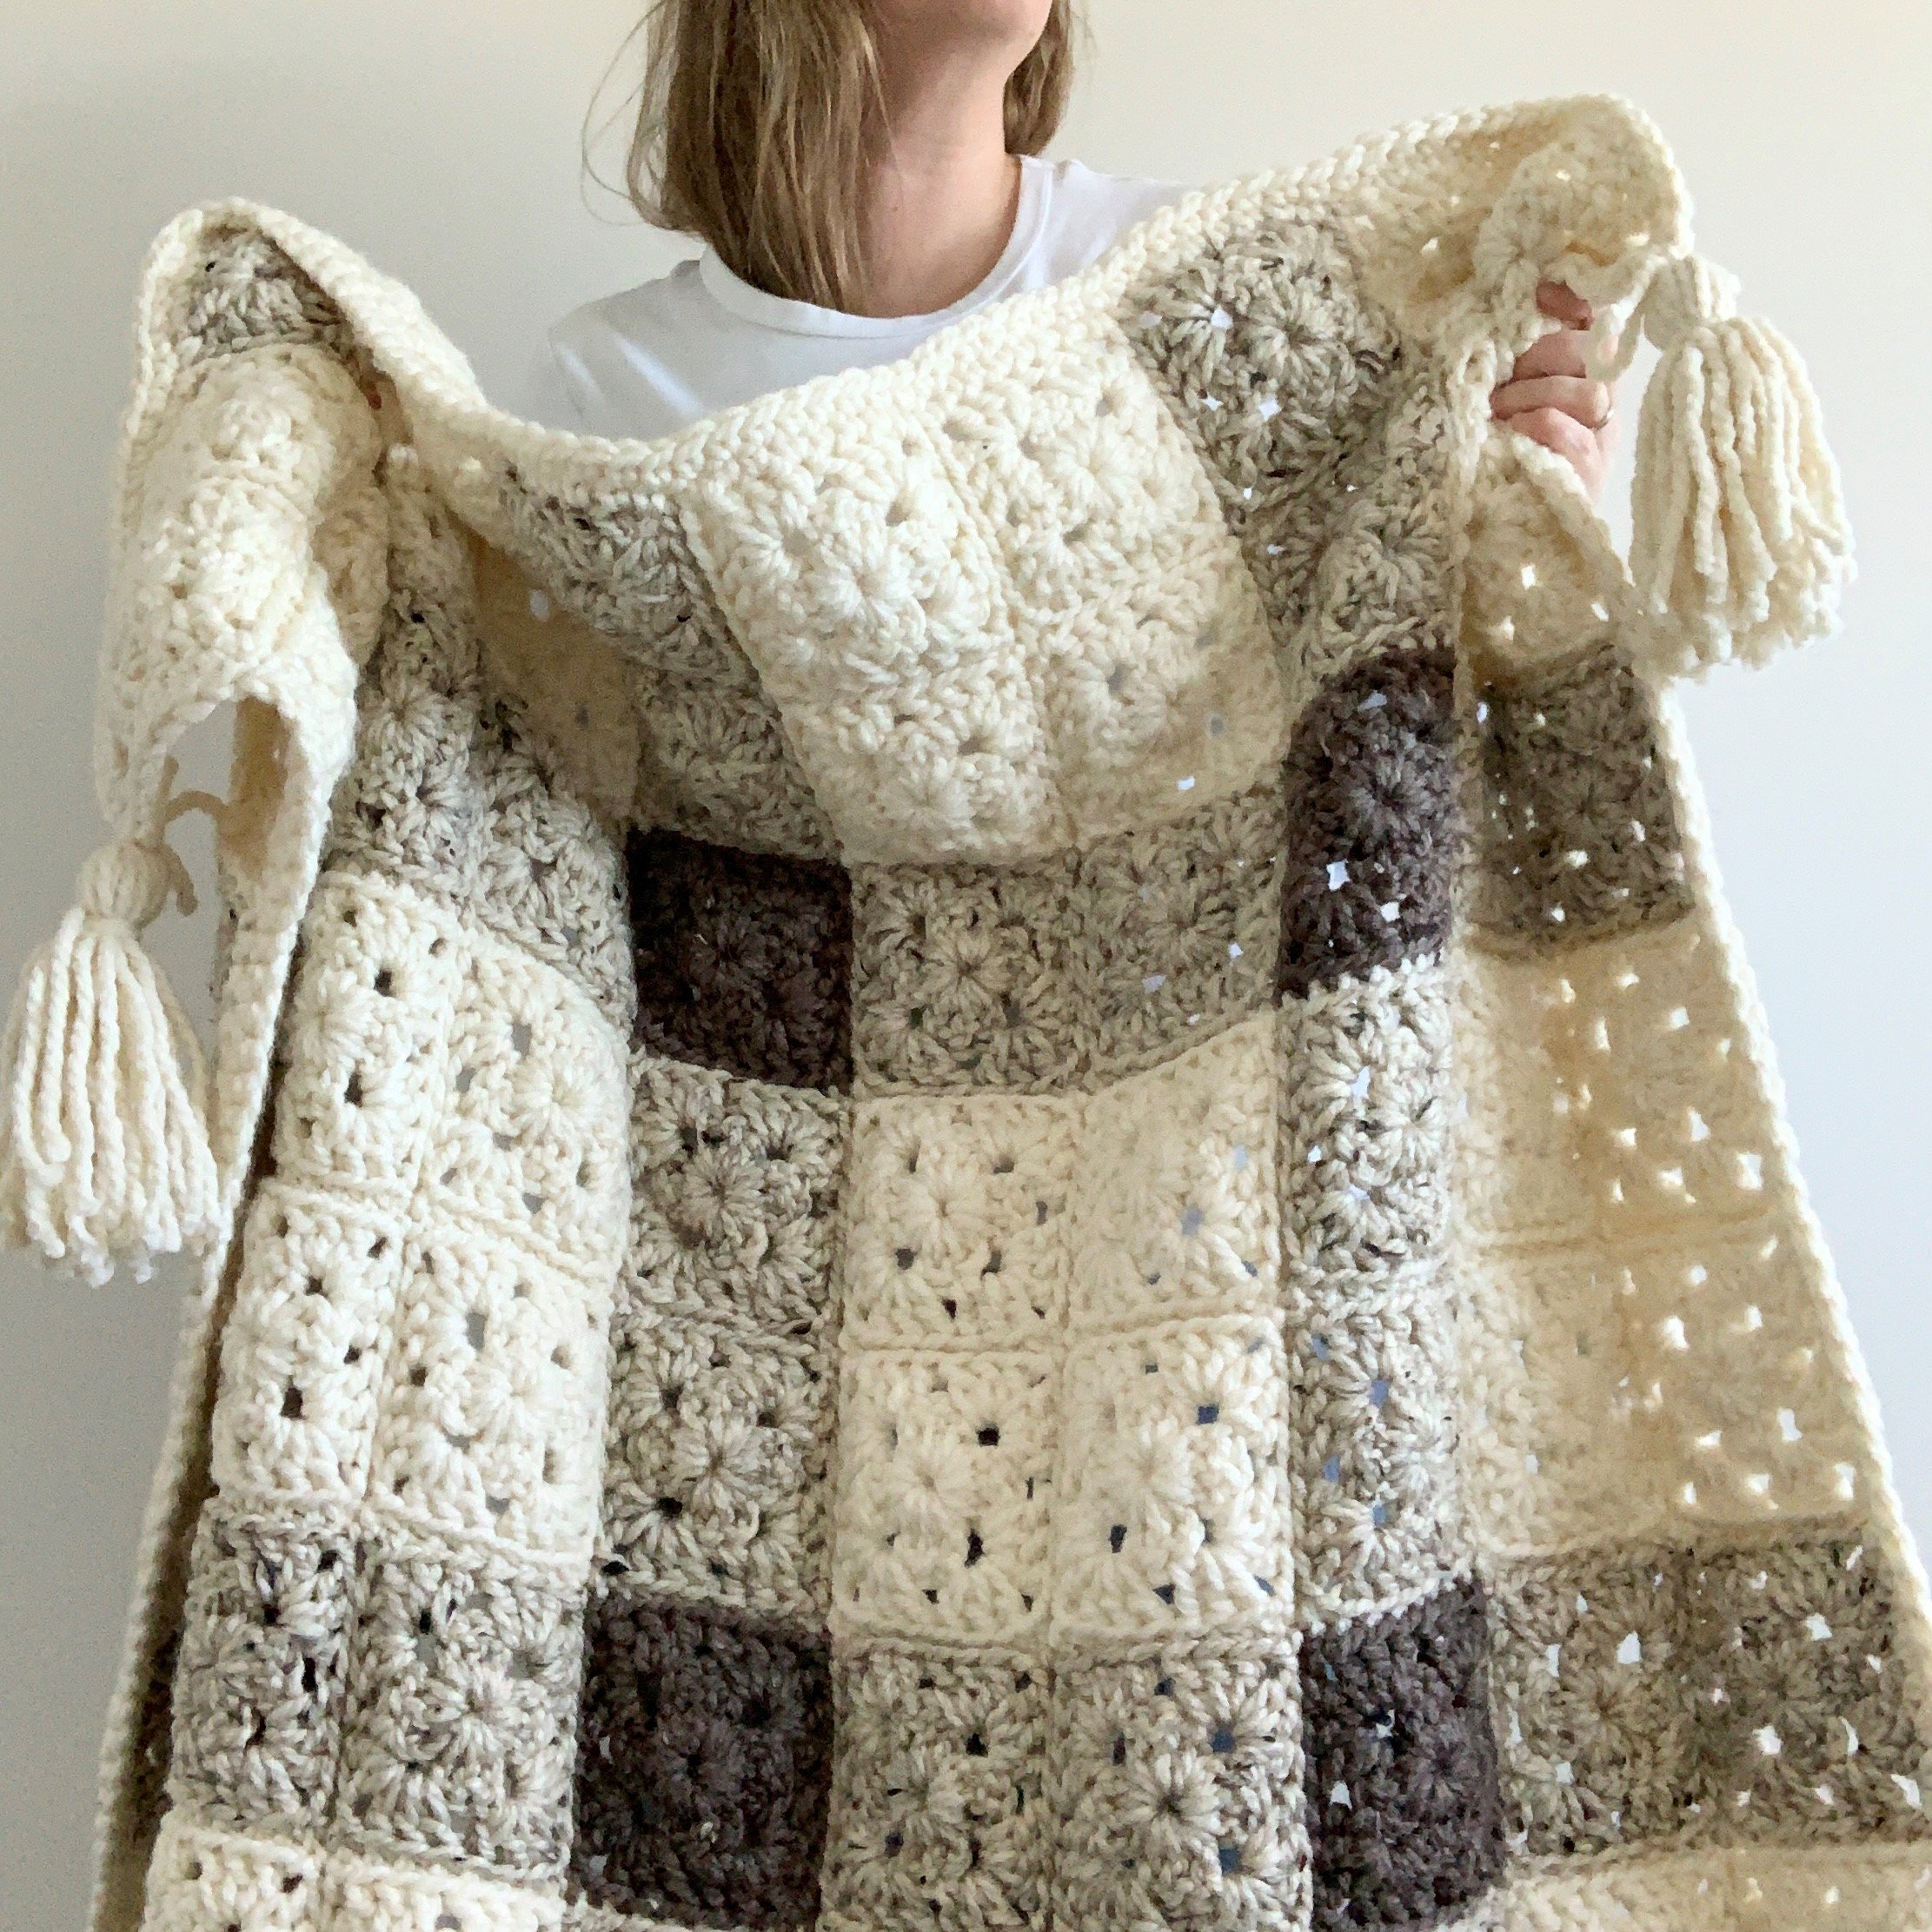
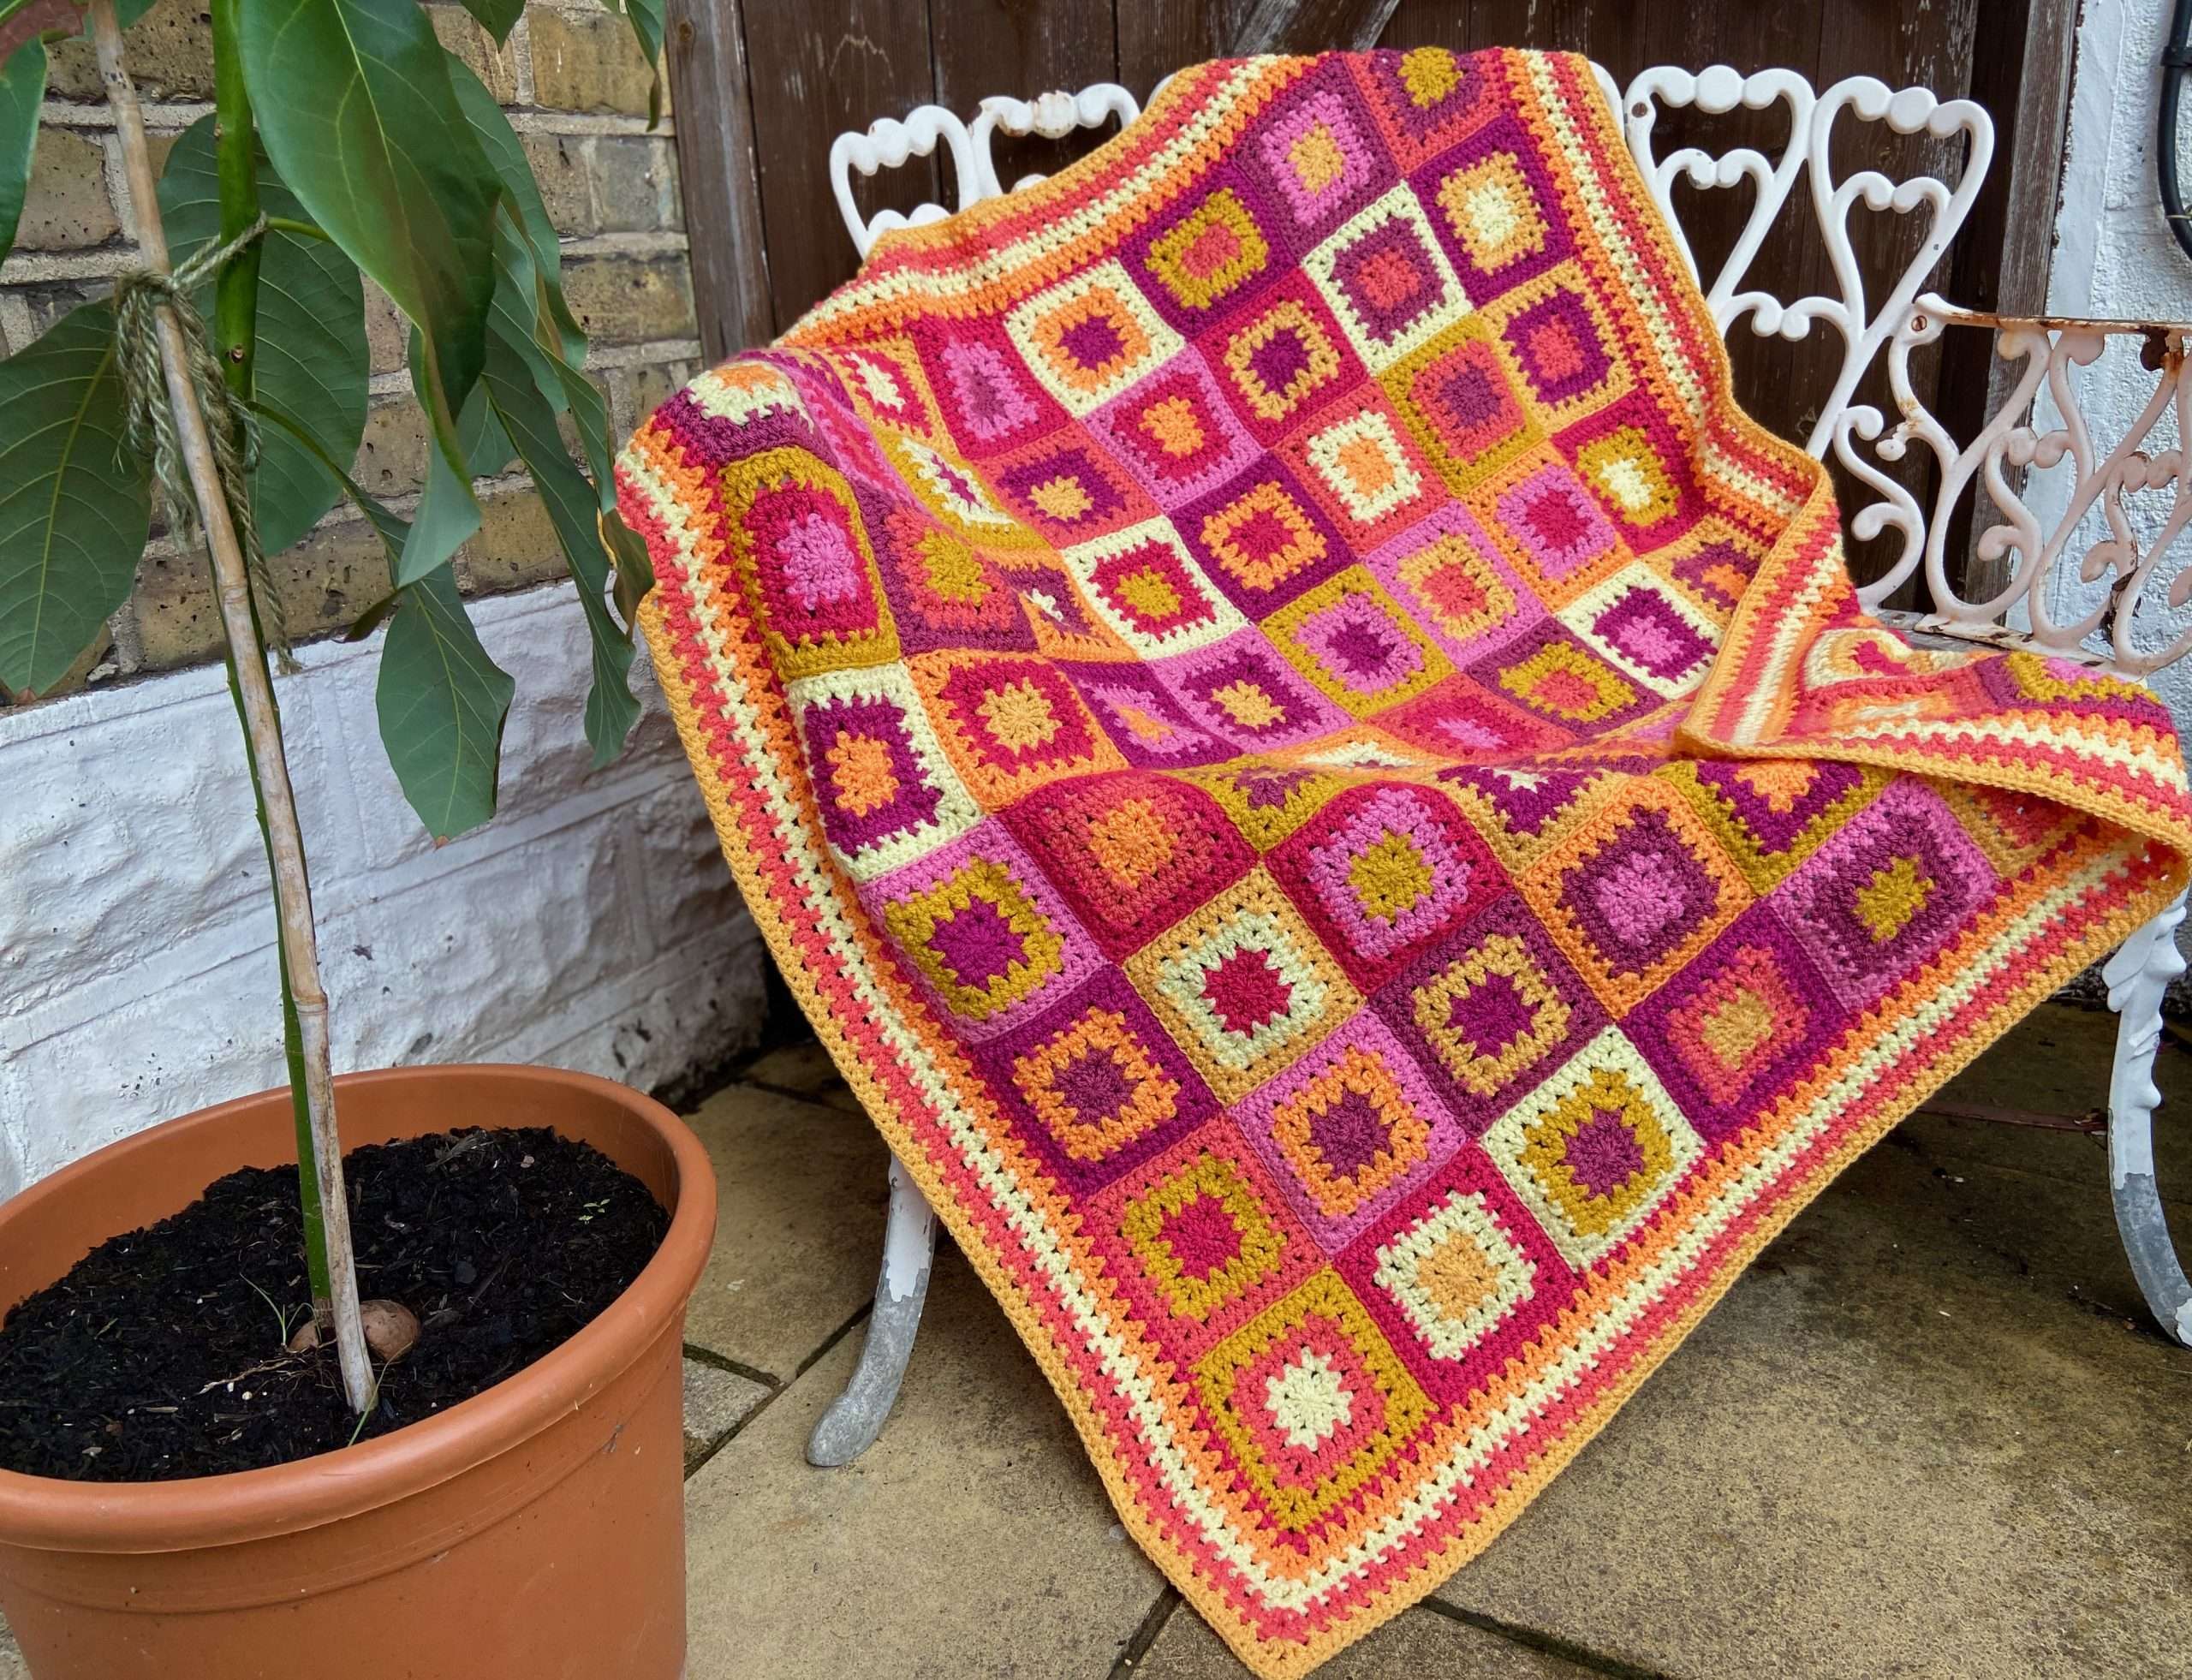
- Size Considerations: Decide how large you want your blanket to be by continuing to add rounds of granny squares until it reaches your desired size. You can stick with one color for each square or experiment with different color combinations for a more vibrant look.
Joining Squares
- Assembly: Once you have enough granny squares, lay them out in your desired pattern. You can join them using a slip stitch method, whip stitch, or by crocheting them together depending on your preference. Finishing Touches
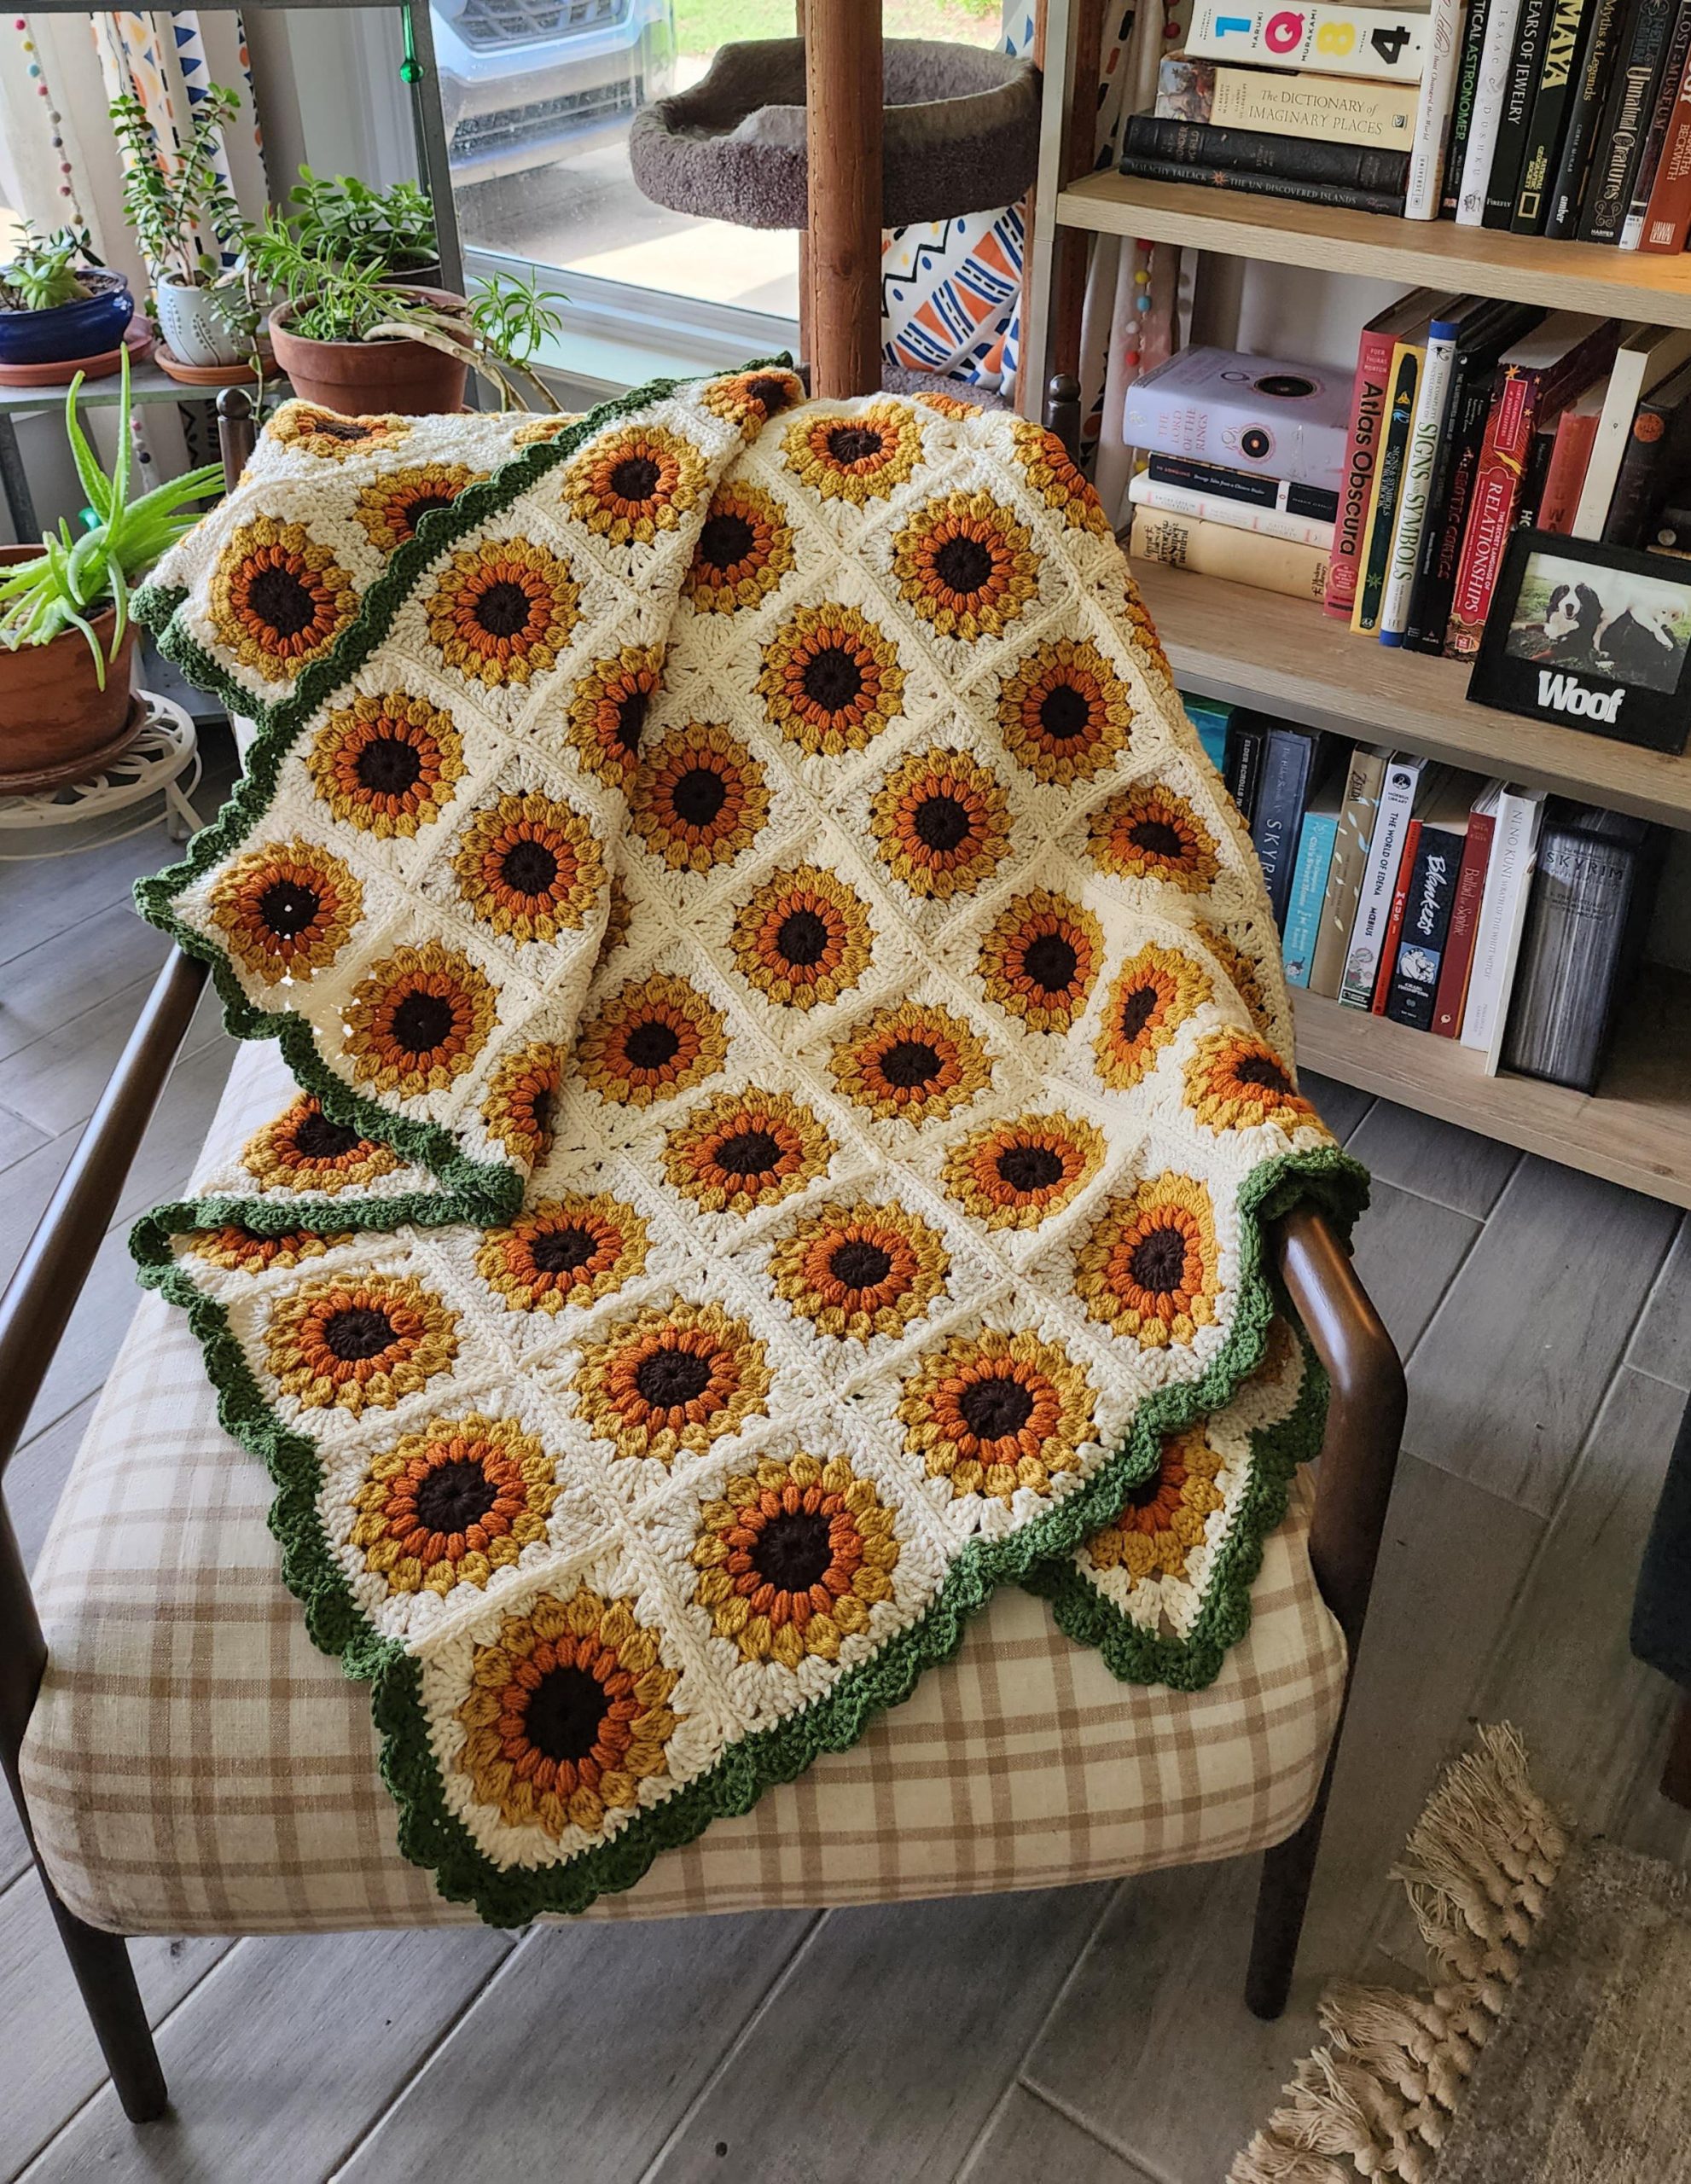
- Border: To finish your blanket, add a border around the entire edge. This can be a simple round of single crochet or a more elaborate border pattern of your choice. Be sure to weave in any loose ends and trim excess yarn for a polished look.
Tips for Success:
- Consistent Tension: Maintain even tension throughout to ensure uniform squares.
- Blocking: Consider blocking your squares before assembly to ensure they are all the same size and shape.
- Experiment: Don’t be afraid to experiment with colors and yarn textures to create a unique design.
Why Crochet a Granny Square Blanket?
Crocheting a granny square blanket is a beloved tradition that offers both relaxation and creativity. It’s a wonderful way to create something handmade and heartwarming, perfect for snuggling up on chilly evenings or gifting to loved ones. The versatility of granny squares allows you to tailor the design to your personal style, whether you prefer a vintage-inspired look or a modern twist.
 Introduction to Granny Squares
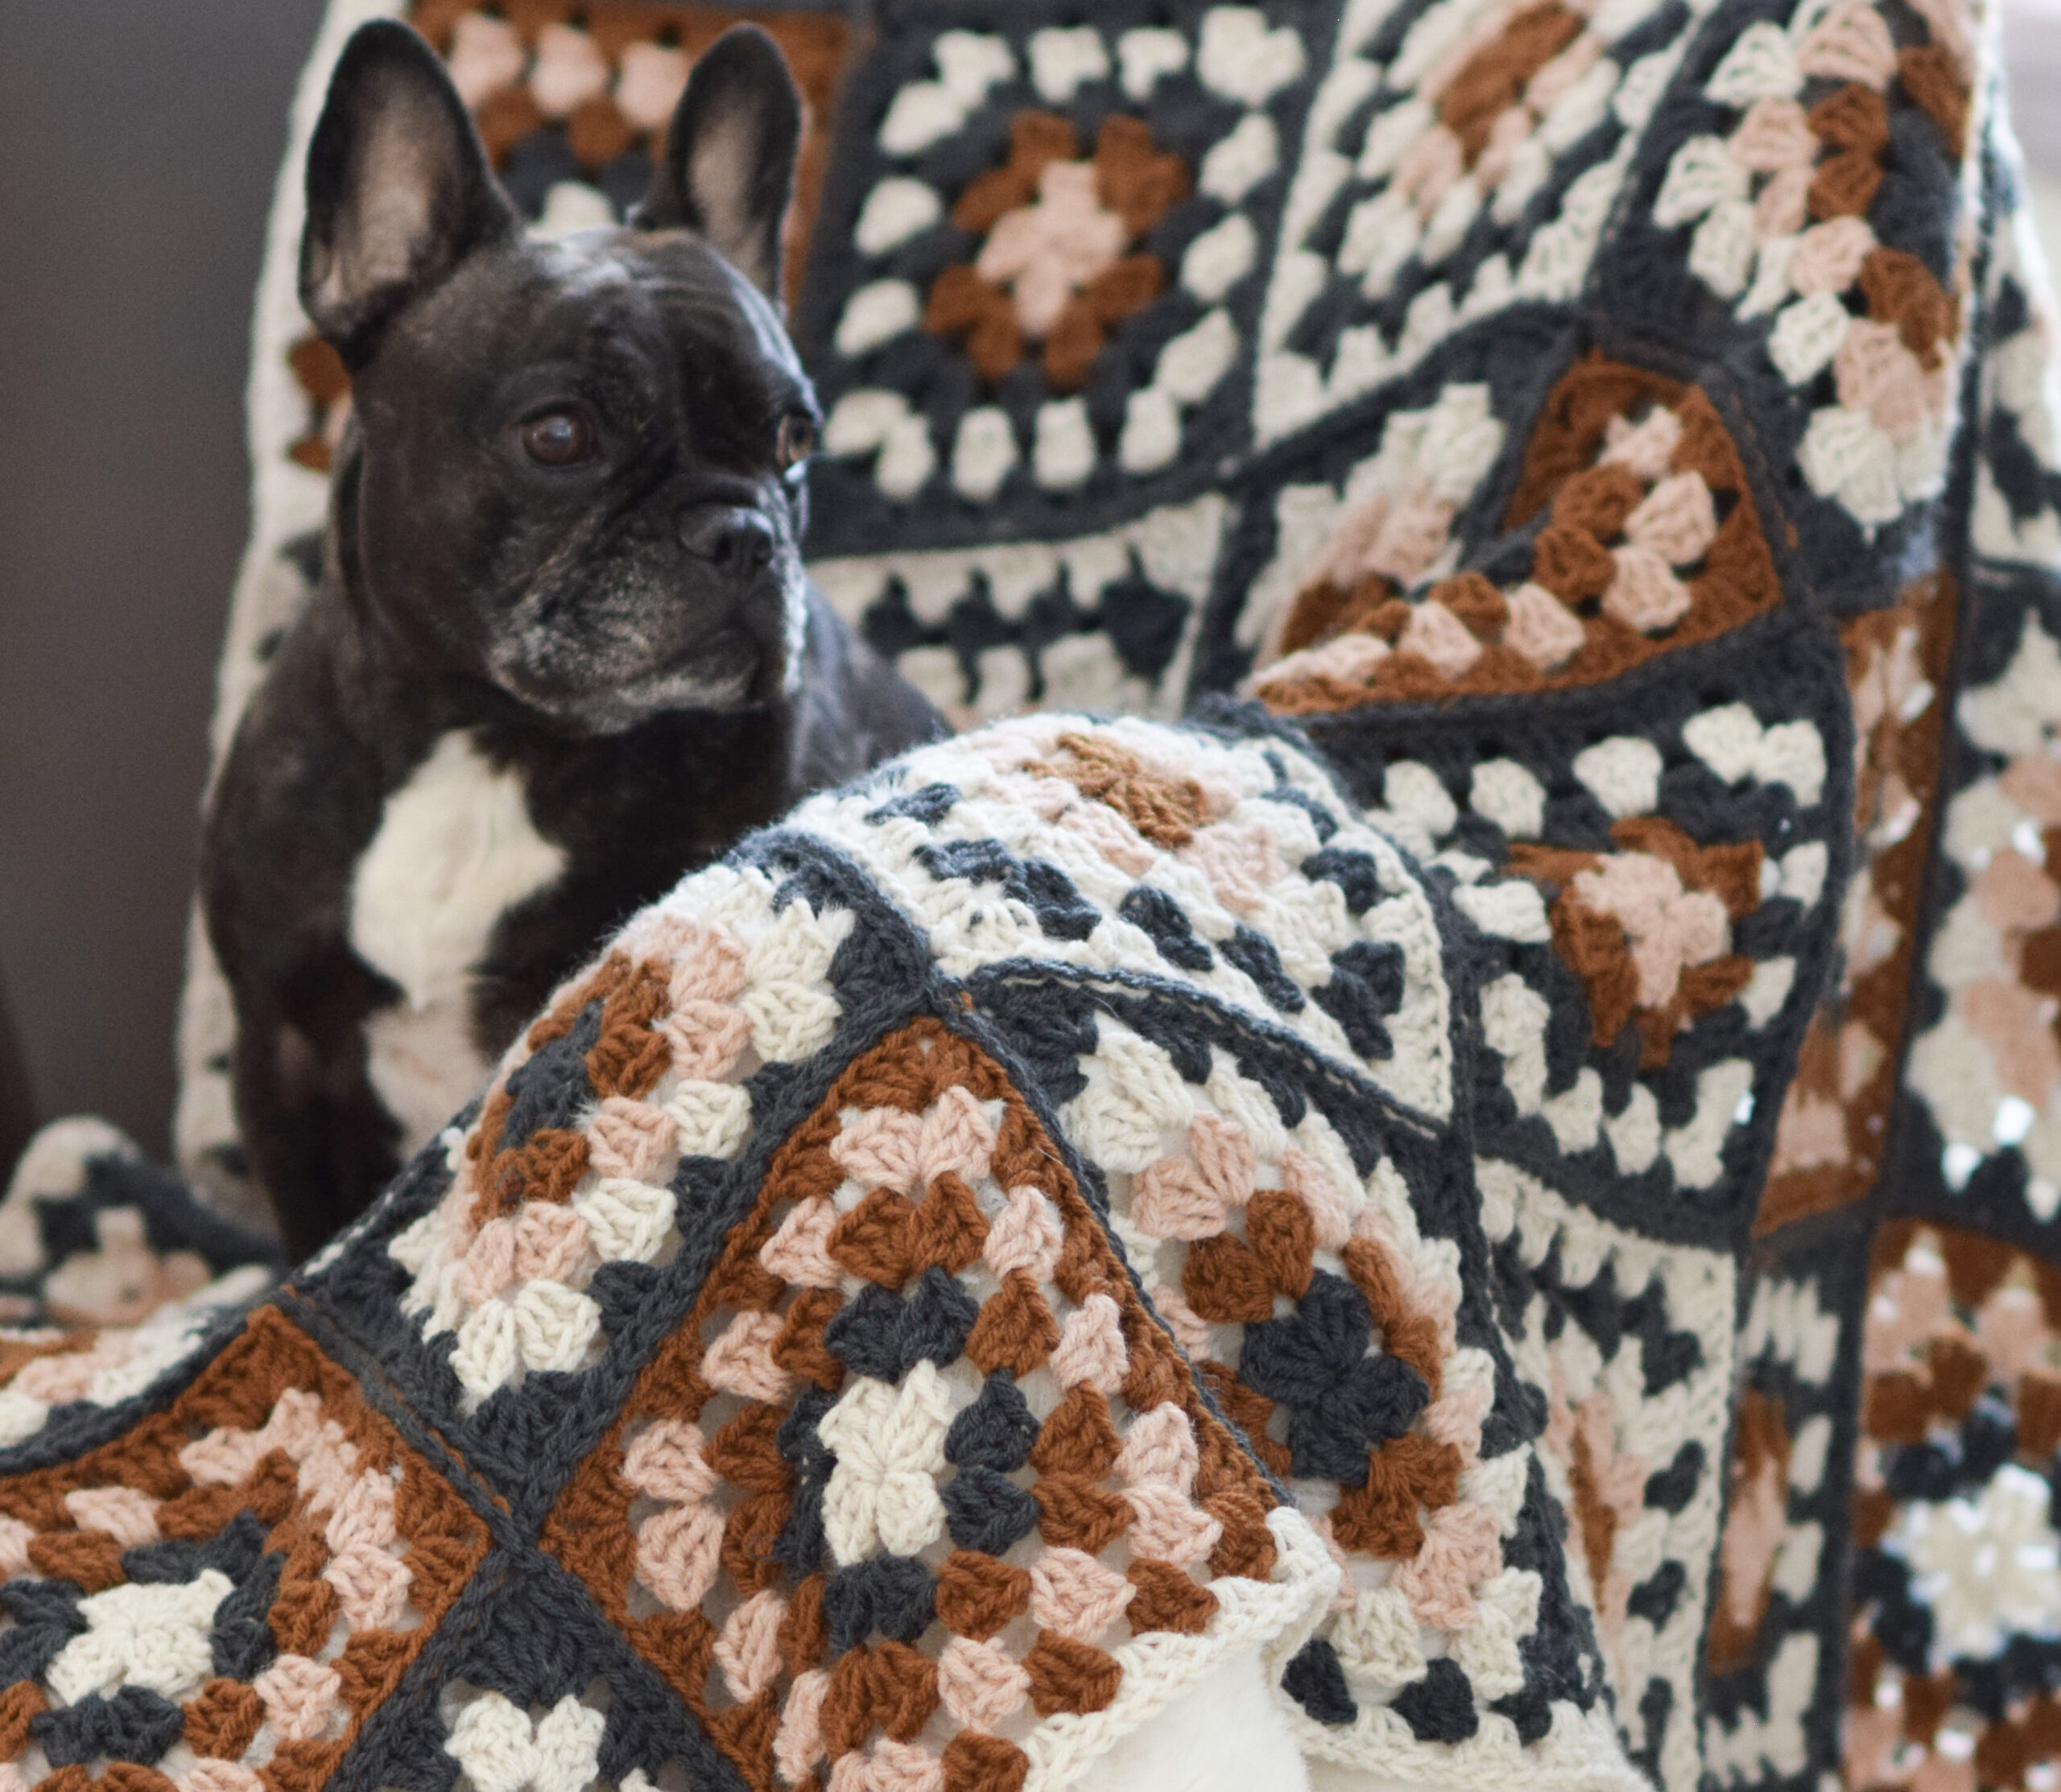
Granny squares are small, usually square-shaped motifs crocheted in rounds, typically consisting of clusters of double crochets separated by chain spaces, forming a latticework pattern. Their charm lies in their simplicity and endless customization possibilities, from color combinations to intricate patterns within each square. They are perfect for using up leftover yarn, making them budget-friendly and environmentally friendly projects.
Materials You’ll Need
- Yarn: Choose a medium-weight (worsted) acrylic or cotton yarn for durability and easy care. Variegated or solid colors, depending on your design vision.
- Crochet Hook: A size H/8 (5.00mm) hook is a good starting point, but adjust according to your yarn label or personal tension.
- Scissors: Sharp scissors for clean cuts.
- Yarn Needle: For weaving in ends.
- Stitch Marker: Optional but helpful for marking the beginning of each round.
Basic Granny Square Pattern
Starting the Center
- Make a Slip Knot: Begin by making a slip knot on your hook.
- Chain 4 (counts as first dc + ch 1): Join with a slip stitch to form a ring.
- Round 1: Ch 3 (counts as first dc), 2 dc into the ring, ch 2, 3 dc into the ring; repeat twice more. Join with a slip stitch to the top of the beginning ch-3.
 Expanding the Square
- Round 2: Slip stitch into the next ch-2 space, ch 3, 2 dc, ch 2, 3 dc in the same space (forms a corner), [3 dc, ch 2, 3 dc] in each ch-2 space around. Join with a slip stitch to the top of the beginning ch-3.
Repeat this process, increasing the number of dc clusters in each ch-2 space for subsequent rounds, creating corners by working [3 dc, ch 2, 3 dc] in the corner spaces. Continue until the square reaches your desired size.
Customizing Your Granny Square Blanket
- Color Play: Vary colors every round or section to create a vibrant, patchwork effect.
- Texture and Stitch Variations: Experiment with different crochet stitches within the squares for added visual interest.
- Join-as-You-Go Method: Instead of crocheting individual squares and sewing them together later, join squares as you crochet the final round, saving time and effort.
- Borders: Finish your blanket with a decorative border to unify the look and frame your masterpiece.
Tips for Success
- Tension: Maintain an even tension throughout to keep your squares uniform.
- Counting Stitches: Regularly count your stitches to ensure accuracy.
- Blocking: Block your squares before assembly to even out any inconsistencies and enhance the final appearance.
- Design Layout: Lay out your squares before缝合 to play with color arrangements and patterns.
 Conclusion
The granny square blanket pattern is more than just a project—it’s a creative journey that connects crocheters across generations. Whether you opt for a traditional approach or infuse your own modern twist, the process of transforming simple squares into a cherished blanket is deeply rewarding. With this comprehensive guide, you’re equipped to embark on a crochet adventure that results in a timeless piece, woven with love and tradition. So, pick up your hook, choose your yarn, and let the rhythmic dance of crochet stitches guide you towards a classic charm that will be treasured for years to come.
