Introduction:
How to make a fleece blanket – There’s nothing quite like snuggling up with a warm and cozy fleece blanket on a chilly evening or lazy Sunday afternoon. Not only do they provide unparalleled comfort, but homemade fleece blankets also make thoughtful, personalized gifts for loved ones. The best part? You don’t have to be an expert seamstress or own fancy equipment to create one! With this comprehensive step-by-step guide, you’ll learn how to make a DIY fleece blanket that’s not only practical but also a charming addition to your home decor.
Materials You’ll Need:
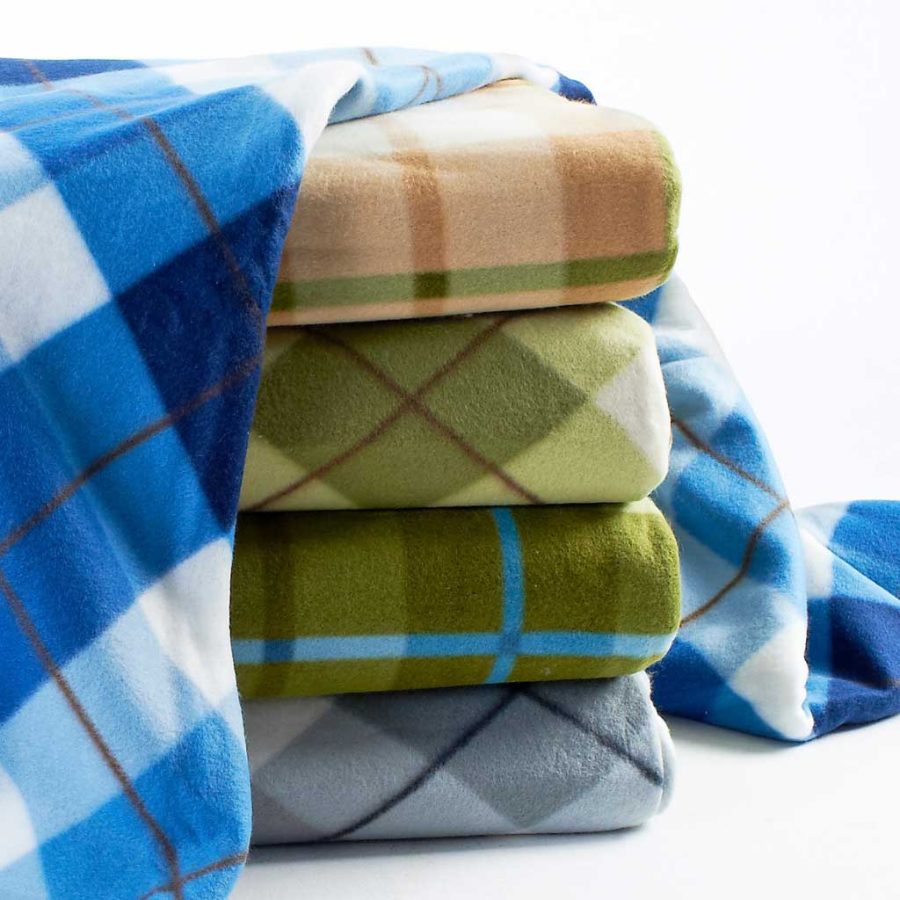
- Fleece Fabric: Choose two pieces of complementary fleece fabric, each measuring about 2 yards (or more, depending on the desired size of your blanket). Fleece comes in various prints, patterns, and colors, so let your creativity shine!
- Scissors: A good pair of fabric scissors is essential for clean cuts.
- Ruler or Tape Measure: For measuring and marking straight lines.
- Pins: To hold the layers together temporarily.
- Fabric Pen or Chalk: To mark cutting lines without damaging the fabric.
- Optional: Rotary Cutter and Cutting Mat for more precision and ease in cutting.
Step-by-Step Instructions:
1. Prepare Your Workspace
- Clear a large, flat surface where you can spread out your materials.
- Lay down the first piece of fleece fabric with the printed side facing up.
2. Layering the Fabric
- Place the second piece of fleece on top of the first, aligning the edges as closely as possible, with the printed side facing down. This creates a “sandwich” with the wrong sides together.
3. Trim and Square Up the Edges
- Use your ruler and fabric pen to mark any uneven edges, then trim them off to ensure both layers are perfectly square and even.
4. Mark and Cut Corners
- Decide on the width of your fringe. A common choice is 4-6 inches. Measure and mark parallel lines across each corner, stopping these marks short of the center by the desired fringe width.
- Connect the marks with a straight line using your ruler, creating a square or rectangle in the corner that will be removed.
5. Cutting the Fringe
- Along all four sides, measure and mark lines at your chosen fringe width intervals, stopping about 1 inch from the corner cutout.
- Carefully cut through both layers of fleece along these lines, making sure not to cut past your corner markings. This creates strips for tying later.
6. Tying the Fringe
- Starting from one corner, take the top strip from the top layer and the bottom strip from the bottom layer, and tie them into a simple knot. Ensure the knots are tight but not overly stretched.
- Continue tying knots down the length of one side, moving to the next side once completed, until all edges are tied.
Optional Decorative Knots:
For a more decorative touch, consider these knot variations:
- Double Knot: Tie a regular knot, then bring the ends around again and tie another knot.
- Braided Knot: Braid the top and bottom strips together before tying them into a knot.
- Sewn Knot: Instead of tying, you can sew the edges together using a whipstitch or a sewing machine for added durability.
Finishing Touches:
- Give your blanket a gentle shake to fluff up the fringe and inspect for any missed ties or uneven edges.
- If desired, you can add personalization by embroidering names, monograms, or special messages onto a corner or edge.

Materials Needed:
- Fleece Fabric:
- Choose two pieces of fleece fabric. You can use the same pattern for both sides or mix and match patterns for a more creative look.
- Standard fleece fabric is usually 60 inches wide. For a typical throw blanket size, aim for 1.5 to 2 yards of each fabric.
- Scissors or Rotary Cutter:
- Sharp fabric scissors or a rotary cutter with a cutting mat for precise cutting.
- Measuring Tape or Ruler:
- To measure and mark the fabric accurately.
- Pins or Clips:
- Optional but helpful for keeping the layers together while cutting and sewing.
- Sewing Machine and Thread:
- A sewing machine is recommended for a more secure finish, but you can also hand sew using a needle and thread if you prefer.
Step-by-Step Instructions:
Prepare Your Workspace
- Clear a large, flat surface to work on, such as a table or floor. Ensure it’s clean and free of debris to prevent snagging the fabric.
Prepare the Fabric
- Lay Out the Fabric: Spread out both pieces of fleece fabric on top of each other with the right sides facing out. Smooth out any wrinkles.
- Trim the Edges: Use scissors or a rotary cutter to trim off any uneven edges or selvage edges along the sides of the fabric.
Cut the Fabric
- Measure and Mark: Measure and mark the fabric to the desired size of your blanket. Standard throw blanket sizes are approximately 50×60 inches or 60×72 inches.
- Cutting: Cut both pieces of fleece fabric to the same size. Ensure they match up perfectly to avoid uneven edges.
Prepare the Edges (Optional)
- Round the Corners (Optional): If you prefer rounded corners, use a round object like a small plate or a round ruler to trace and cut the corners.
- Tie Fringe (Optional): To add a decorative touch, you can create a fringe along the edges of the blanket. Cut strips about 4 inches deep and 1 inch wide along all four edges of the blanket.
Sew the Blanket Together (Optional)
- Pin or Clip Layers: Pin or clip the two layers of fleece together around the edges to keep them aligned while sewing.
- Sew Around the Edges: Using a sewing machine or needle and thread, sew a straight stitch around the entire edge of the blanket, leaving a 1-inch seam allowance. Start sewing about 4-6 inches from a corner to leave space for turning the blanket inside out.
- Leave an Opening: Remember to leave a gap (about 4-6 inches) unsewn on one side to turn the blanket right side out.
Turn the Blanket Right Side Out
- Trim Excess Threads: Trim any loose threads and excess fabric from the corners to reduce bulk.
- Turn Through the Opening: Carefully turn the blanket right side out through the opening you left. Use a pencil or a chopstick to gently push out the corners for a crisp edge.
Close the Opening
- Hand Stitch the Opening: Fold the raw edges of the opening inside and hand stitch it closed using a slip stitch or ladder stitch. Ensure the stitches are neat and secure.
Finish the Blanket (Optional)
- Topstitch Around the Edge (Optional): For a professional finish and added durability, topstitch around the entire edge of the blanket, about ¼ inch from the edge.
Wash and Enjoy
- Wash the Blanket: Before using or gifting the blanket, wash it according to the fabric care instructions to soften the fleece and remove any remaining fabric markings or dust.
- Enjoy Your Blanket: Your homemade fleece blanket is now ready to keep you warm and cozy or to give as a thoughtful gift!
Tips:
- Choose High-Quality Fleece: Quality fleece fabric will result in a softer and more durable blanket.
- Experiment with Patterns: Mix and match different patterns or colors for a unique look.
- Personalize It: Add embroidery, appliqué, or fabric patches to personalize your blanket.
Making a fleece blanket is a straightforward and enjoyable project that even beginners can tackle. Whether for yourself or as a gift, a homemade fleece blanket is sure to be cherished for its warmth and the effort put into creating it.
Conclusion:
With this easy-to-follow guide, creating a DIY fleece blanket becomes a fun and fulfilling project that not only keeps you warm, but also warms hearts when gifted. It’s a fantastic way to introduce yourself to sewing crafts without the complexity of traditional sewing projects. Plus, the softness and versatility of fleece make it suitable for all ages and purposes, from naptime companions to picnic blankets. So, gather your materials, roll up your sleeves, and get ready to wrap yourself (or someone you love) in a cozy hug made by your own hands. Happy crafting!