Introduction
How to hand knit a blanket – Hand knitting a cozy blanket is a wonderful way to create a personal, warm, and comforting addition to your home or to give as a heartfelt gift. This step-by-step guide will take you through the process, from choosing your materials to binding off your final stitches. Whether you’re a beginner or an experienced knitter looking for a new project, this guide has something for everyone.
Choose Your Yarn and Needles
Yarn Selection:
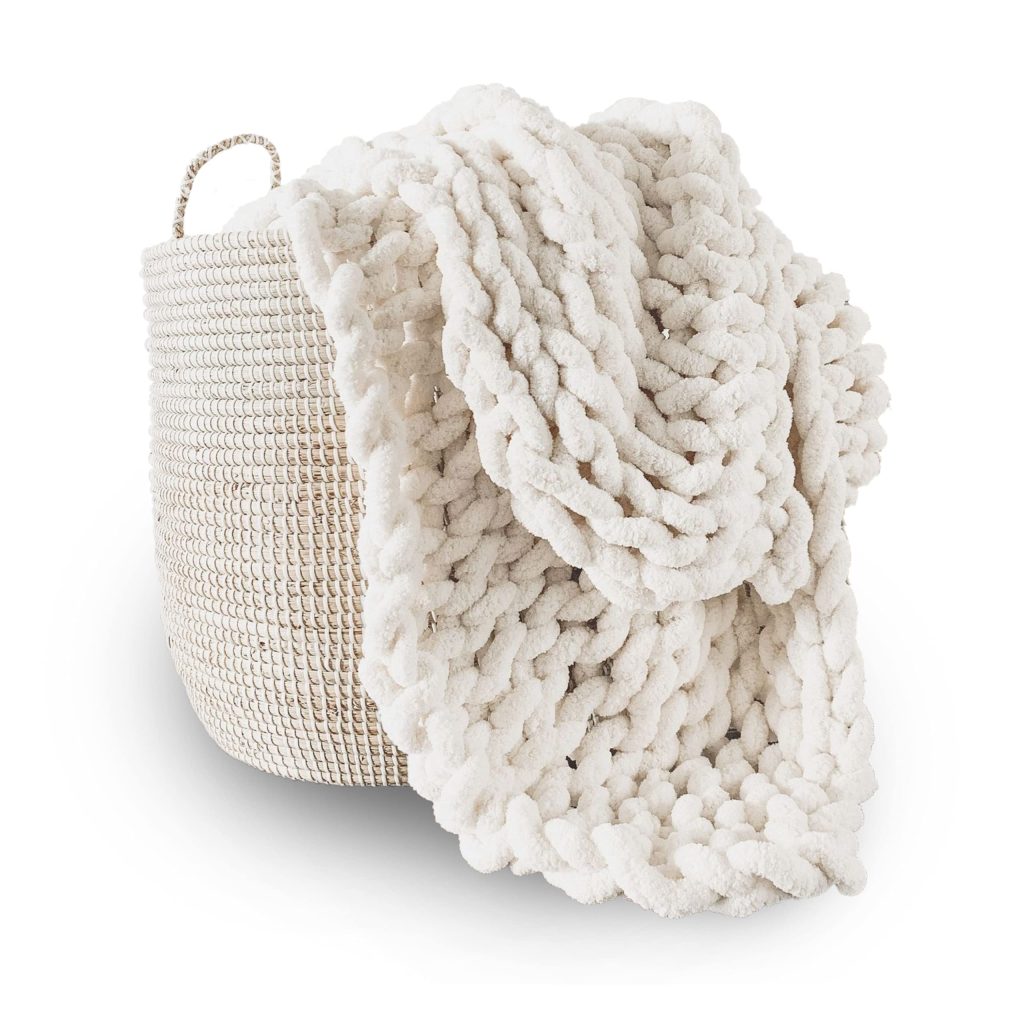
Selecting the right yarn is crucial for both the look and feel of your blanket. Consider factors like warmth, softness, washability, and color when making your choice. For a cozy blanket, bulky or chunky weight yarns are great options as they create a warm and fluffy texture quickly. Natural fibers like wool, alpaca, or a blend can provide excellent insulation, while acrylics are often more affordable and easier to care for.
Needle Size:
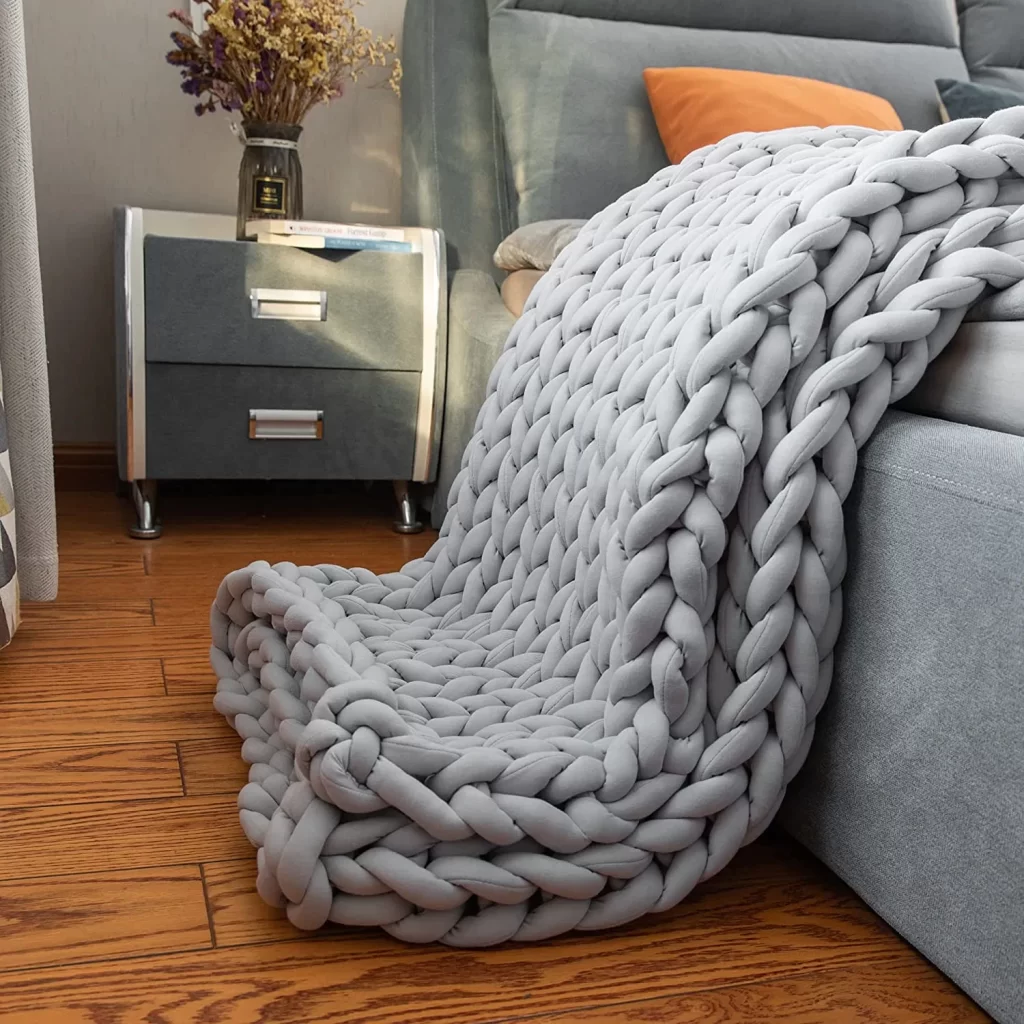
The size of your knitting needles will depend on the yarn you choose. Check the yarn label for recommended needle sizes, typically ranging from US size 9 to 15 for bulky/chunky yarns. Using larger needles can create a looser with more drape, while smaller needles will result in a tighter weave.
Gauge Swatch (Optional but Recommended)
Before diving into your project,a small square (around 4 inches by 4 inches) using your chosen yarn and needles. This gauge swatch helps ensure that your finished blanket will be the size and density you desire. If yours too loose or tight, adjust your needle size accordingly and another swatch until you achieve the desired density.
Calculate Yardage and Cast On
Determine how large you want your blanket to be (e.g., a common throw size is about 40 inches by 60 inches). Multiply the width and length by the number of stitches per inch from your gauge swatch to calculate the total number of stitches needed. Don’t forget to add a few extra stitches for the edges and any pattern repeats.
Using the long-tail cast-on method (or your preferred method), cast on the calculated number of stitches onto your needle.
Choose Your Pattern
Decide on thepattern for your blanket. Simple stitches like garter stitch (knitting every row) or stockinette stitch (alternating knit and purl rows) are perfect for beginners and create a classic look. More advanced knitters might opt for cable patterns, lace, or colorwork for added visual interest. Ensure you understand the pattern before proceeding.
Begin Knitting
With your pattern in mind, start your blanket. Keep track of your rows, especially if following a complex pattern. Use stitch markers to denote pattern repeats or edges, which can help keep your even and organized.
Join New Skeins and Weave in Ends
As youthrough your yarn, you’ll need to join new skeins. To do this, overlap the ends of the old and new yarns for a few stitches, then weave in the tales later. When switching colors or finishing off a skein, leave a long tail (approximately 6 inches) to weave in securely once the is complete.
Binding Off
Once your blanket reaches the desired length, it’s time to bind off. This step secures your final row of stitches so they don’t unravel. A basic bind-off method involves knitting two stitches, then passing the first stitch over the second and off the needle, repeating until one stitch remains. Cut the yarn, leaving a long tail, thread it through the last stitch, and pull tight to secure.
Finishing Touches
Weave in all the loose ends using a yarn needle, ensuring they’re tucked neatly and securely within the to avoid unraveling. Give your blanket a gentle wash according to the yarn’s care instructions, and lay flat to dry to maintain its shape.
Enjoy Your Creation
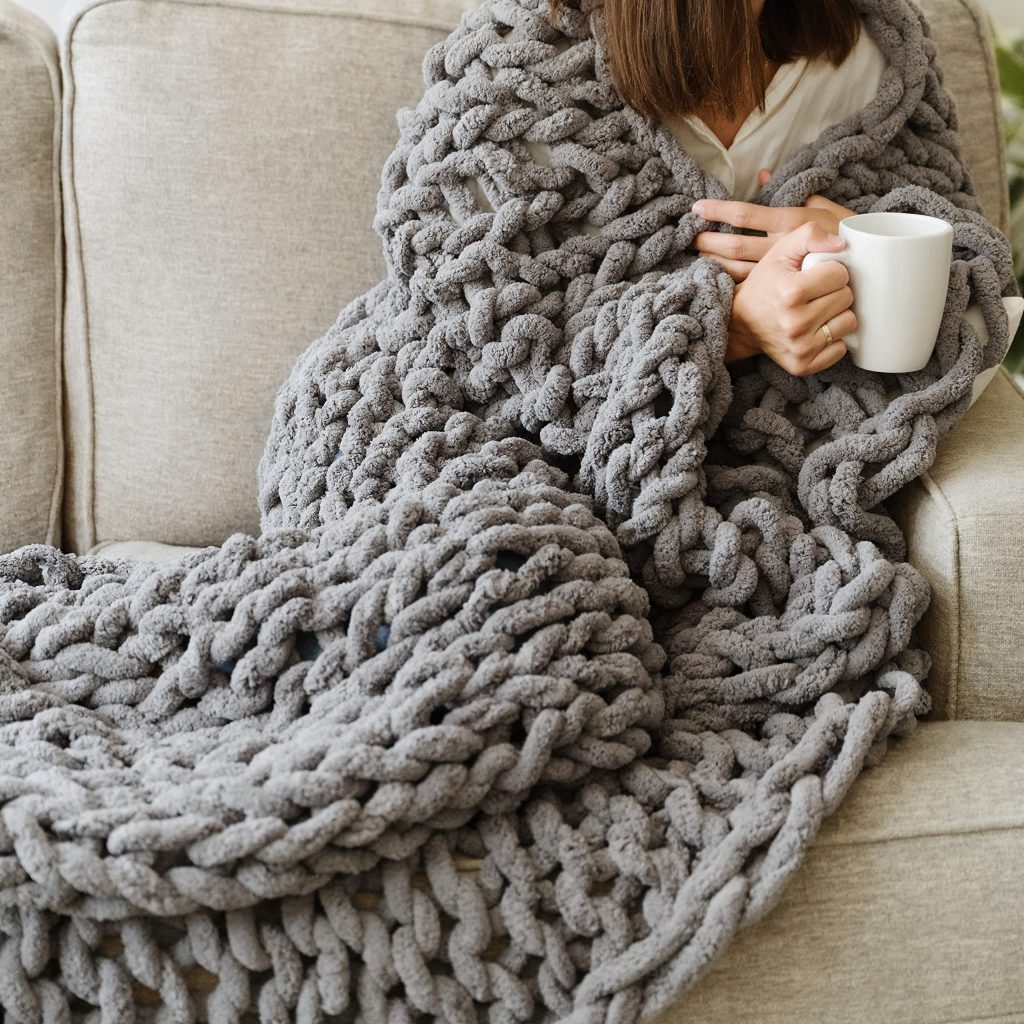
Wrap yourself up in your handmade blanket and enjoy the fruits of your labor! Not only does it provide physical warmth, but the satisfaction of creating something unique with your own hands adds an extra layer of coziness.
Hand knitting a blanket is a labor of love that requires patience and dedication. The process itself can be therapeutic, and the end result—a beautiful, personalized creation that can be cherished for years to come. Happy knitting!
Getting Started – Materials & Preparation
- Selecting Yarn: For beginners, it’s advisable to start with a medium-weight (worsted) yarn as it’s easy to handle and shows stitch patterns clearly. Choose a material that feels soft against the skin, like acrylic or wool blends, and decide on a color that brings you joy.
- Knitting Needles: A pair of size US 8 (5mm) straight needles is an excellent starting point for most worsted weight yarns. Bamboo or wooden needles offer a good grip for beginners.
- Measuring Tape, Scissors, & Stitch Markers: These basic tools will come in handy throughout your knitting journey.
- Pattern Selection: Start simple. A garter stitch (knitting every row) or stockinette stitch (knit one row, purl one row) blanket is perfect for beginners.
Understanding the Basics
- Casting On: This is how you start your knitting project. The long-tail cast-on method is a popular choice for its elasticity and neat appearance. To do this, measure out a tail of yarn about three times the width of your desired blanket, then follow step-by-step tutorials until you have the required number of stitches on your needle.
- Knit Stitch: This basic stitch forms the foundation of many patterns. Hold the needle with the cast-on stitches in your left hand, insert the right needle into the first stitch from front to back, wrap the yarn around the right needle from back to front, and draw it through the stitch, slipping the original stitch off the left needle.
- Purl Stitch: The counterpart to the knit stitch, used when creating patterns like stockinette stitch. Hold the yarn in front of your work, insert the right needle from back to front into the first stitch on the left needle, wrap the yarn around the right needle from front to back, and draw it through the stitch.
The Process of Knitting Your Blanket
- Choosing a Design: Decide whether you want a solid-colored, striped, or patterned blanket. Stripes can be created by switching colors at the end of each row.
- Measuring: Measure your work periodically to ensure it’s growing to the desired dimensions. Don’t worry if it starts to curl; this is natural for stockinette stitch and will resolve once the piece is complete and blocked.
- Joining New Yarn: When you run out of yarn or want to change colors, tie a new strand onto the old one using a simple knot, leaving a few inches of tail. Later, these tails can be woven in neatly on the wrong side of your work.
Finishing Touches
- Binding Off: Once your blanket reaches the desired size, it’s time to bind off. This process secures the live stitches so they don’t unravel. A basic bind-off involves knitting two stitches, passing the first over the second and off the needle, repeating until only one stitch remains.
- Weaving in Ends: Use a tapestry needle to weave in all the yarn tails on the wrong side of your blanket, making sure they’re secure and invisible from the front.
-
Blocking: This final step involves gently stretching and shaping your blanket to even out stitches and enhance its drape. Lay it flat on a blocking mat or clean towels, spray lightly with water, and leave it to dry naturally.
Conclusion:
Hand knitting a blanket is a rewarding project that combines creativity, patience, and love. As you progress, you’ll find yourself developing a rhythm, and before long, you’ll be cuddled up under a warm, handmade hug that you crafted yourself. Remember, practice makes perfect, and every stitch is part of your unique crafting journey. Happy knitting!