Introduction:
Fleece blanket diy – There’s nothing quite like snuggling up with a warm, soft blanket on a chilly evening or lazy Sunday afternoon. Fleece blankets, with their incredible softness and versatility, have become a popular choice for both cozy nights in and outdoor adventures. Creating your very own DIY fleece blanket not only adds a personal touch to your home but also makes for a heartfelt gift that friends and family will cherish. In this comprehensive guide, we’ll walk you through the process of making a beautiful and comfortable fleece blanket from start to finish.
As the chilly winter months approach, there’s nothing quite as comforting as snuggling up under a warm and cozy blanket. If you’re looking for a creative and practical DIY project that will not only keep you busy during those long winter evenings but also add a personal touch to your home decor, then a no-sew fleece blanket is just the activity for you! Perfect for beginners or anyone who wants to avoid complicated sewing techniques, this easy-to-follow guide will walk you through the steps to create a beautiful and functional fleece blanket without ever picking up a needle and thread.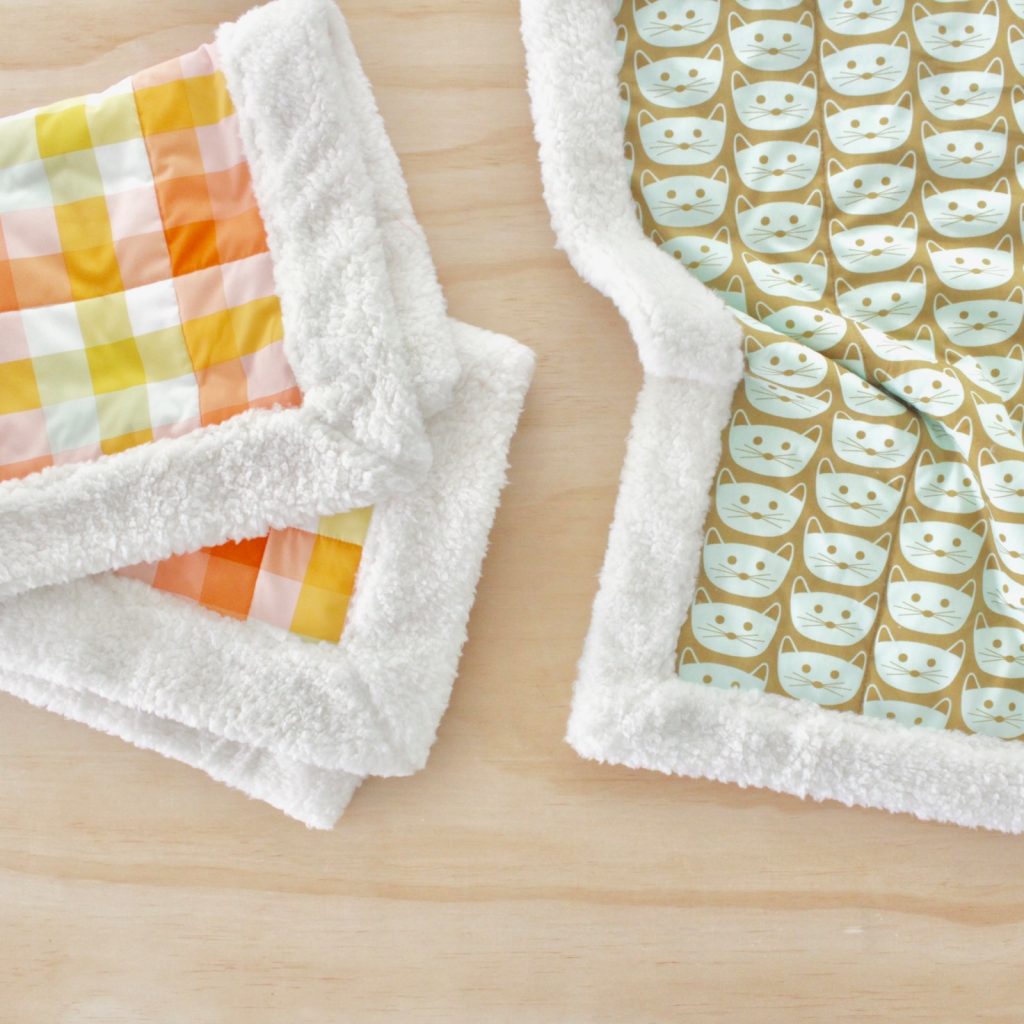
Materials You Will Need:
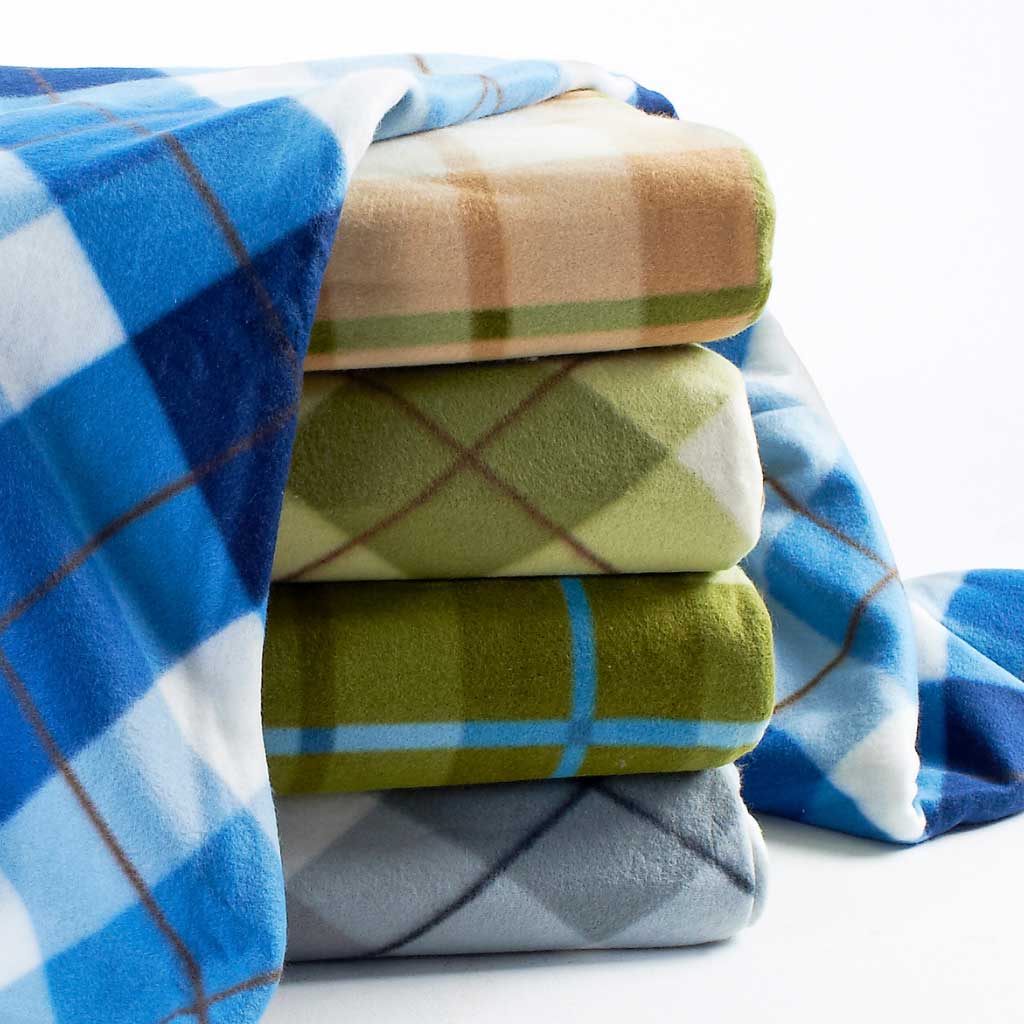
- Fleece Fabric: Choose two pieces of fleece fabric, each measuring about 2 yards (or more, depending on the desired size of your blanket). Ensure one side is patterned and the other can be a complementary solid color or another pattern.
- Scissors: Sharp fabric scissors are essential for clean cuts.
- Ruler or Measuring Tape: For accurate measurements.
- Pins: To hold the fabrics in place while cutting.
- Rotary Cutter and Cutting Mat (optional): These tools can make the cutting process faster and more precise.
- Cardboard or Template for Corners (optional): Helps create even corner cuts.
Preparing Your Workspace
- Clear a large, flat surface to work on. A clean floor or a large table is ideal.
- Lay out your fleece fabrics, one on top of the other, with the right sides facing outward. Ensure the edges are aligned as much as possible.
Trim the Edges
- Use your scissors or rotary cutter to trim any uneven edges so both pieces of fabric are exactly the same size.
Mark and Cut Fringe
- Measure and Mark: Starting from one corner, measure and mark lines every 1 inch along all four edges of the blanket, stopping about 1 inch from the corner. Use a ruler or measuring tape for accuracy.
- Cutting the Fringe: Following your marks, cut through both layers of fabric to create 1-inch-wide by 1-inch-deep strips, being careful not to cut past your stopping point at the corners.
 Create Corner Cuts (Optional)
- To give your blanket a finished look, you can create a decorative corner by cutting off the square formed by the uncut strips at each corner. This can be done freehand or using a cardboard template for uniformity.
Tying the Knots
- Starting the Knots: Take one strip from the top layer and one from the bottom layer from the first set of fringes and tie them together in a simple knot. Make sure it’s tight but not so tight that it puckers the fabric.
- Continue Knotting: Move down the edge, repeating the process for each set of fringe strips until you reach the next corner. Then proceed around the entire blanket.
Finishing Touches
- Once all knots are tied, give your blanket a gentle shake to fluff it up and check for any missed knots or uneven edges.
- If desired, you can add personal touches such as embroidery, appliques, or sewn-on patches to further customize your blanket.
Tips and Tricks:
- When choosing fleece, consider the weight and warmth you desire. Polar fleece is warmer and heavier, while microfleece is lighter and cooler.
- For added coziness, consider using different textures or patterns for the top and bottom layers.
- If you’re new to sewing or crafting, starting with a smaller blanket can make the project less daunting.
- Be patient when tying the knots. It’s the most time-consuming part but also what gives the blanket its unique charm.
- Remember to wash and dry your fleece according to the fabric care instructions before use to prevent any potential shrinkage.
Enjoy Your Handiwork
Congratulations! You’ve successfully made a no-sew fleece blanket that’s perfect for cuddling up with on cold winter nights or gifting to loved ones. Not only is this project incredibly satisfying, but it also adds a personal touch to your home or serves as a thoughtful handmade present.
 Additional Tips:
- When choosing fleece fabrics, consider the recipient’s preferences. Children might love bright colors and cartoon characters, while adults may prefer more subtle patterns or solid colors.
- If you want a thicker blanket, use two layers of heavy fleece. For a lighter option, opt for thinner fleece materials.
- Don’t worry if your knots aren’t perfectly uniform; part of the charm of a homemade blanket is its unique, handmade quality.
- This project is highly customizable. Experiment with different sizes, colors, and patterns to create a blanket that perfectly matches your style or the theme of a room.
With this beginner-friendly no-sew fleece blanket tutorial, you’re well-equipped to craft a cozy piece that will provide warmth and comfort throughout the winter season and beyond. Happy crafting!
Choose Your Fleece
The foundation of your project is the fleece itself, so choose wisely! Fleece comes in various types—polyester being the most common—each offering different levels of softness and warmth. Visit your local fabric store or browse online to find a print or solid color that resonates with your personality. You could opt for a favorite color, a pattern that matches your room decor, or even a themed design featuring your favorite movie, book, or hobby.
Measure and Cut
For a standard throw size blanket, measure out a rectangle that is approximately 50 inches by 60 inches. Use a rotary cutter or sharp fabric scissors to ensure clean, straight edges. If you’re creating a larger blanket or one with specific dimensions, adjust your measurements accordingly. Remember, it’s always better to cut slightly larger than needed, as you can trim down later.
Design Elements
This is where the magic happens! Personalize your blanket by adding unique design elements. Some ideas include:
- Embellishments: Sew on buttons, patches, or appliqués that represent your interests.
- Photos & Text: Print custom designs onto iron-on transfer paper and apply them to your fleece using a household iron. This could be a family photo, a favorite quote, or a meaningful symbol.
- Tie-Dye or Fabric Paint: For a more artistic approach, use fabric-safe dyes or paints to create a one-of-a-kind design.
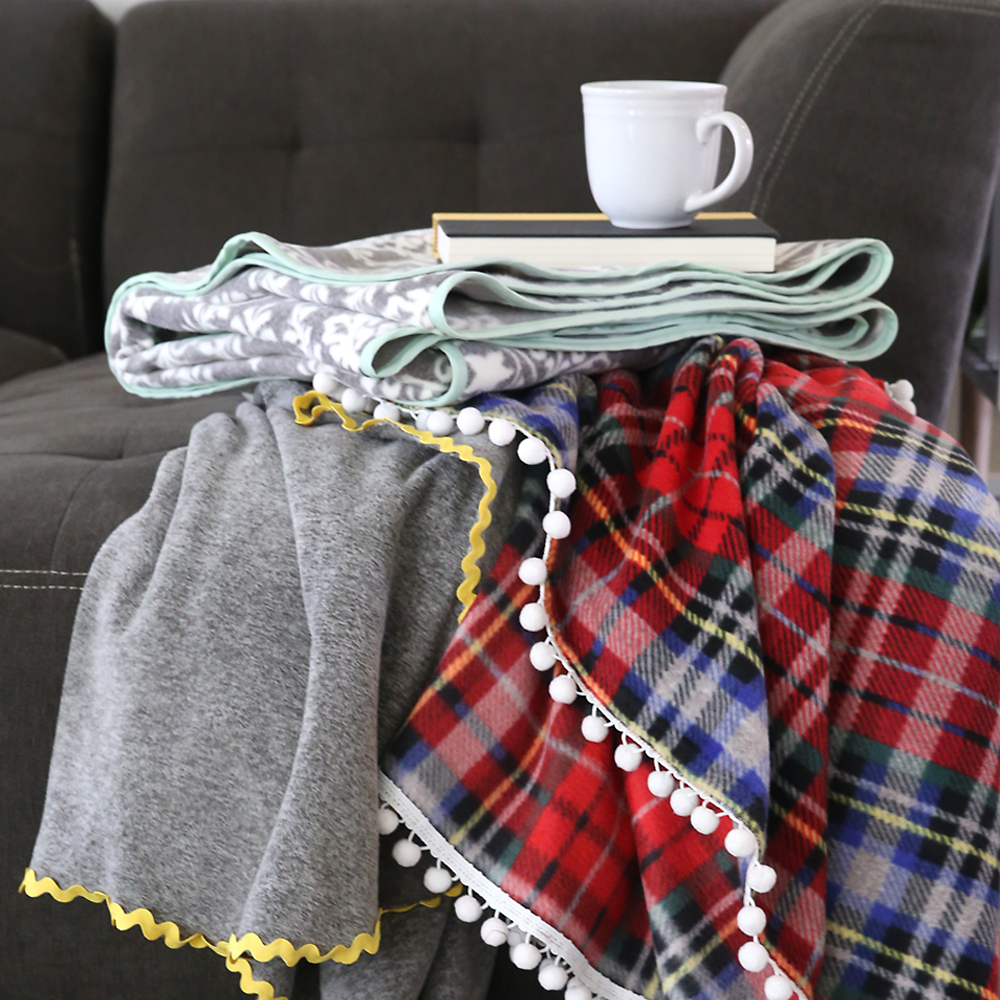
- Borders and Trims: Add a contrasting fabric border or pom-pom trim for an extra pop of color and texture.
Fringe or Binding (Optional)
To give your blanket a finished look, consider adding fringe or binding. For fringe, simply cut strips along the edges about 1 inch deep and 3-4 inches long, being careful not to cut through the entire blanket. To bind the edges, cut strips of coordinating fabric, fold them in half lengthwise, and sew them around the perimeter of the blanket.
Layering for Added Warmth (Optional)
If you live in a colder climate or simply prefer extra warmth, consider layering your fleece with another material like flannel or minky fabric. Place the two pieces together, right sides facing each other, and sew around the edges, leaving a small gap for turning. Turn the blanket right side out, hand stitch the gap closed, and voila—a double-layered cozy haven!
Finishing Touches
Give your blanket a final once-over, checking for any loose threads or uneven edges. You might also want to give it a gentle wash in cold water and air dry to soften it up before its first use.
Conclusion:
Creating a personalized fleece blanket not only adds a special touch to your home but also serves as a heartfelt gift that showcases your creativity and thoughtfulness. With these easy DIY steps, you can craft a warm and cozy hug that’s uniquely yours, making every snuggle session feel extra special. So, roll up your sleeves, let your imagination run wild, and get ready to bask in the comfort of your very own custom creation.